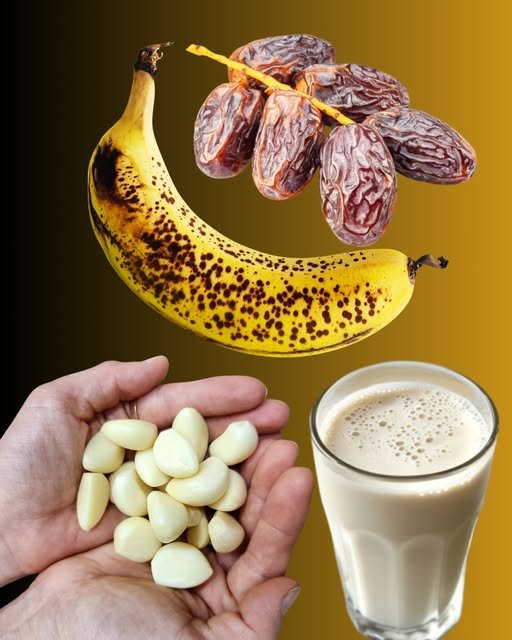
In the world of natural health remedies, certain food combinations deliver surprising results — and one of the most overlooked yet powerful blends is bananas, garlic, and dates. Each of these ingredients is a superfood on its own, but when combined, they create a powerhouse of nutrition that can help support your energy, digestion, immunity, and overall vitality.
Let’s break down the benefits of each ingredient — and then explain why mixing them might be one of the best wellness hacks you’ll ever try.
Bananas: Natural Energy Booster
Bananas are packed with:
Potassium – essential for heart health and blood pressure regulation
Vitamin B6 – supports brain function and mood
Natural sugars (fructose, glucose) – for an instant energy boost
Bananas also aid digestion, soothe the gut, and are easy on the stomach.
Garlic: The Immune System Defender
Garlic is a well-known antibacterial, antifungal, and antiviral food with compounds like allicin, which:
Boosts immunity
Helps lower blood pressure and cholesterol
Detoxifies the body
Has anti-inflammatory properties
Though its taste can be strong, when properly combined with sweet ingredients like dates and bananas, the flavor becomes much milder and more palatable.
Dates: Natural Sweetener with Medicinal Power
Dates are rich in:
Iron – supports blood health and prevents anemia
Magnesium & potassium – for heart and bone health
Fiber – for better digestion and satiety
Natural sugars – to balance garlic’s intensity and provide sustained energy
They’re often used in traditional medicine to boost stamina, strengthen the nervous system, and improve libido.
Benefits of Mixing Bananas, Garlic, and Dates
When you blend these three together, you’re combining:
Natural energy + immunity support + digestive aid
A perfect mix for anyone looking to naturally boost their performance, enhance endurance, or recover faster from fatigue or illness.
Increased vitality and stamina
Stronger immune defense
Improved digestion and gut health
Better circulation and heart health
Natural aphrodisiac effects
How to Prepare the Banana-Garlic-Date Blend
Ingredients:
1 ripe banana
1-2 cloves of garlic (peeled)
3 pitted dates
½ cup warm water or plant milk (optional, for blending)
Instructions:
Add all ingredients to a blender.
Blend until smooth.
Drink once a day, preferably in the morning or before physical activity.
Tip: Soak the garlic in warm water for 5-10 minutes before blending to mellow the flavor.
Precautions
If you’re on blood-thinning medication or have a garlic allergy, consult your doctor first.
Don’t overconsume — one serving daily is enough.
Mixing bananas, garlic, and dates may sound unusual, but the health rewards are worth it. This blend is a natural energy drink, immunity booster, and digestive tonic rolled into one — with no chemicals or artificial additives.
 Drink once daily for best results
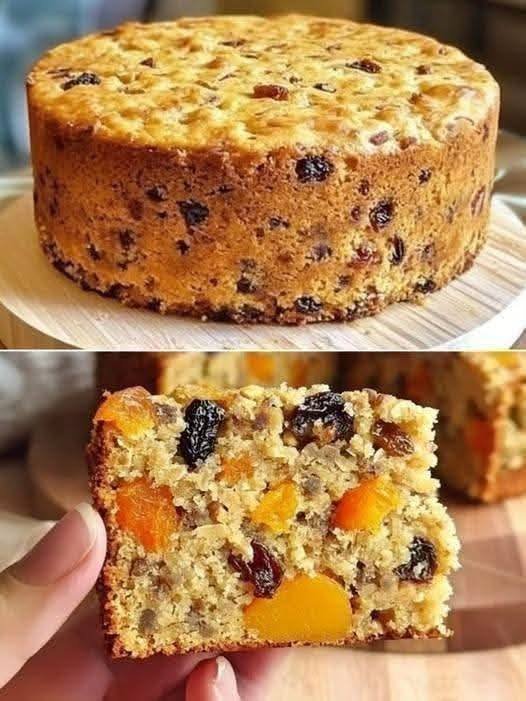

 Add cooked bacon or sausage
 Add spinach or mushrooms (sauté first)
 Make spicy with jalapeños
 Add feta and olives for Mediterranean flavor
 High in protein (supports muscle & satiety)
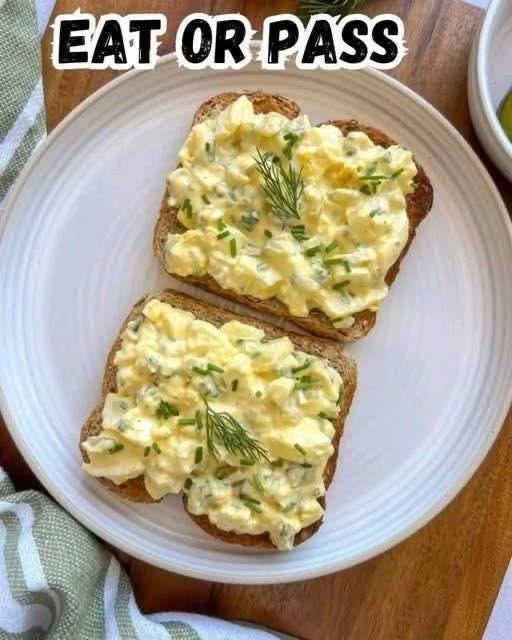


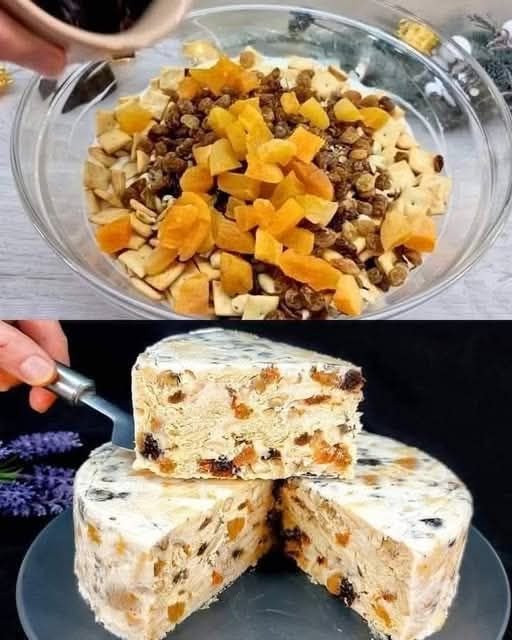
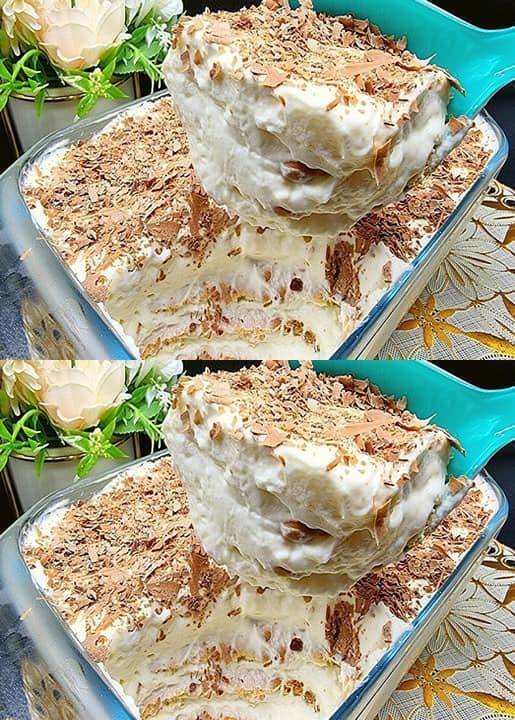
 No-Bake Dried Fruit and Nut Christmas Cake
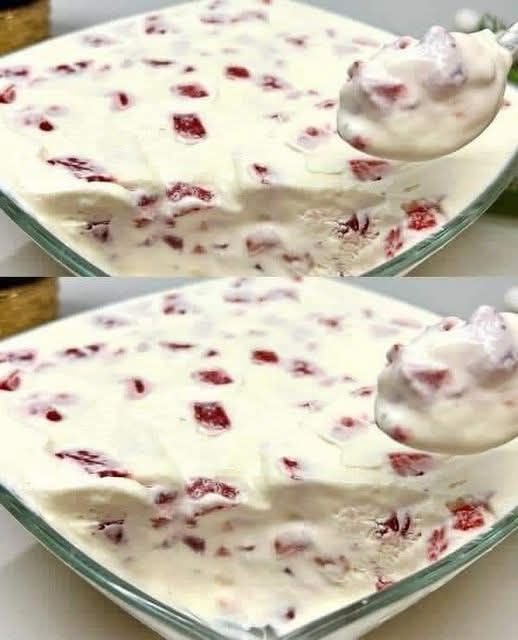


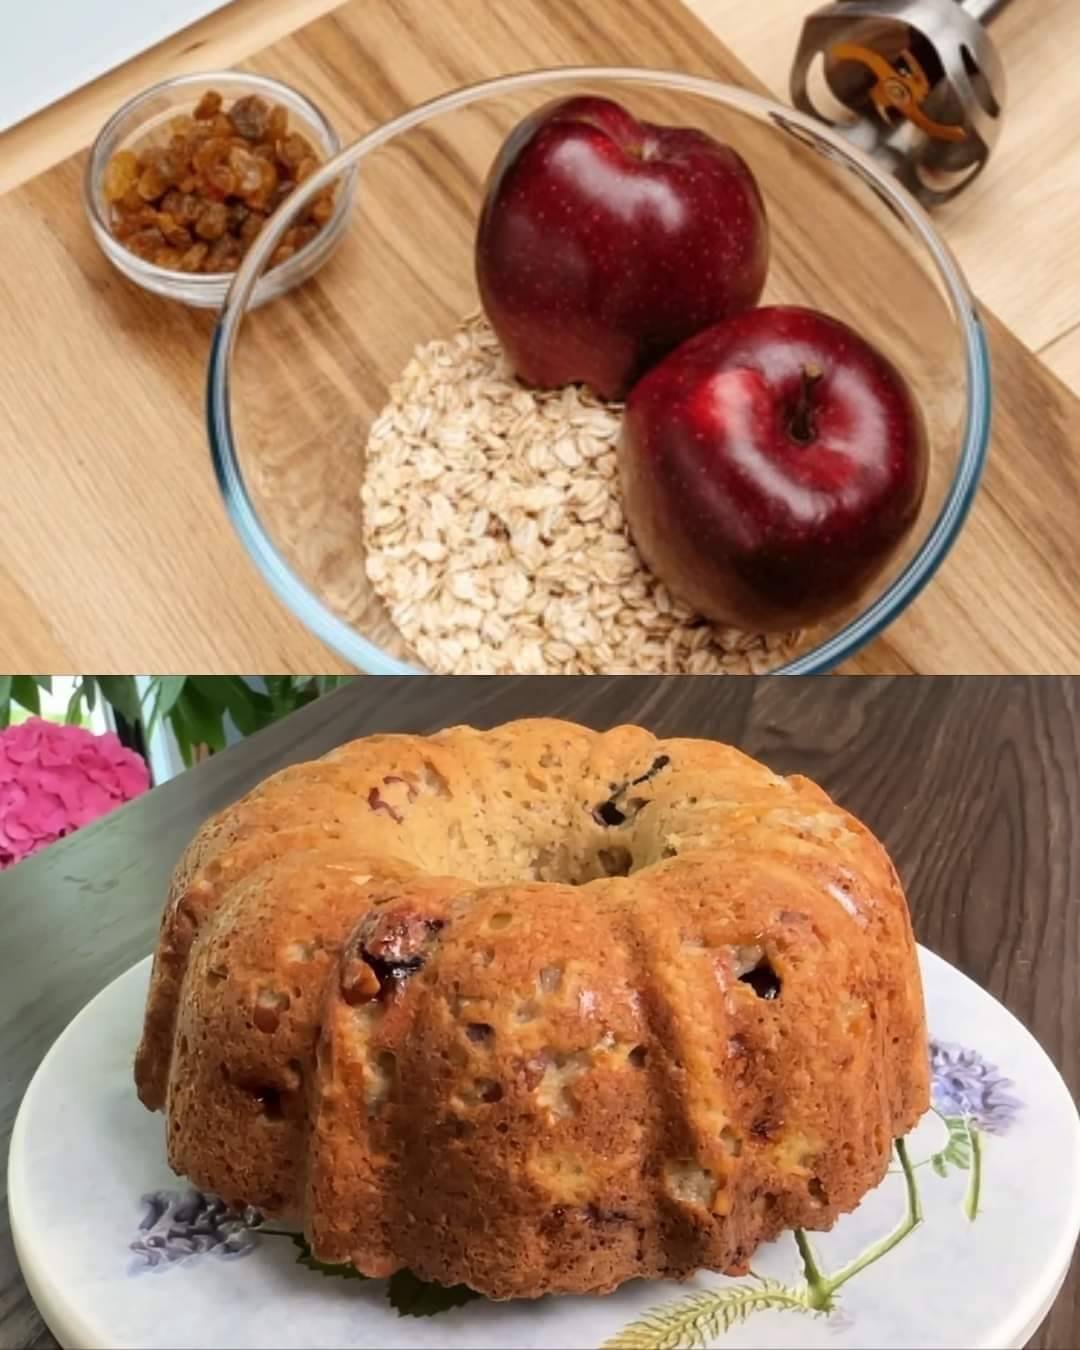

 Instructions
 Prepare the Fruit
 Mix the Batter
 Fill the Mugs
 Cook
Cook Serving Ideas
 Tips
Tips
 Tips for Best Results
 Storage
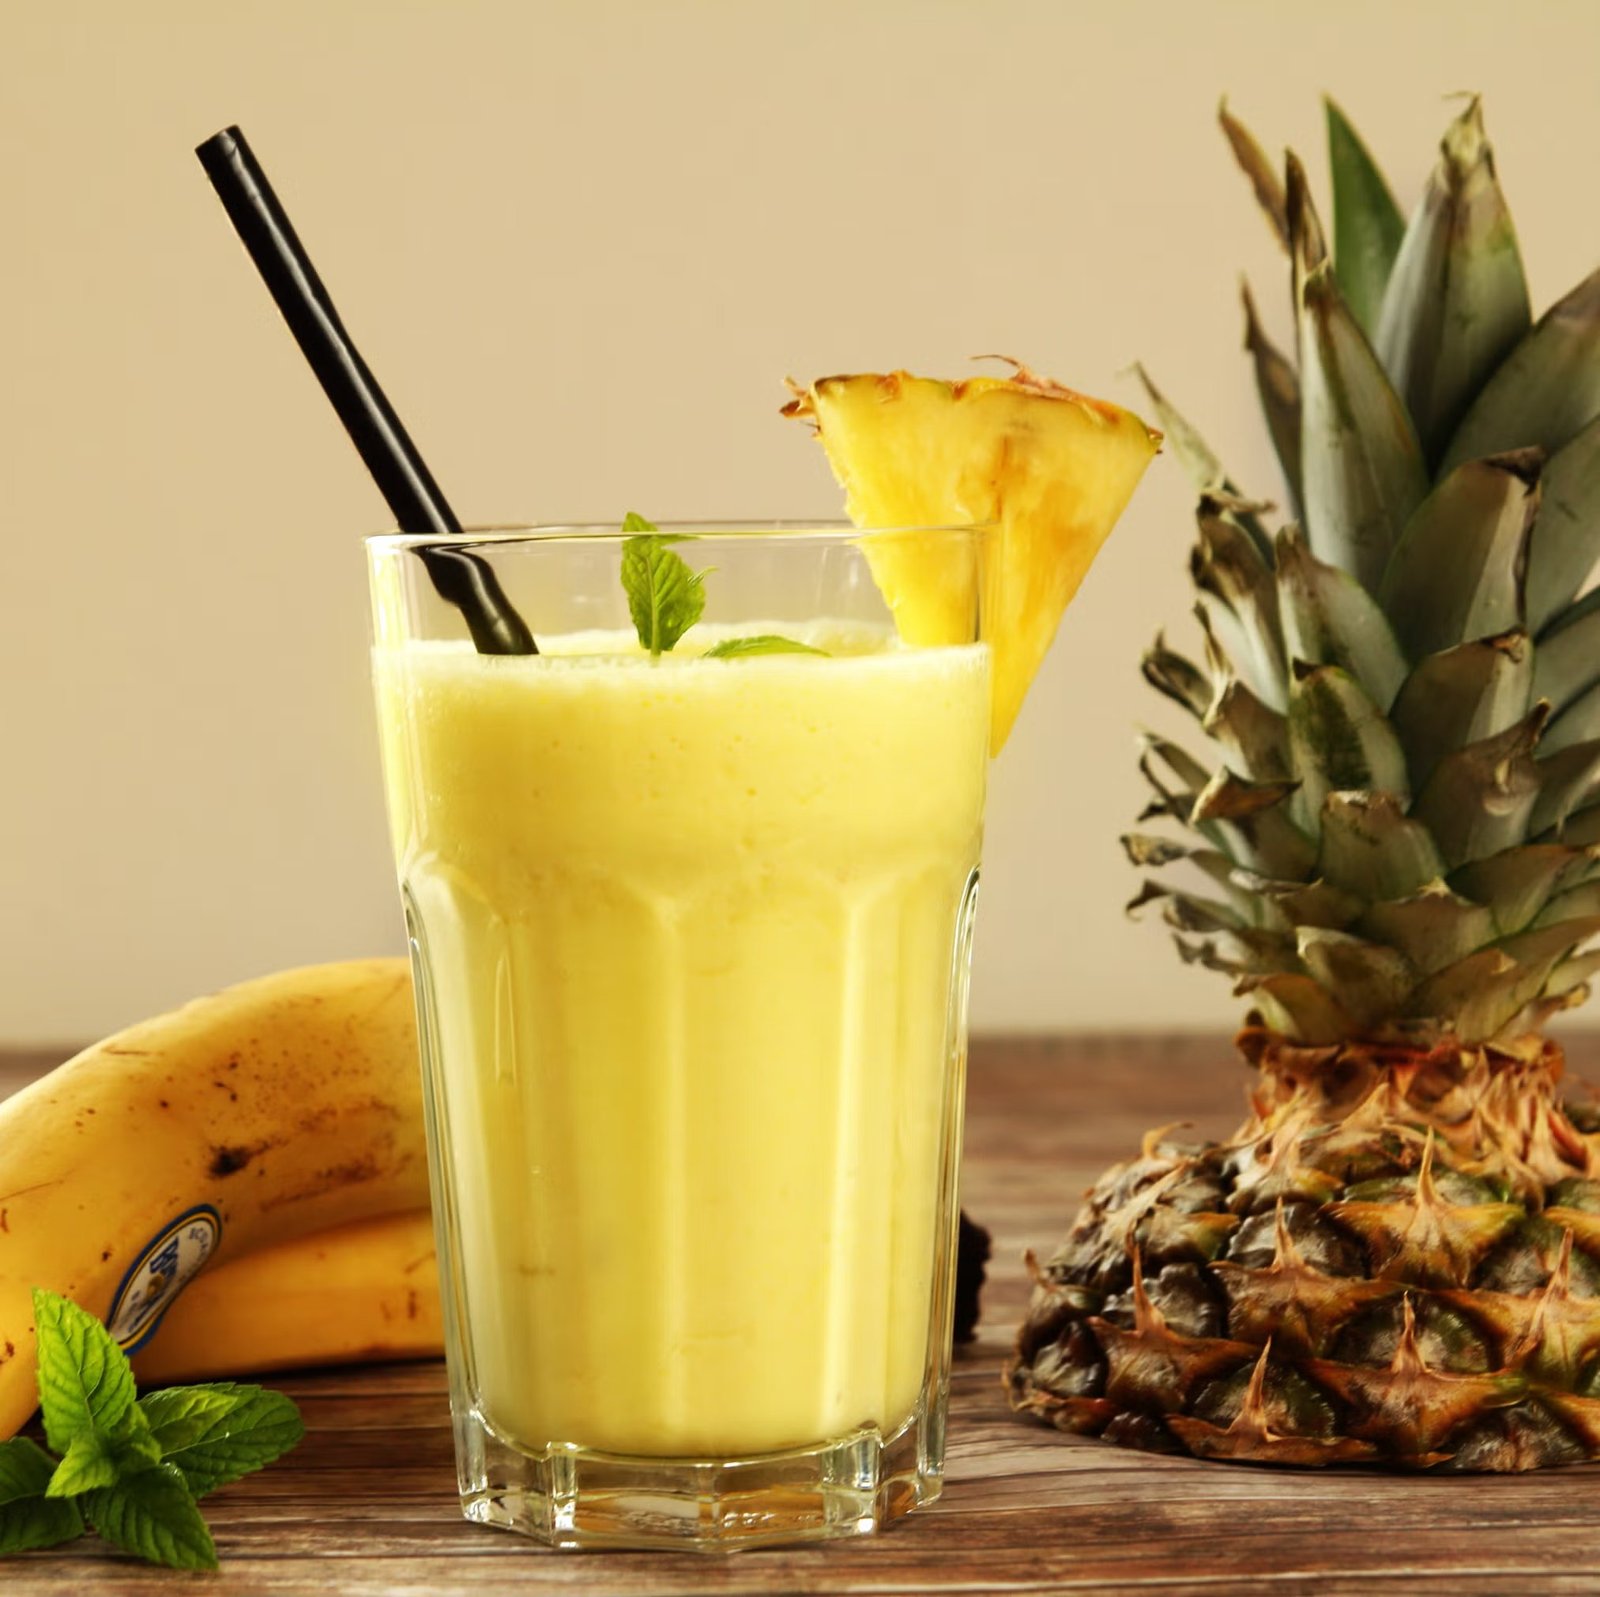
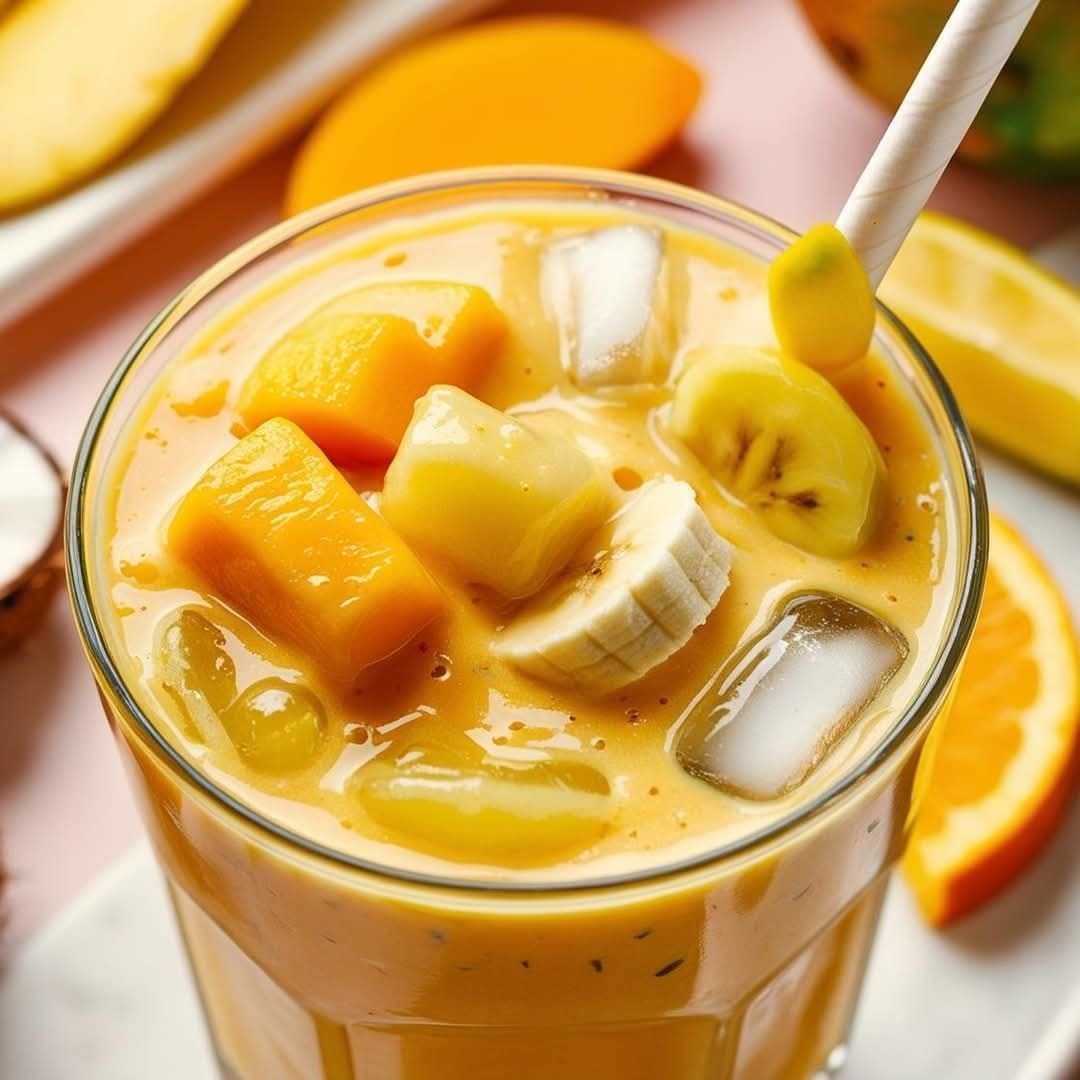
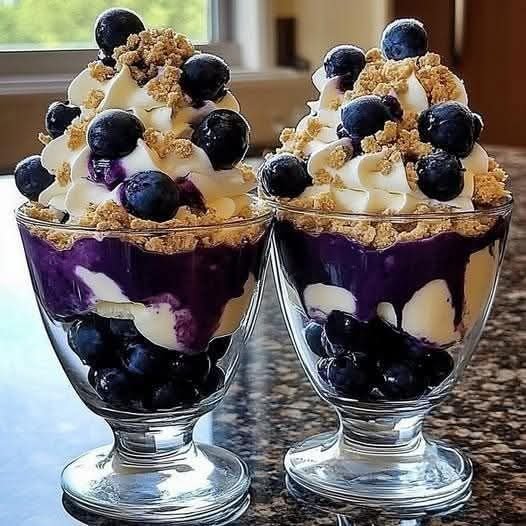
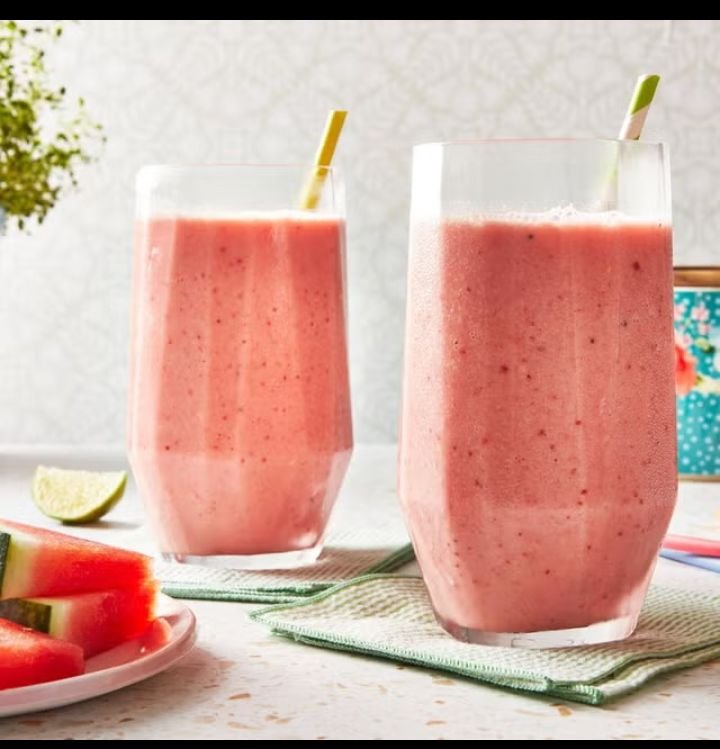
 Tropical Pineapple-Banana Smoothie
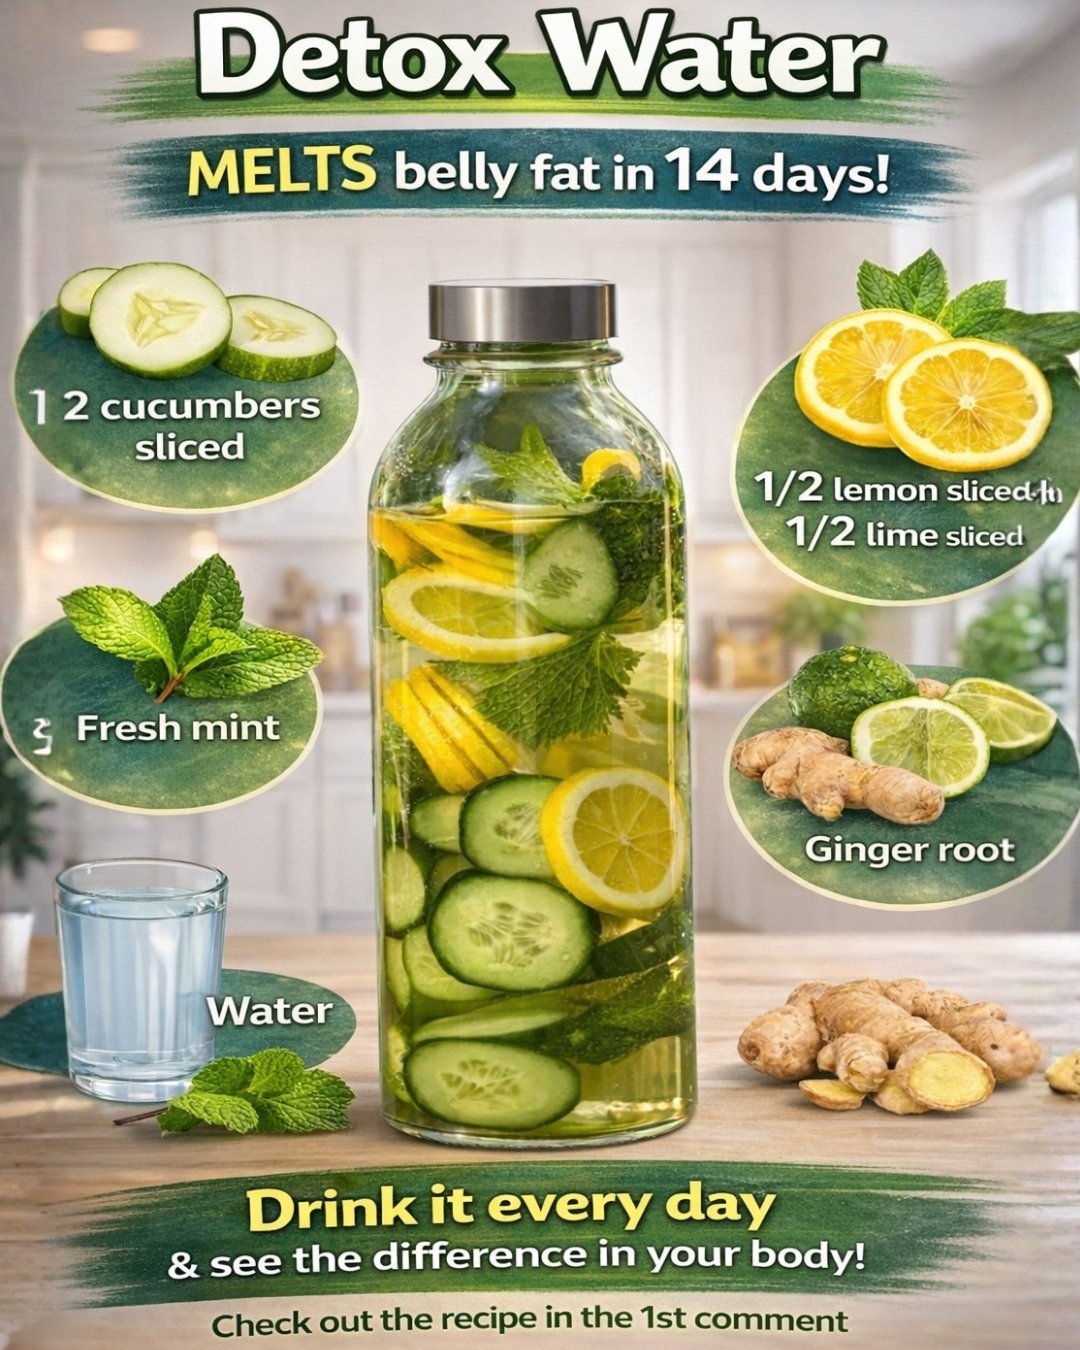
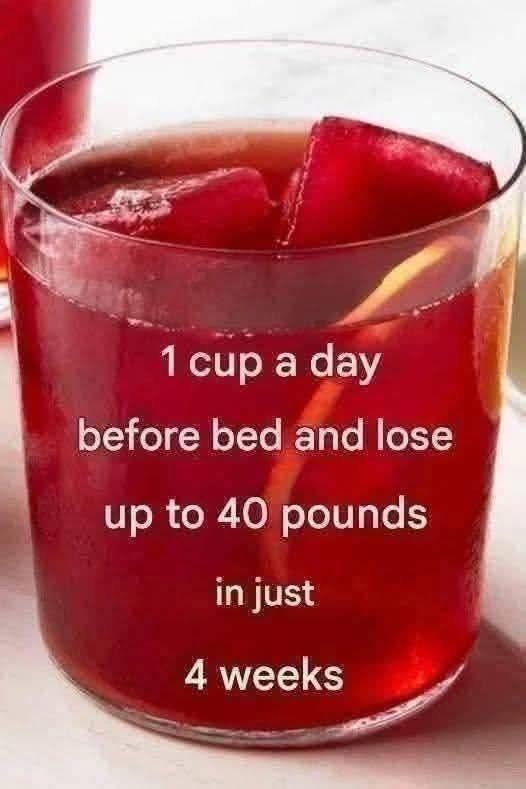
 Your Body Is Thirsty – Not Just for Water, but for Cleanliness
 The Simple Detox Water Recipe That Actually Works
 What Each Ingredient Does in the Body
 Lemon & Lime
 Mint
Mint Ginger
 What Science Shows (2024–2025 Data)
 What Changes After 14 Days of Daily Use
 What to Keep in Mind
 The Real Secret