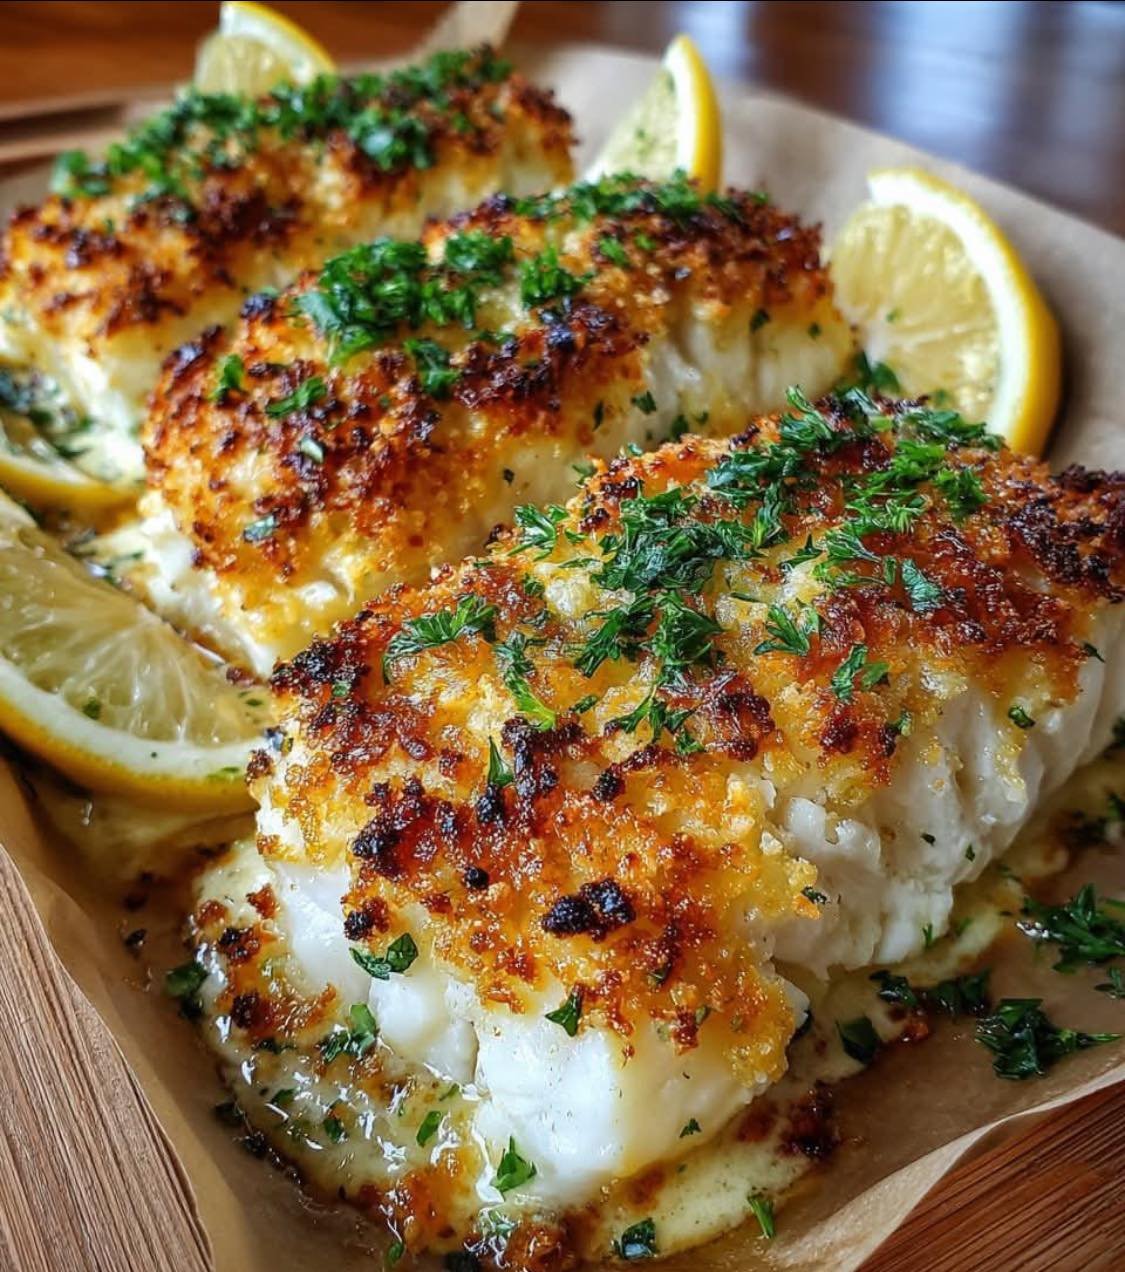
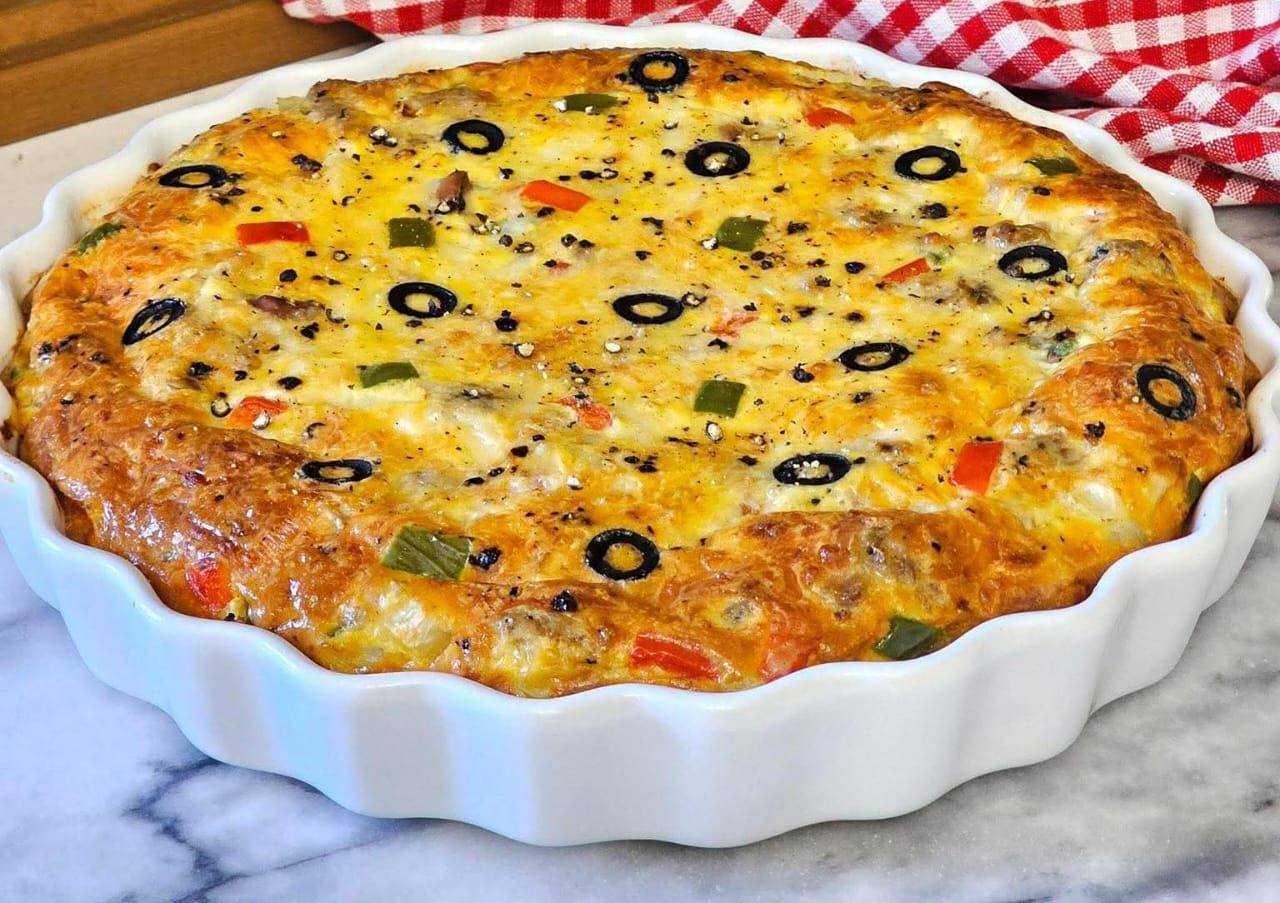
Tuna Crustless Quiche
Tuna Crustless Quiche is a simple, protein packed dish that works beautifully for breakfast, brunch, lunch, or even a light dinner. Without a pastry crust, it is quicker to prepare and naturally lower in carbohydrates while still delivering a rich, creamy texture. Flaky tuna combines with eggs, cream, colorful bell peppers, and melted cheese to create a savory bake that is satisfying and easy to customize. This recipe is ideal for meal prep, family gatherings, or whenever you need something filling that can be served warm or at room temperature.
Prep Time: 15 minutes
Cook Time: 35 to 40 minutes
Cooling Time: 10 minutes
Total Time: about 1 hour
Servings: 6 slices
Ingredients
Main Ingredients
2 cans tuna (about 160 g each), drained
8 large eggs
¾ cup double cream (heavy cream)
Cheese
3.5 oz (100 g) shredded cheddar cheese
1.8 oz (50 g) shredded mozzarella cheese (for topping)
Vegetables
1 small red bell pepper, diced
1 small green bell pepper, diced
3 spring onions, sliced
Seasoning
½ tsp paprika
½ tsp ground cumin
Salt and black pepper to taste
Topping & Other
Sliced black olives for garnish
Butter or oil for greasing the baking dish
Instructions
Preheat your oven to 180°C (350°F). Lightly grease a medium baking dish or pie dish with butter or oil.
See also Mediterranean Seared Scallops with Creamy Pesto Risotto
Drain the canned tuna thoroughly and break it into small flakes using a fork.
In a large mixing bowl, whisk together the eggs and heavy cream until smooth and well combined.
Add paprika, cumin, salt, and black pepper to the egg mixture and mix well.
Stir in the diced red and green bell peppers and sliced spring onions.
Fold in the shredded cheddar cheese and flaked tuna until evenly distributed.
Pour the mixture into the prepared baking dish and spread it evenly with a spatula.
Sprinkle shredded mozzarella cheese over the top and add sliced black olives as garnish.
Bake for 35 to 40 minutes or until the quiche is set in the center and lightly golden on top.
Remove from the oven and allow it to rest for about 10 minutes before slicing and serving.
Tips
Drain tuna well to prevent excess moisture that can make the quiche watery.
Use room temperature eggs and cream for smoother mixing and even baking.
Chop vegetables into small, uniform pieces so they cook evenly.
Lightly sauté bell peppers first if you prefer a softer texture.
Avoid overbaking. The center should be just set to keep the quiche creamy.
Place the baking dish on a tray to catch any potential spills during baking.
Let the quiche cool slightly before slicing so it holds its shape better.
Use full fat cream for the richest flavor and smoothest texture.
Taste a small portion of the mixture before baking to check seasoning.
Store leftovers in an airtight container and reheat gently to maintain moisture.
See also Mediterranean Spinach and Cheese Stuffed Shells
Variations
Add spinach or kale for extra greens and color.
Replace cheddar with feta or goat cheese for a tangy twist.
Include chopped sun dried tomatoes for a Mediterranean flavor.
Use smoked tuna or smoked salmon for deeper flavor.
Add cooked mushrooms for an earthy note.
Mix in chili flakes or diced jalapeños for a spicy version.
Substitute cream with half and half or evaporated milk for a lighter texture.
Include herbs such as parsley, dill, or basil for freshness.
Add cooked potatoes or sweet potatoes for a heartier meal.
Turn the mixture into muffin tins to create mini quiche portions for snacks or meal prep.
Q&A
Can I make this quiche ahead of time?
Yes, bake it in advance and refrigerate. Reheat gently before serving.
Can I freeze tuna crustless quiche?
Yes, slice and freeze portions individually for up to two months.
How do I know it is fully cooked?
The center should be firm and not jiggle when gently shaken.
Can I use light cream instead of heavy cream?
Yes, though the texture may be slightly less rich.
Is this recipe gluten free?
Yes, since there is no crust or flour involved.
What sides go well with it?
Fresh salad, roasted vegetables, or toasted bread pair nicely.
Can I use fresh tuna?
Yes, cook and flake it before adding to the mixture.
How long does it keep in the fridge?
Up to three days when stored properly.
Can I make it dairy free?
Use plant based cream and dairy free cheese alternatives.
Why is my quiche watery?
Excess liquid from vegetables or tuna may be the cause. Ensure ingredients are well drained.
See also Spinach and Cheese Puff Pastry Bites
Nutrition
(Approximate per Serving)
Calories: 320
Protein: 26 g
Fat: 22 g
Carbohydrates: 4 g
Fiber: 1 g
Sodium: 520 mg
Conclusion
Tuna Crustless Quiche is a versatile and practical dish that delivers both comfort and nutrition with minimal preparation. The combination of eggs, cream, cheese, and tuna creates a creamy, satisfying texture, while bell peppers and spring onions add freshness and color. Whether you serve it for brunch, pack it for lunch, or enjoy it as a quick dinner with a salad, this recipe offers reliable flavor and convenience. Its flexibility allows you to adapt ingredients based on preference or what you have on hand, making it a dependable addition to your everyday cooking rotation.
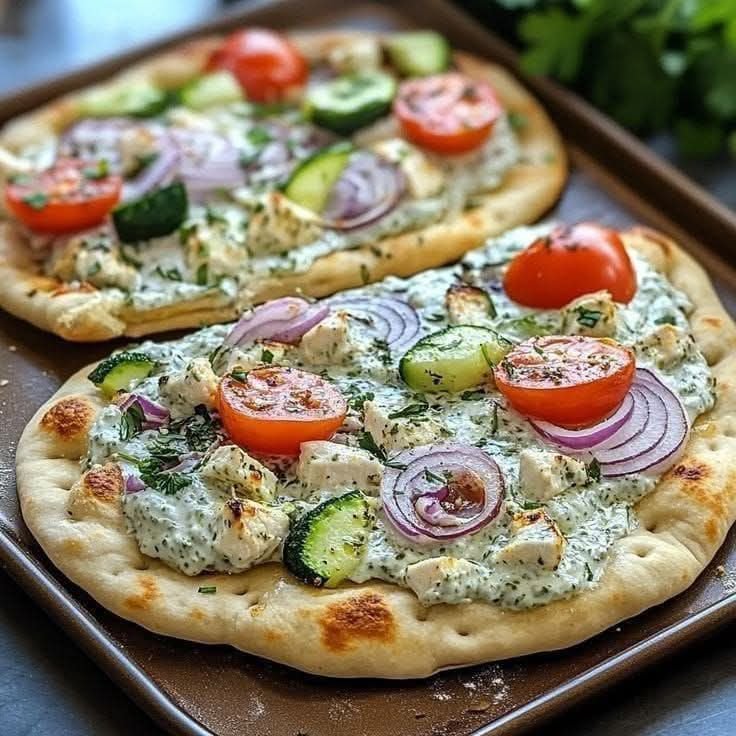
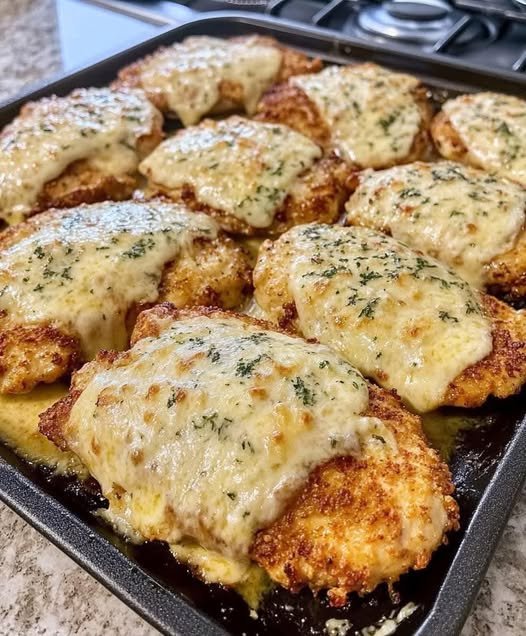
 Tzatziki Chicken Pizza
 Description
 Ingredients
 ):
): Instructions
 Notes
Notes Tips
Tips Servings
 Nutritional Info (Approx. per serving)
 Health Benefits
 Q & A
Q & A

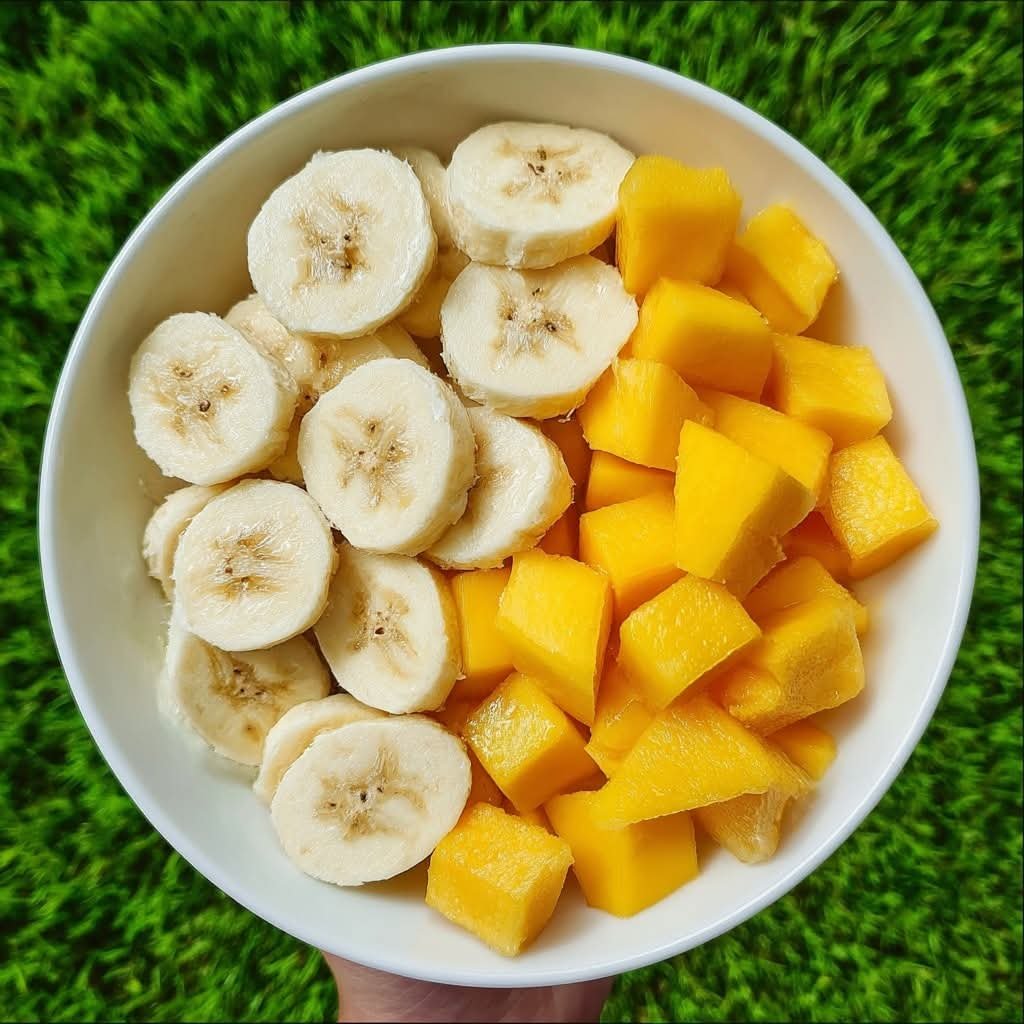
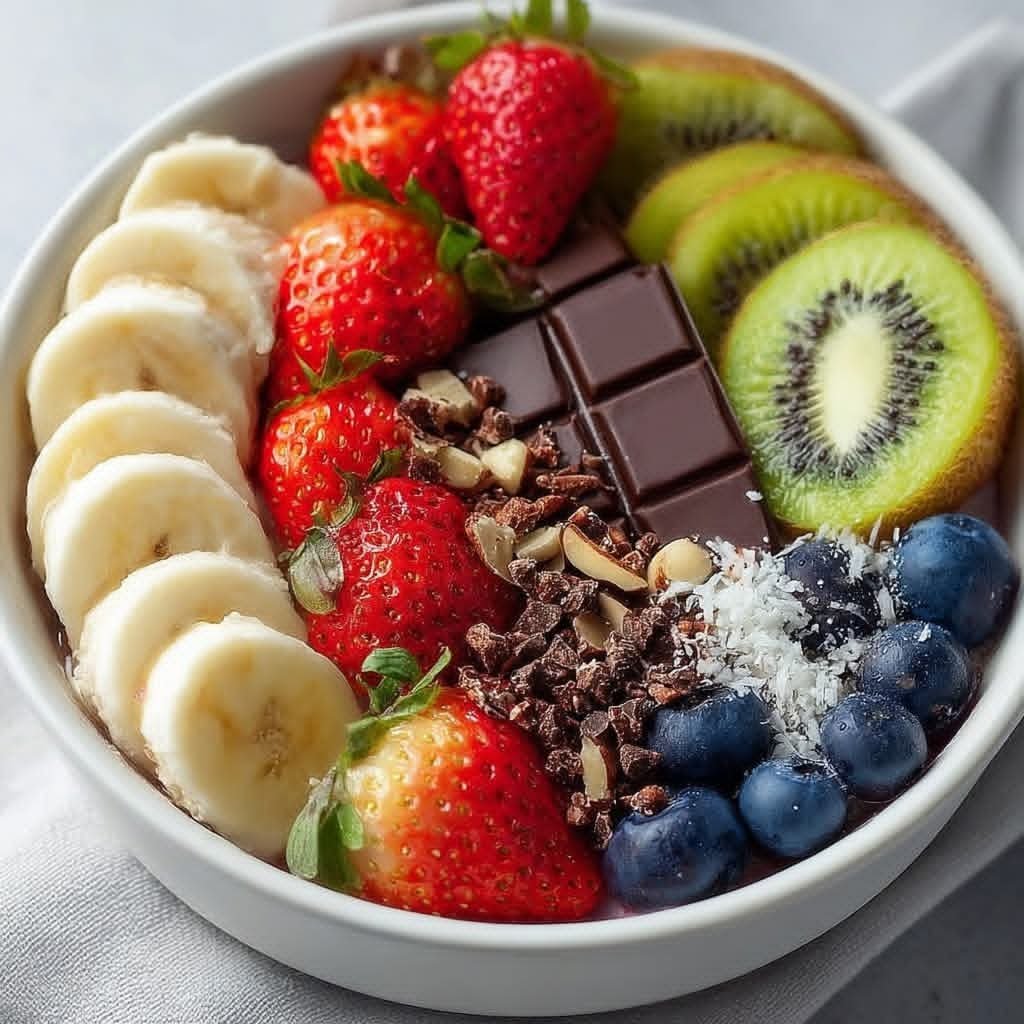
 Always pair fruit with fiber, fat, or protein


 Introduction
 Look at the Recipe
 Ingredients Needed
 Storage & Serving Suggestions
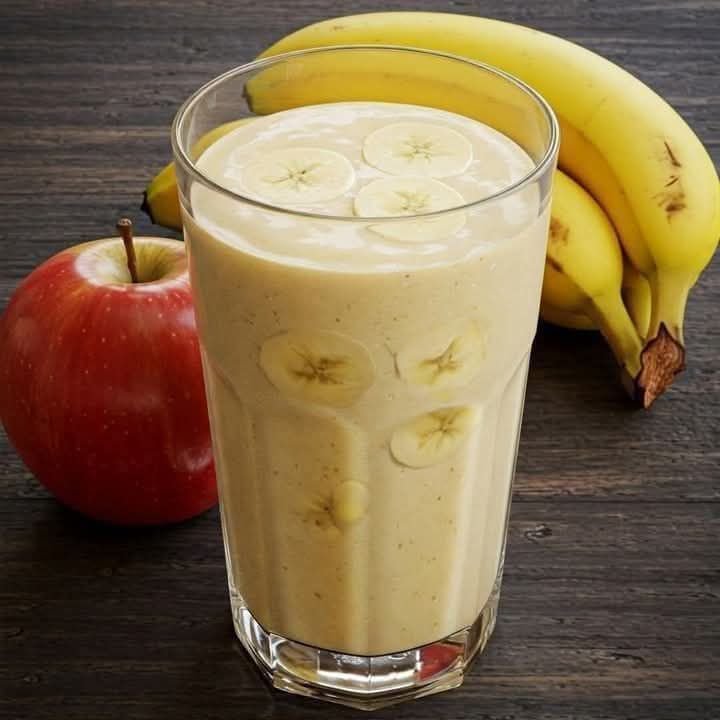
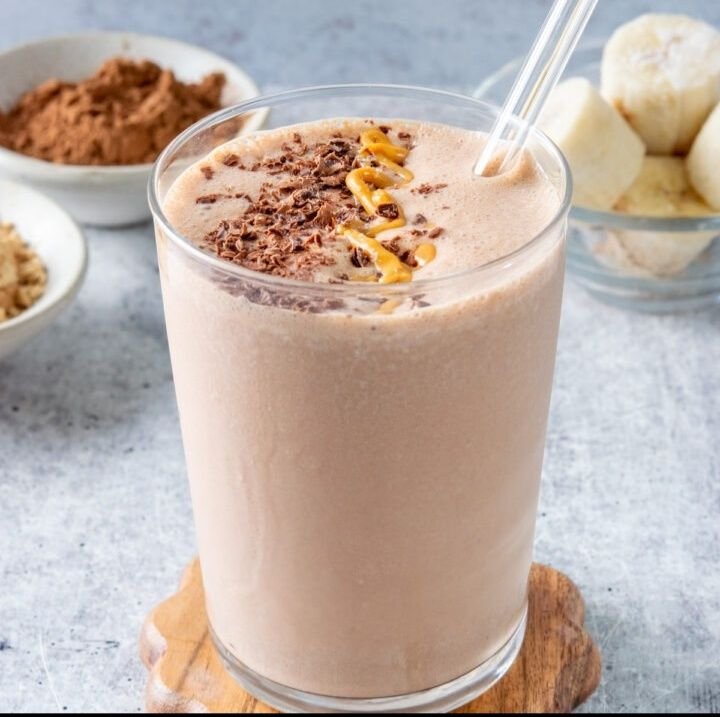
 Banana & Apple Silk Smoothie
 Introduction
 Nutrition (Per Serving – Approximate)