Foil packet meals are the ultimate dinner-time heroes! I’ve taken all the wonderful details from the text you shared and organized them into a clean, easy-to-follow recipe format so you can skip the scrolling and get right to the good part: cooking and eating.
Here is your streamlined recipe:
🥦 Cheesy Broccoli and Chicken Bake in Foil
A warm hug on a plate. This easy, low-carb weeknight dinner delivers juicy seasoned chicken, tender broccoli, and melty golden cheese with practically zero cleanup.
Why You’ll Love It
-
Minimal Cleanup: Cooking in foil means fewer pans and dishes to wash.
-
Perfectly Juicy: The sealed foil traps moisture, ensuring the chicken never dries out.
-
Low-Carb & Keto-Friendly: Naturally satisfying without heavy starches.
-
Complete Meal: Protein, veggies, and dairy all in one tidy packet.
🛒 Ingredients
-
4 boneless, skinless chicken breasts (about 150–180g each)
-
3 cups fresh broccoli florets, cut into small pieces
-
1 cup shredded cheddar cheese
-
½ cup shredded mozzarella cheese
-
3 tbsp olive oil (or melted butter)
-
3 cloves garlic, minced
-
1 tsp Italian seasoning
-
½ tsp paprika
-
¾ tsp salt
-
½ tsp black pepper
-
2 tbsp heavy cream (optional, for an extra creamy sauce)
-
Fresh parsley, chopped (for garnish)
👩🍳 Step-by-Step Instructions
-
Preheat & Prep: Preheat your oven to 400°F (200°C). Cut 4 large sheets of heavy-duty aluminum foil and lightly spray them with cooking spray or brush with oil.
-
Season the Chicken: Pat the chicken breasts dry. Rub each piece with olive oil, then season evenly on both sides with the minced garlic, Italian seasoning, paprika, salt, and pepper.
-
Assemble the Packets: Place one seasoned chicken breast in the center of each foil sheet. Divide the broccoli florets evenly around the chicken.
-
Make it Creamy: Drizzle a little extra olive oil over the broccoli. If using, spoon ½ tablespoon of heavy cream over each piece of chicken. (Pro-tip: You can also smear a spoonful of softened cream cheese over the chicken here for a richer base!)
-
Add the Cheese: Sprinkle the shredded cheddar and mozzarella evenly over the top of the chicken and broccoli.
-
Seal Tightly: Fold the foil over the ingredients and crimp the edges tightly to seal completely. Leave a little space inside for air circulation, but make sure no steam can escape.
-
Bake: Place the foil packets on a baking sheet. Bake for 25–30 minutes, or until the chicken reaches an internal temperature of 165°F (74°C) and the broccoli is tender.
-
Broil & Rest: For a golden, bubbly top, carefully open the foil packets and broil for 2–3 minutes (watch closely so it doesn’t burn). Let the packets rest for 5 minutes before serving to lock in the juices. Garnish with fresh parsley.


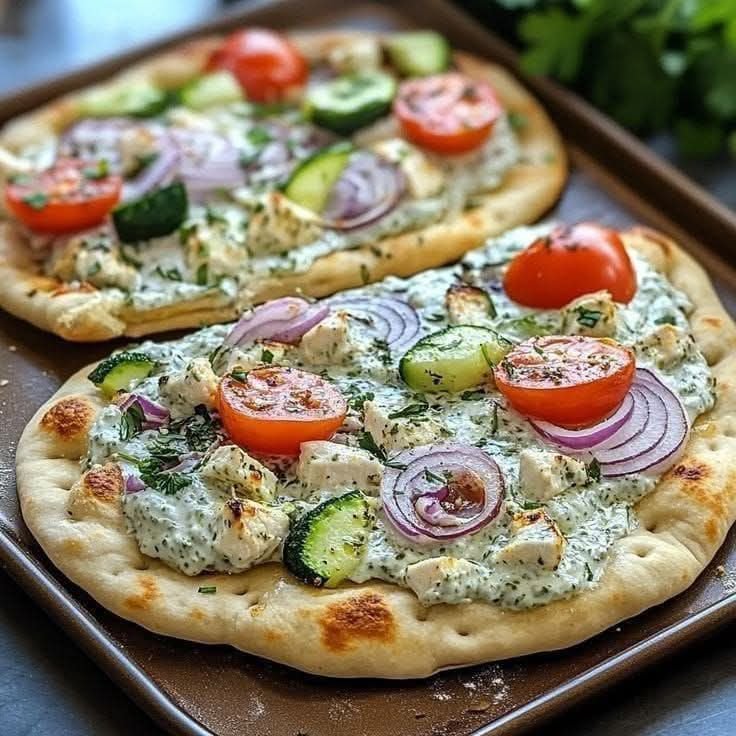
 Tzatziki Chicken Pizza
 Description
 Ingredients
 ):
): Instructions
 Notes
Notes Tips
Tips Servings
 Nutritional Info (Approx. per serving)
 Health Benefits
 Q & A
Q & A

 Always pair fruit with fiber, fat, or protein