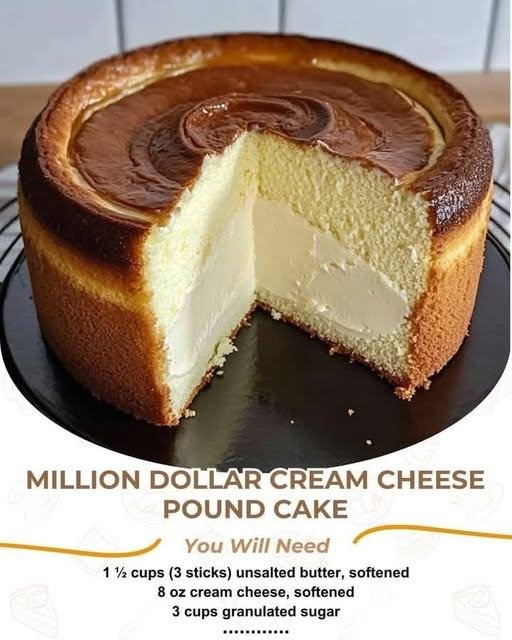
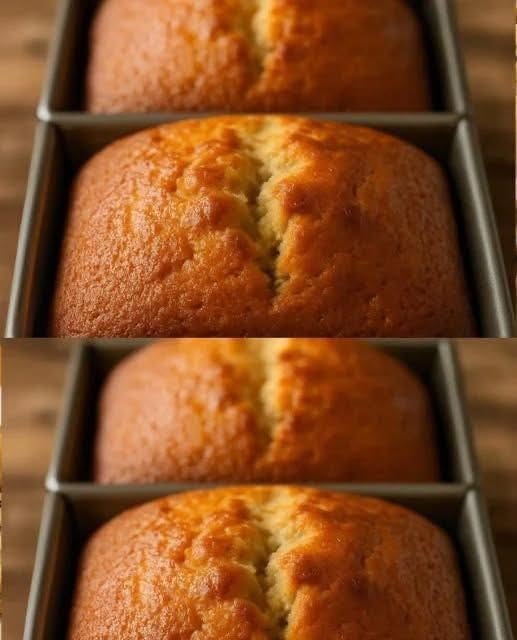
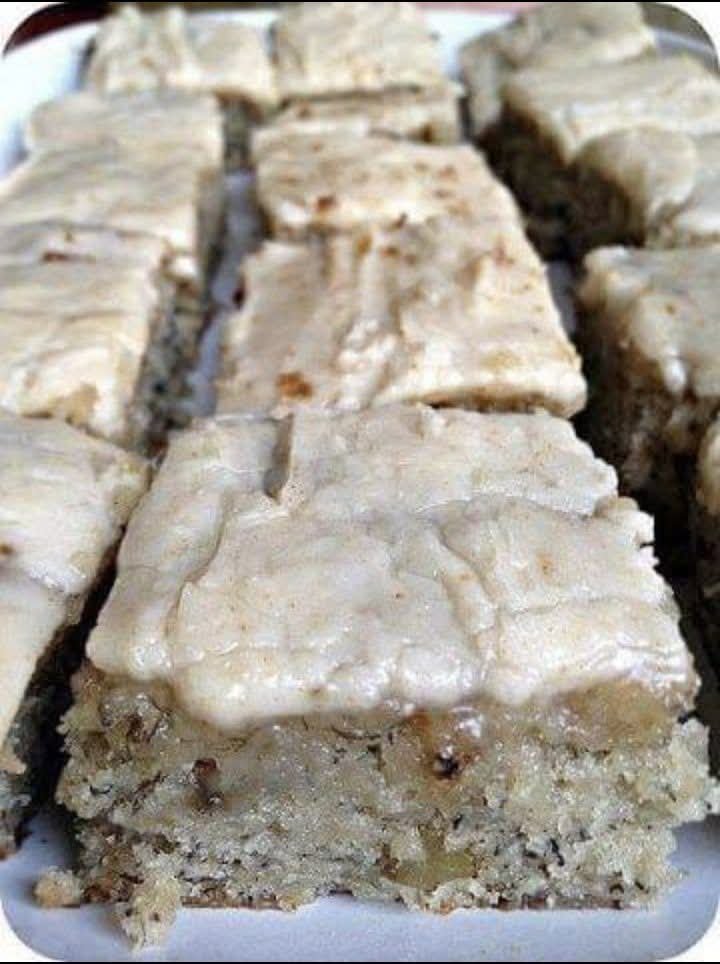
Million Dollar Cream Cheese Pound Cake
This classic pound cake is renowned for its incredibly dense, velvety crumb and rich, buttery flavor. By using both butter and cream cheese, you achieve a level of moisture and decadence that truly lives up to its “million dollar” name.
Ingredients
-
1 ½ cups (3 sticks) Unsalted butter, softened
-
8 oz Cream cheese, softened
-
3 cups Granulated monk fruit or stevia (sugar substitute)
-
6 Large eggs (at room temperature)
-
3 cups All-purpose flour (sifted)
-
1 tsp Vanilla extract
-
1 tsp Almond extract (optional)
-
¼ tsp Salt
Step-by-Step Instructions
-
Preparation: Preheat your oven to 165°C. Generously grease and flour a 10-inch tube pan or Bundt pan to ensure the cake releases perfectly after baking.
-
Cream the Base: In a large mixing bowl, beat the softened butter and softened cream cheese together on medium-high speed until the mixture is smooth and completely combined.
-
Add Sweetener: Gradually add the sugar substitute to the butter mixture. Continue beating for about 5 minutes until the texture is light, fluffy, and pale in color.
-
Incorporate Eggs: Add the eggs one at a time, beating well after each addition. Tip: Scrape down the sides of the bowl frequently to ensure everything is evenly incorporated.
-
Flavor and Salt: Stir in the vanilla extract, almond extract (if using), and salt.
-
Add Flour: Turn your mixer to the lowest setting and gradually add the sifted flour. Mix just until the flour disappears into the batter. Important: Avoid overmixing at this stage to keep the cake tender.
-
Bake: Pour the thick, creamy batter into your prepared pan and smooth the top with a spatula. Bake for 1 hour and 15 minutes to 1 hour and 30 minutes. The cake is done when a long wooden skewer inserted into the center comes out clean.
-
Cooling Process: Allow the cake to cool in the pan for about 15–20 minutes. Carefully run a thin knife around the edges before inverting the cake onto a wire rack to cool completely.
Serving Suggestion
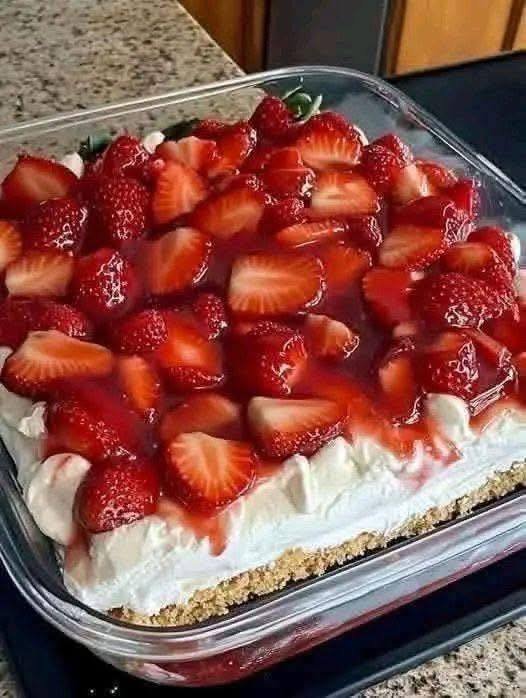
This pound cake is beautiful on its own, but it pairs wonderfully with a side of fresh macerated strawberries and a dollop of unsweetened whipped cream for a classic dessert presentation.


 Creamy Chopped Salad Dip


 Boat Dip (Rotel Ranch Dip)
 Bread Pudding with Vanilla Sauce
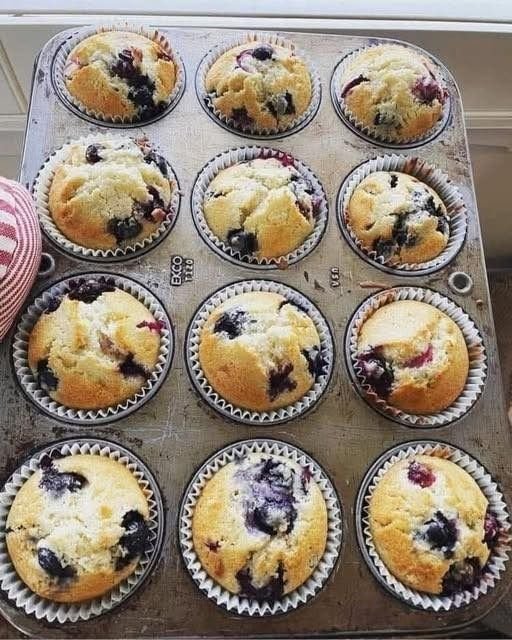
 Blueberry Pie Bombs