
Blueberry Protein Breakfast Bake
This high-protein breakfast is incredibly satisfying and keeps you energized throughout the morning. It has a texture similar to a fluffy cheesecake or bread pudding but is packed with nutrients to fuel your day.
Ingredients
-
2 cups low-fat cottage cheese
-
4 large eggs
-
1/2 cup protein powder (vanilla or unflavored)
-
1/2 cup oat flour or almond flour
-
1 tsp vanilla extract
-
1 tsp baking powder
-
1 cup fresh or frozen blueberries
-
Zest of one lemon (optional for extra brightness)
Preparation Steps
-
Preheat and Prepare: Preheat your oven to 350°F. Lightly grease an 8×8-inch baking dish with a small amount of oil or cooking spray.
-
Blend the Base: In a blender or food processor, combine the cottage cheese, eggs, protein powder, flour, vanilla extract, and baking powder. Blend on high until the mixture is completely smooth and creamy.
-
Incorporate the Berries: Gently fold in half of the blueberries by hand. This ensures they stay whole and create beautiful bursts of flavor.
-
Assemble: Pour the batter into the prepared baking dish. Scatter the remaining blueberries across the top, pressing them slightly into the surface.
-
Bake: Place the dish in the oven and bake for 35–40 minutes. The center should be set but still have a slight jiggle, and the edges should be a light golden brown.
-
Cool and Set: Allow the bake to cool in the pan for at least 10–15 minutes before slicing. This helps the structure set firmly so you can cut perfect squares.
-
Serve: Enjoy it warm or cold. It can be stored in the refrigerator for up to 4 days, making it perfect for a quick morning meal.


 Q&A:
Q&A:

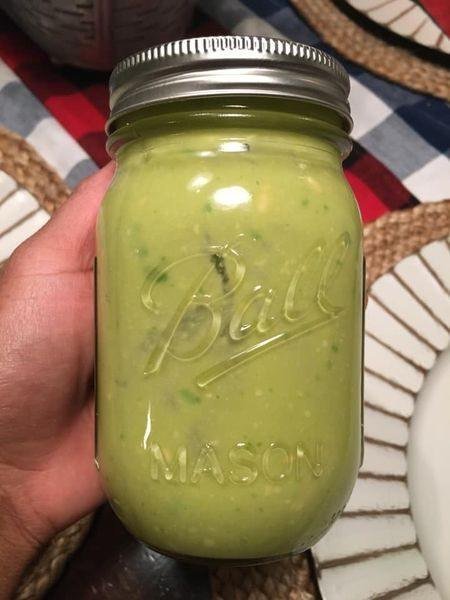
 Creamy Almond Banana Smoothie
 Pro Tips for the Best Result


 Low-Point Pizza Roll-Ups (Weight Watchers)
 Ingredients
 Instructions
 1–2 points per roll-up
 WW Pro Tip
 Crispy Broccoli Cheese Bites
 WW Points Overview
 Instructions
 Preheat
 Prepare the Broccoli
 Mix the Filling
 Form the Bites
 Cook
Cook Serve
Serve Low-Point Dipping Sauce Options
 Diabetic-Friendly Stuffed Phyllo Cups with Spinach, Feta & Sundried Tomatoes
 Servings: 12 mini cups
 Ingredients