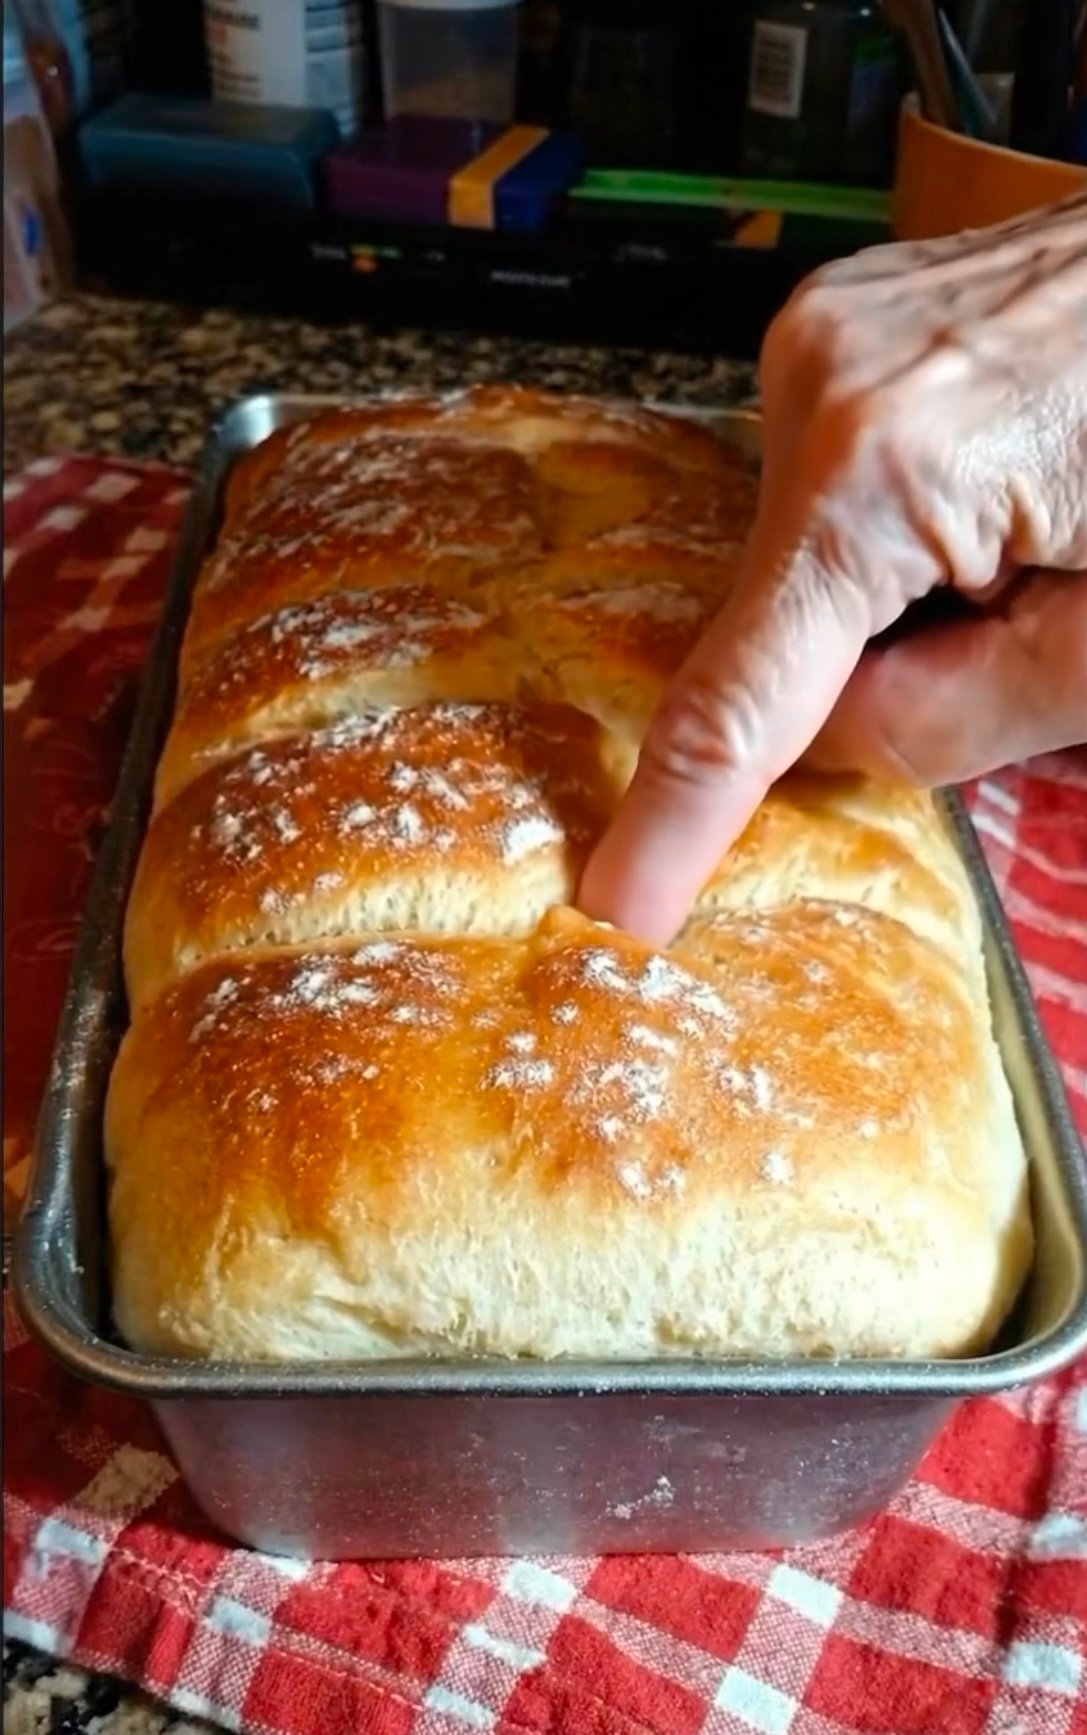
Soft Fluffy Milk Bread Recipe 🍞
Ingredients
- 3 cups all-purpose flour (maida)
- 2 tbsp sugar
- 1 tsp salt
- 1 tbsp instant yeast
- 1 cup warm milk
- 2 tbsp butter (softened)
- 1 egg (optional but makes bread softer)
- 1 tbsp oil
- Extra flour for dusting
Step-by-Step Instructions
Step 1: Activate Yeast
In a bowl, add warm milk, sugar, and yeast. Mix gently and leave it for 5–10 minutes until it becomes slightly foamy.
Step 2: Prepare the Dough
In a large bowl add:
- flour
- salt
Mix them together. Then pour in the yeast mixture and add the egg (if using).
Step 3: Knead the Dough
Start mixing and knead the dough for 8–10 minutes until it becomes soft and elastic.
Add butter while kneading and continue kneading until the dough becomes smooth.
Step 4: First Rise
Grease a bowl with oil and place the dough inside.
Cover it with a cloth or plastic wrap and let it rest in a warm place for 1 hour or until it doubles in size.
Step 5: Shape the Bread
Punch the dough gently to remove air.
Divide it into 3–4 equal balls and place them inside a greased loaf pan.
Step 6: Second Rise
Cover the pan and let the dough rise again for 30–40 minutes until puffy.
Step 7: Bake
Preheat oven to 180°C (350°F).
Bake the bread for 25–30 minutes until the top becomes golden brown.
Step 8: Final Touch
Brush the hot bread with butter for extra softness.
Let it cool slightly before slicing.
✨ Result: Soft, fluffy homemade bread that you can press with your finger just like in the picture!

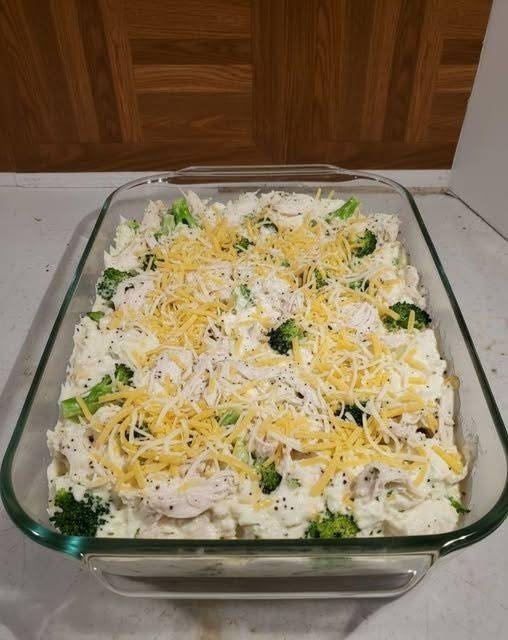
 Crock Pot Chicken and Dumplings (Easy & Creamy)
 Prep Time: 5 minutes
 Cook Time: 4–5 hours
 Servings: 4
 Ingredients
 Instructions
 Optional Add-Ins
 Tips for Best Results
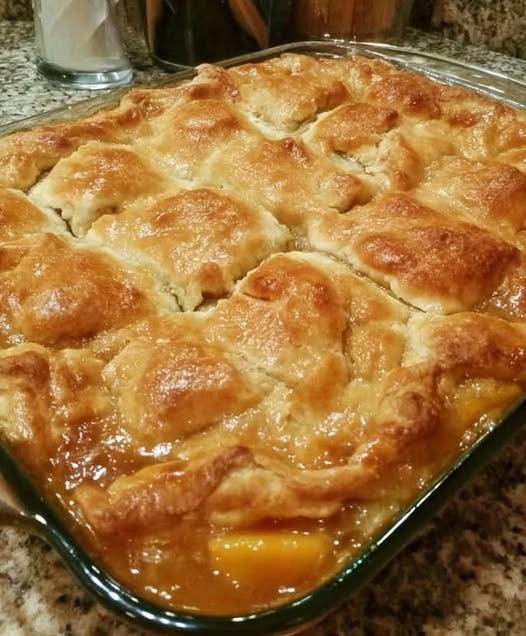

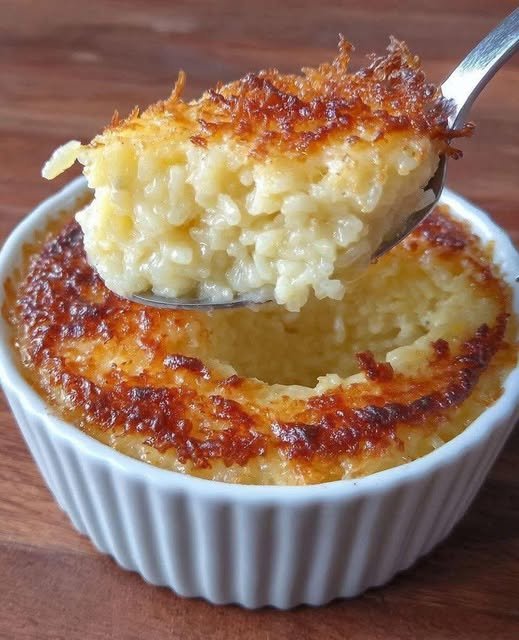
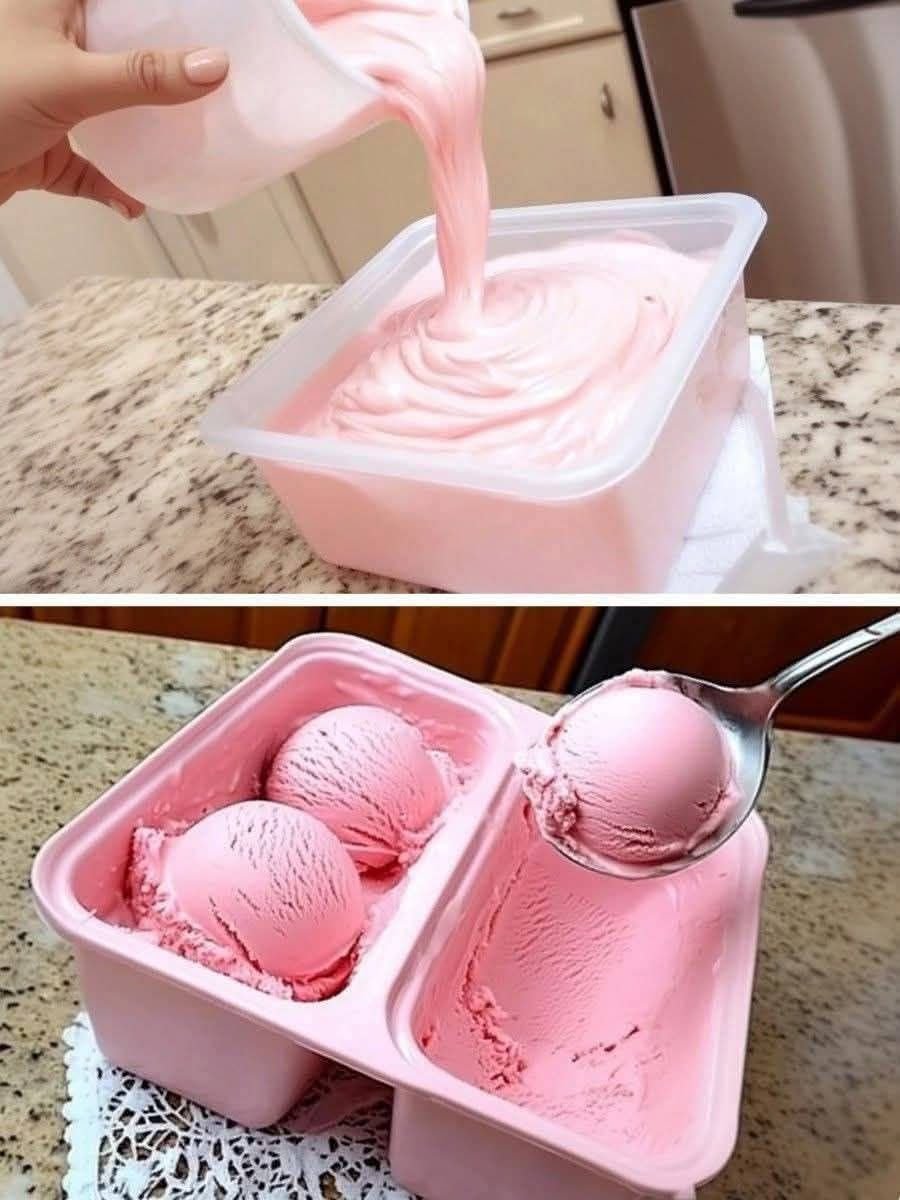
 Perfect simple dessert with basic ingredients!
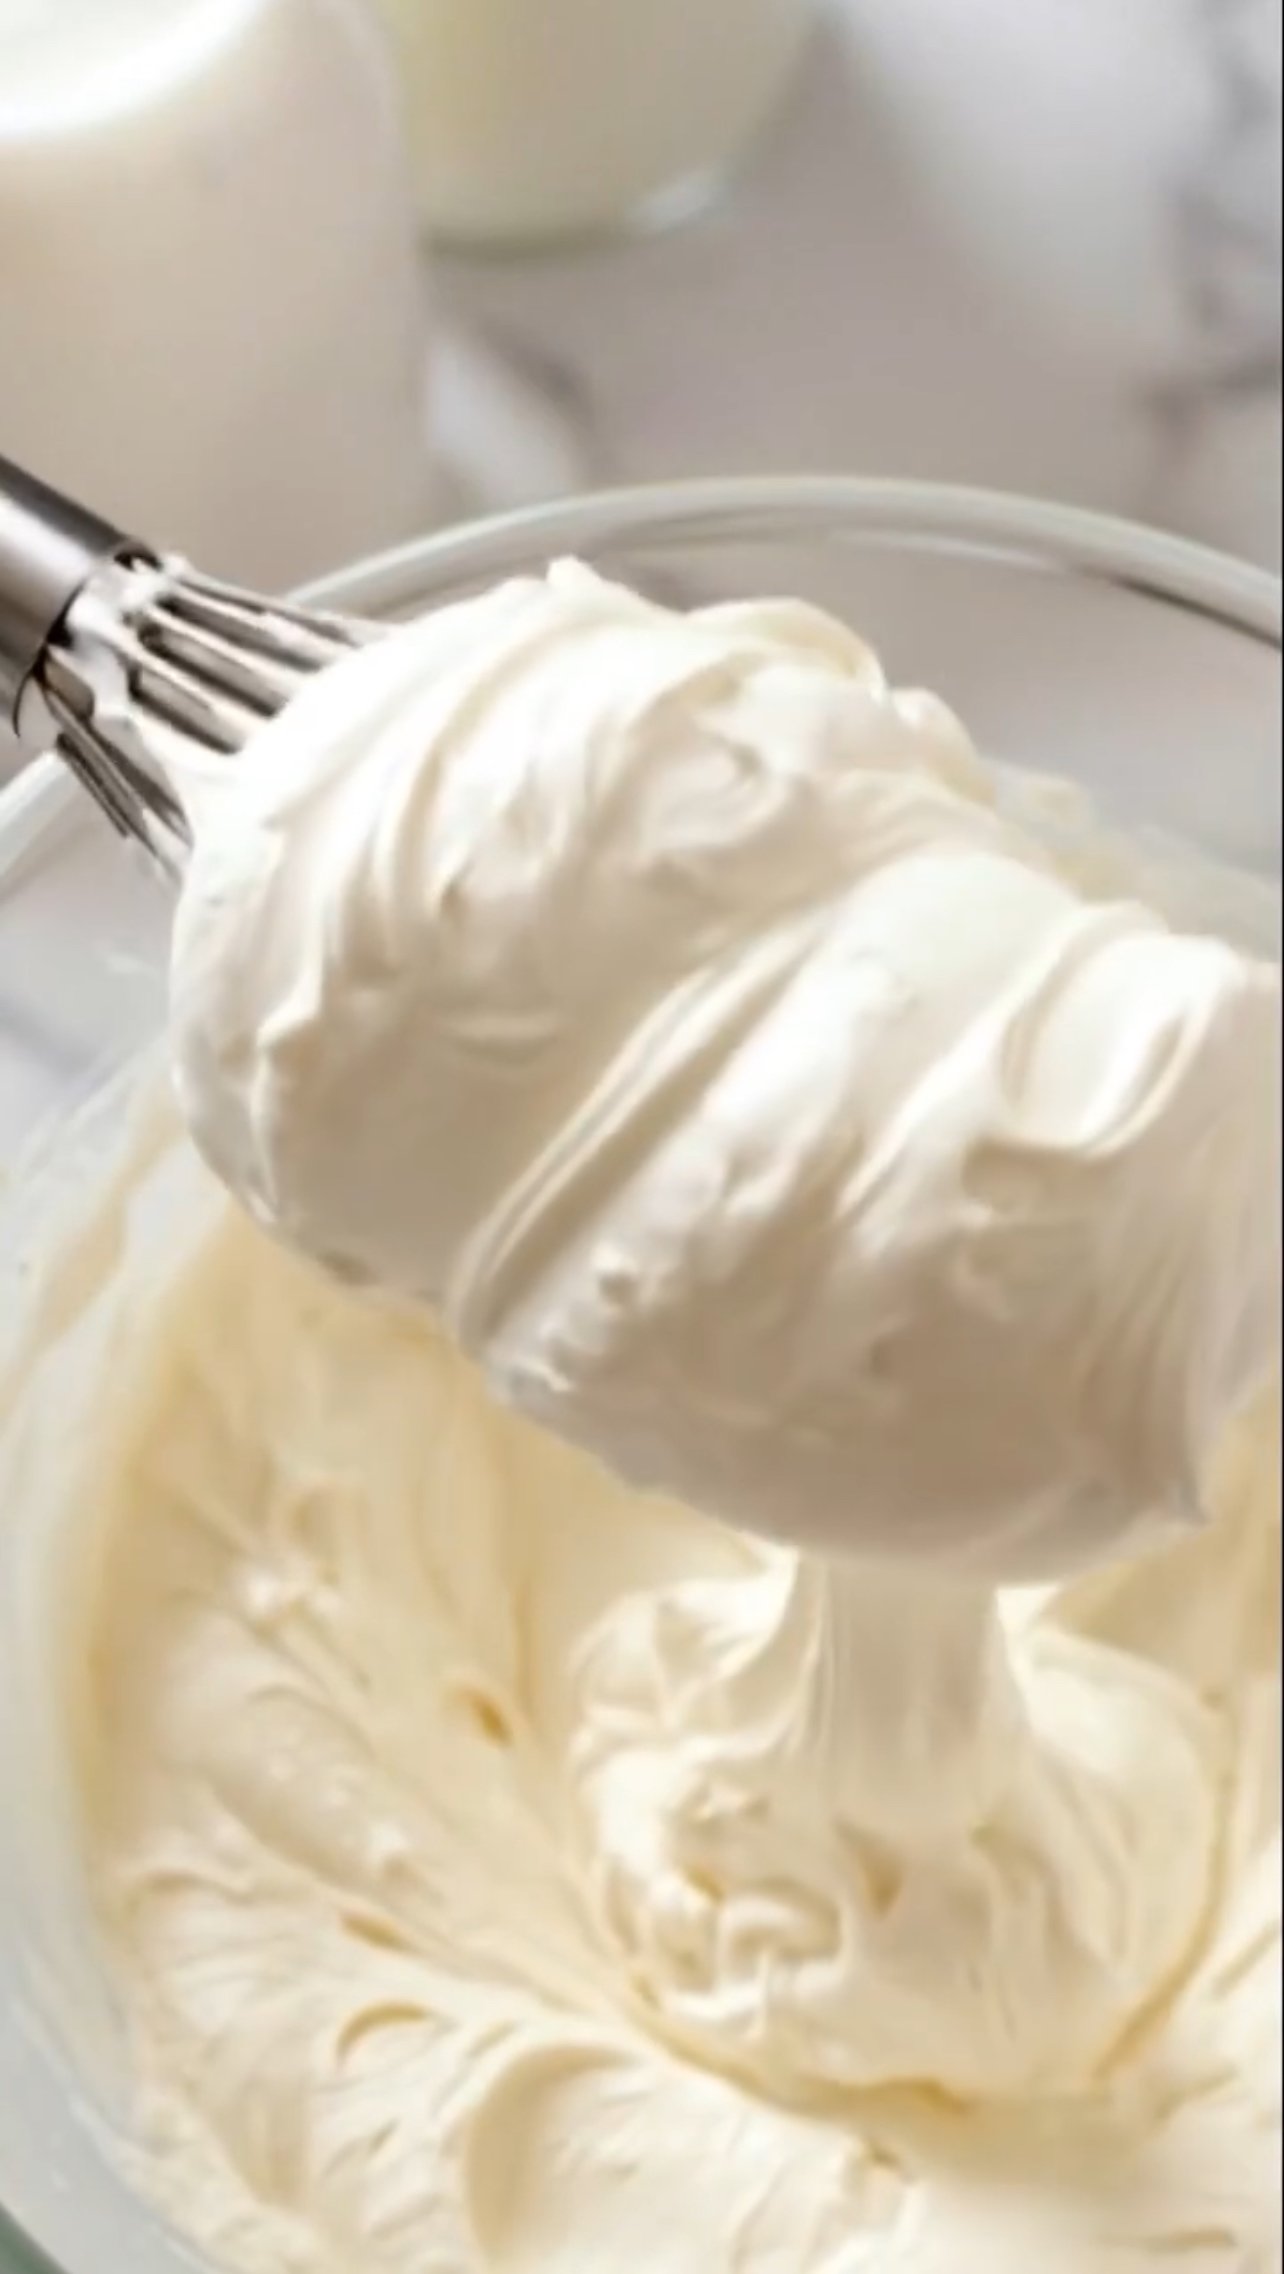
 Step 1: Prepare the Mixture
 Tip: Strain the mixture for extra smooth texture.
 Texture Tips
 Use room temperature eggs
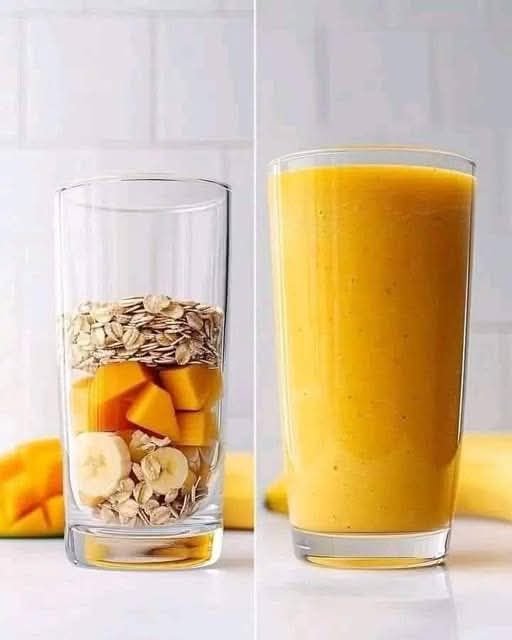
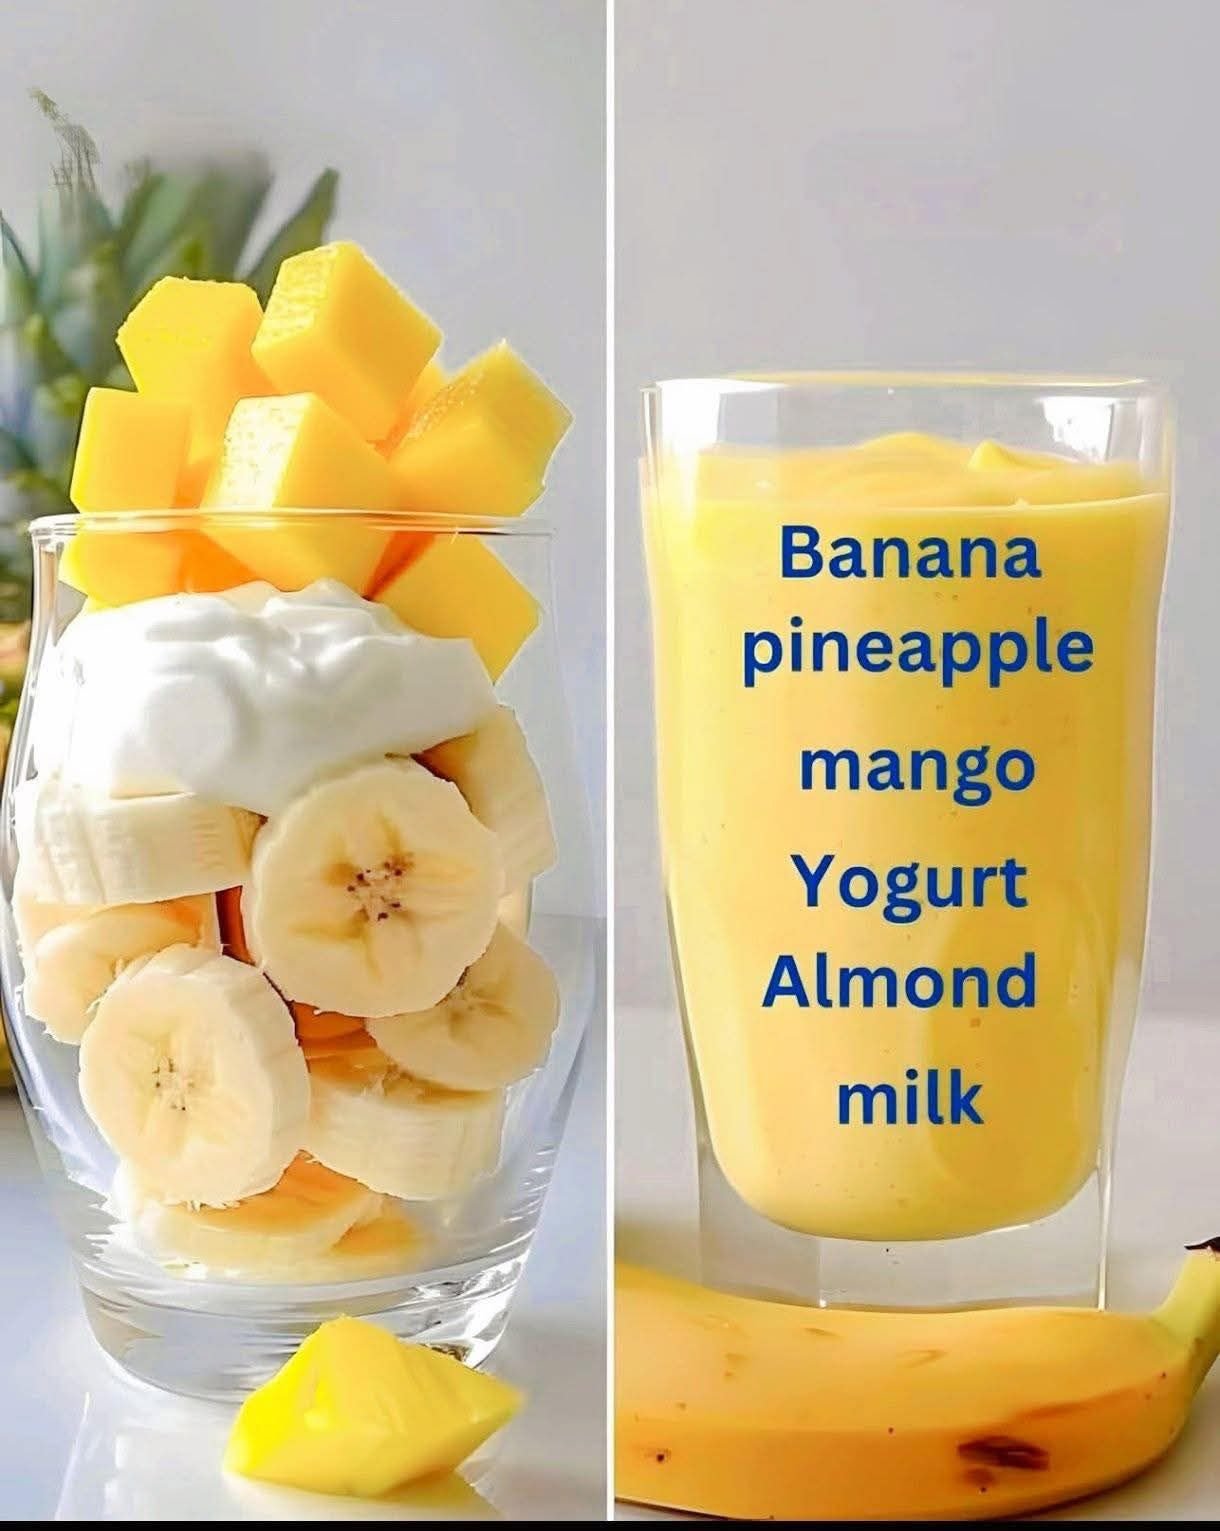
 Mango Banana Oat Breakfast Smoothie
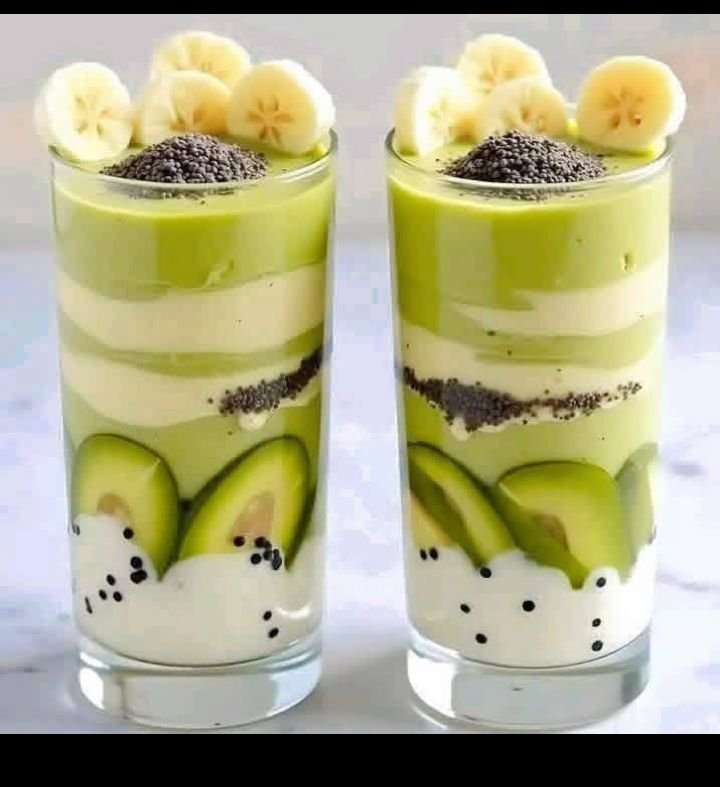

 Ingredients
 Step-by-Step Instructions
 Q&A Section