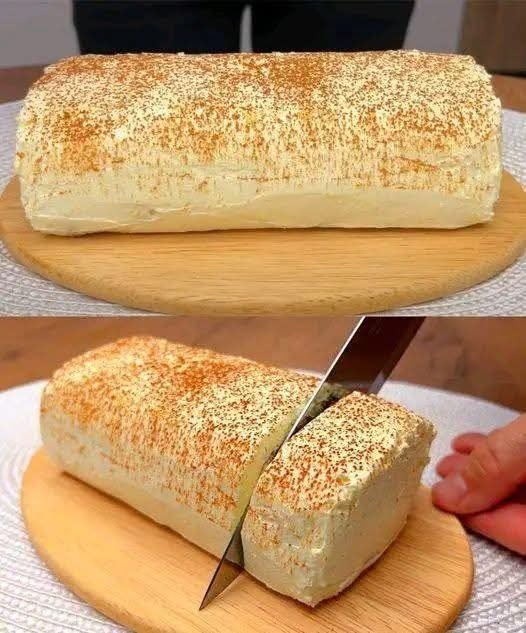
The 2-Ingredient Silk Pudding
Creamy, sweet, and perfectly smooth.
Ingredients
-
1 can (approx. 400g) Sweetened Condensed Milk
-
1 ½ cups (approx. 350g) Plain Greek Yogurt (or Natural Unsweetened Yogurt)
-
Optional: Chocolate sprinkles or a dusting of cocoa powder for the top.
Instructions
-
Combine: In a medium mixing bowl, pour in the entire can of sweetened condensed milk. Add the Greek yogurt.
-
Blend until Smooth: Use a whisk or a hand mixer to blend the two ingredients together. Mix for about 1–2 minutes until the texture is completely uniform and has a beautiful glossy sheen.
-
The “Cook” (Microwave or Oven): * Microwave Method: Pour the mixture into a microwave-safe glass dish. Heat on high for 2 minutes, stir gently, and heat for another 2 minutes. The mixture should thicken significantly.
-
Oven Method: Pour into a baking dish and bake at 160°C (320°F) in a water bath (place the dish inside a larger pan filled with hot water) for about 30 minutes until set.
-
-
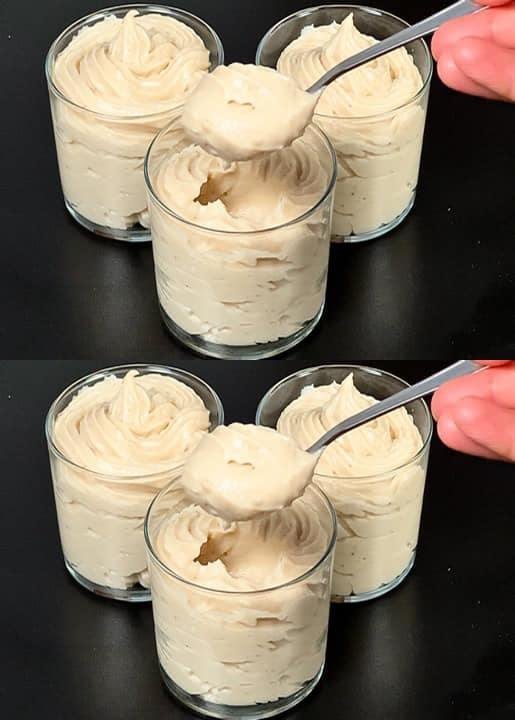
Add Toppings: While the mixture is still warm but not hot, smooth the top with a spatula and add your chocolate sprinkles or garnish.
-
Chill to Set: This is the most important part! Let the dish cool to room temperature, then cover and refrigerate for at least 3–4 hours (overnight is even better). This allows the proteins to bond and creates that firm, spoonable texture.
-
Serve: Scoop directly from the dish or slice if you used the oven method for a firmer set.
Why This Works
The acidity in the yogurt reacts with the proteins in the condensed milk, and the application of gentle heat helps it “set” into a custard without the need for eggs or gelatin. It’s a wonderful kitchen hack for a last-minute dessert!