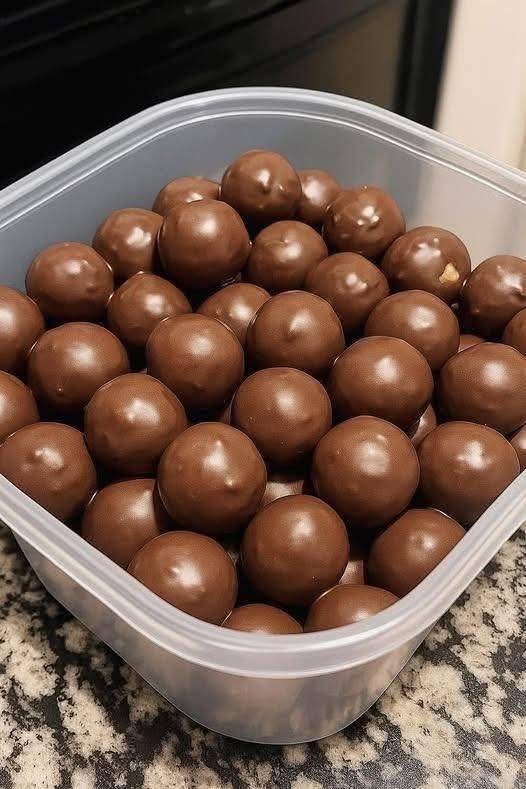
No-Bake High-Protein Chocolate Peanut Butter Balls — Easy, Sweet, and Satisfying
- Servings: 12 balls
- Total Time: 15 minutes
- Difficulty: Very Easy
- Calories per Ball: ~120 kcal
- Macros (Per Ball): 6g Protein / 5g Net Carbs / 8g Fat / 2g Fiber
Introduction
Butter Balls are the perfect solution. Creamy peanut butter, rich cocoa, and protein powder come together in bite-sized treats that satisfy your sweet tooth and fuel your body.
Perfect for Keto, Slimming , Weight Watchers, High-Protein, and Mediterranean-inspired diets, these chocolate peanut butter balls are low-carb, nutrient-dense, and incredibly easy to make. Whether it’s a post-workout snack, a grab-and-go treat, or a healthy dessert, these balls deliver flavor, protein, and convenience in every bite.
Look at the Recipe
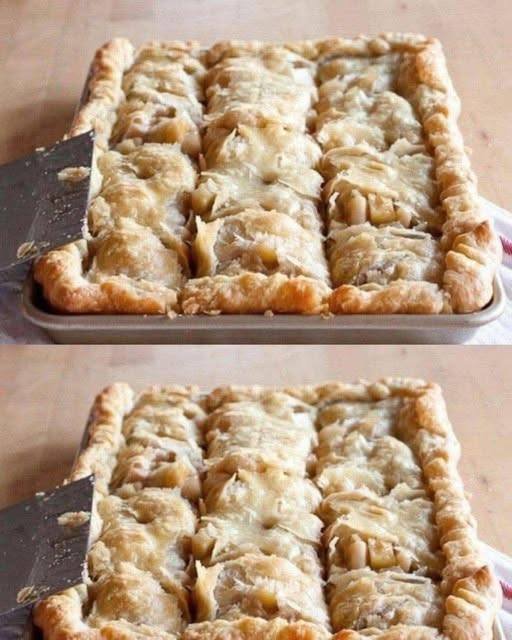
- Texture & Visual: Smooth, chocolatey, and slightly firm with a soft peanut butter center.
- Flavor Highlight: Nutty, rich, and naturally sweet — chocolate and peanut butter in perfect harmony.
- Diet Benefit: High in protein, low in refined sugar, and made with wholesome ingredients.
Ingredients Needed
- ½ cup natural peanut butter (or almond butter for variation/Keto)
- ¼ cup protein powder (chocolate or vanilla)
- 2 tbsp unsweetened cocoa powder
- 2–3 tbsp sweetener of choice (erythritol, monk fruit, or honey for Mediterranean version)
- 1 tsp vanilla extract
- Optional: pinch of salt, chopped nuts, or sugar-free chocolate chips for topping
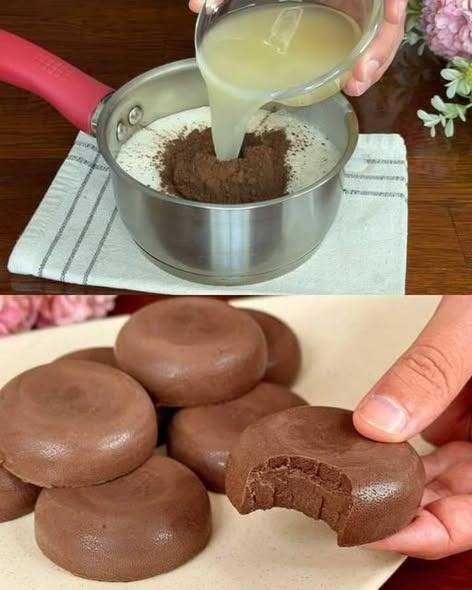
How to Make Our No-Bake High Protein Chocolate Peanut Butter Balls
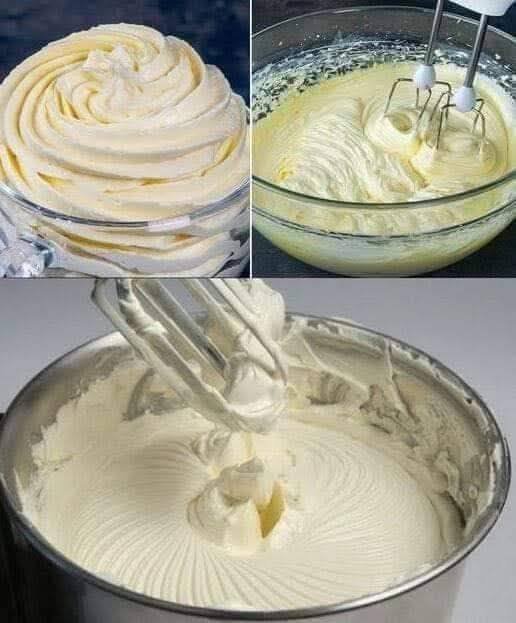
- Mix the ingredients:
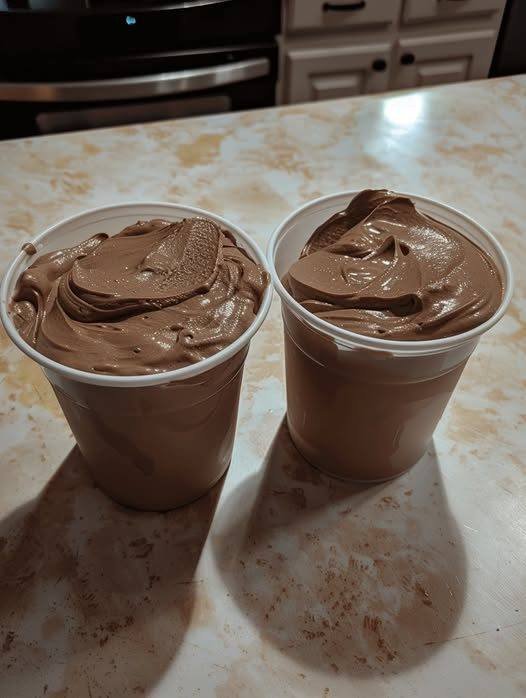
In a medium bowl, combine peanut butter, protein powder, cocoa powder, sweetener, and vanilla. Stir until a thick, sticky dough forms. - Shape the balls:
Using your hands or a small cookie scoop, roll the mixture into 12 equal-sized balls. - Optional toppings:
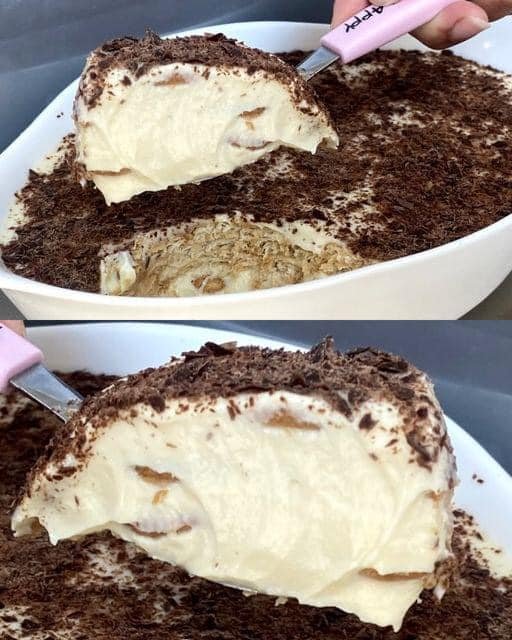
Roll balls in cocoa powder, crushed nuts, or sprinkle with sugar-free chocolate chips for extra flavor and texture. - Chill to set:
Place the balls on a parchment-lined tray and refrigerate for at least 15 minutes to firm up. - Serve & enjoy:
Store in an airtight container in the fridge and grab one whenever you need a quick protein boost.
Storage & Serving Suggestions
- Store: Refrigerate for up to 1 week.
- Freeze: Freeze for up to 2 months; thaw in fridge for 10–15 minutes before eating.
- Serving Ideas:
- Pair with a protein shake for a post-workout combo.
- Pack in lunchboxes for a portable snack.
- Serve alongside fresh berries or Greek yogurt for a mini dessert platter.
Tips & FAQs
1. Can I make these Slimming -friendly?
Yes — use low-calorie peanut butter and a syn-free sweetener. Each ball is roughly 1–2 syns, depending on ingredients.
2. How many Weight Watchers points per ball?
Approximately 2–3 WW points, depending on sweetener and nut butter choice.
3. Can I make them Keto-friendly?
Use natural almond or peanut butter and a low-carb sweetener like erythritol.
4. Can I make these nut-free?
Yes — substitute peanut butter with sunflower seed butter or soy nut butter.
5. Can I add extra protein?
Absolutely — increase protein powder or fold in collagen peptides for an extra boost.


 Introduction
 Ingredients
 Instructions
 Serving Suggestions
 Storage
 Nutrition (Per Serving – Approximate)