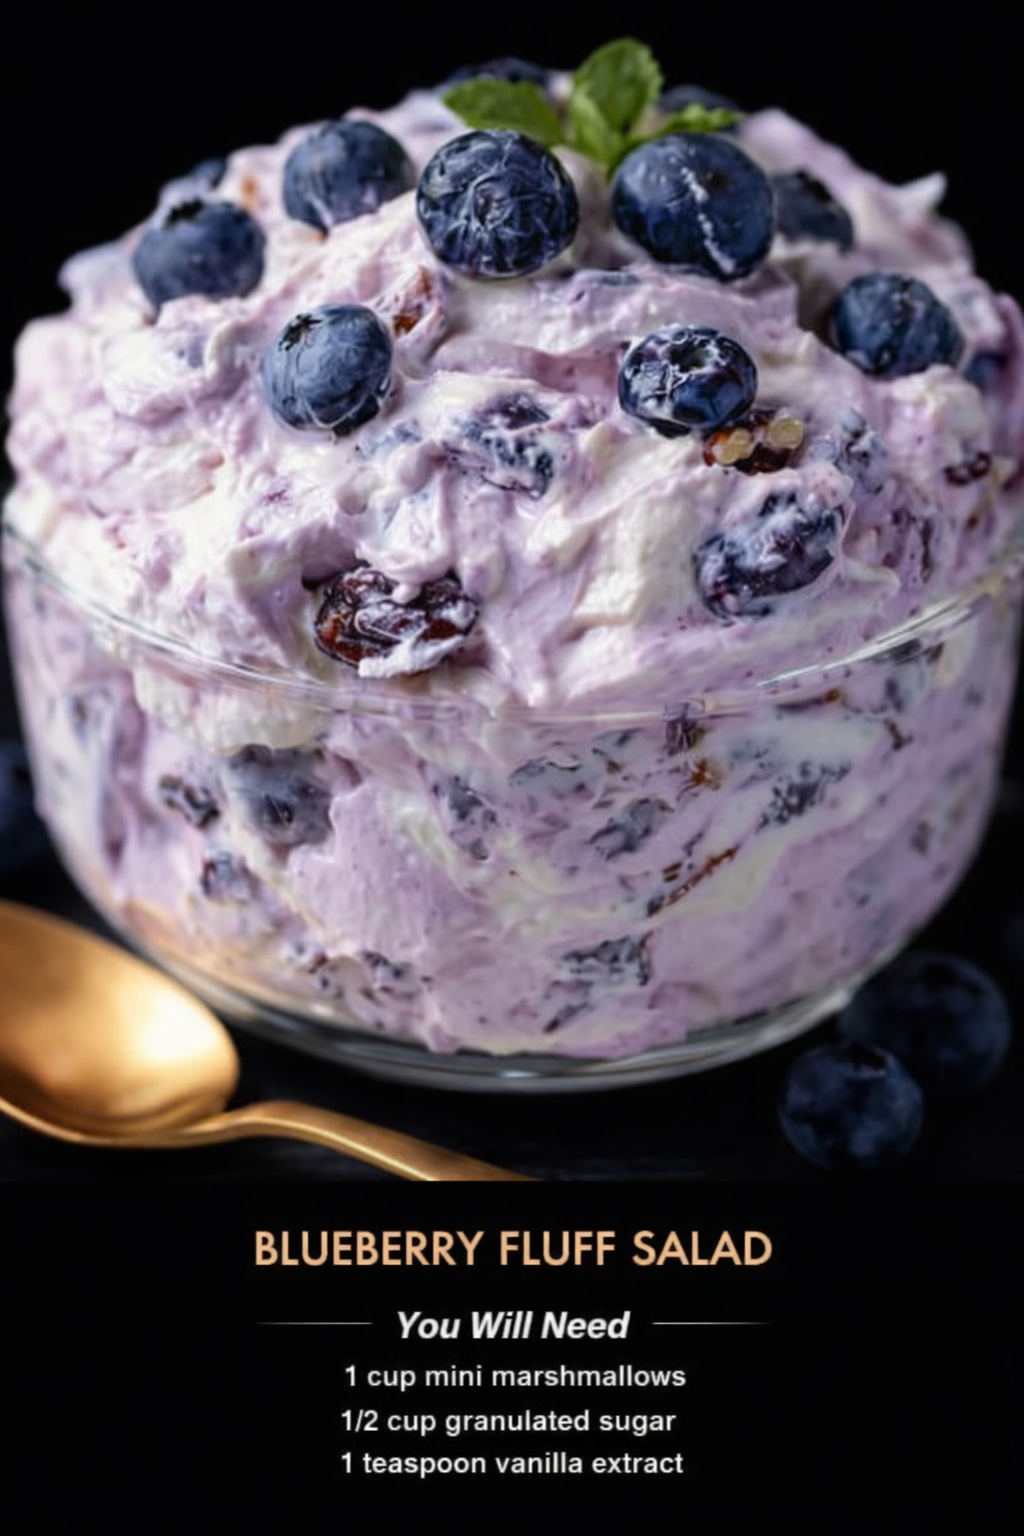
Low-Carb “No-Bake” Coconut Cream Pie
Prep time: 5–10 minutes (plus chilling) | Servings: 8 slices
Ingredients
For the Crust:
-
1 ½ cups Almond flour (a great low-carb alternative to graham crackers)
-
¼ cup Butter, melted
-
2 tbsp Granulated monk fruit or erythritol sweetener
-
Optional: A pinch of cinnamon
For the Filling:
-
8 oz Cream cheese, softened (low-fat or regular)
-
1 cup Heavy whipping cream (chilled)
-
½ cup Powdered monk fruit or erythritol sweetener
-
1 tsp Coconut extract (or vanilla extract)
-
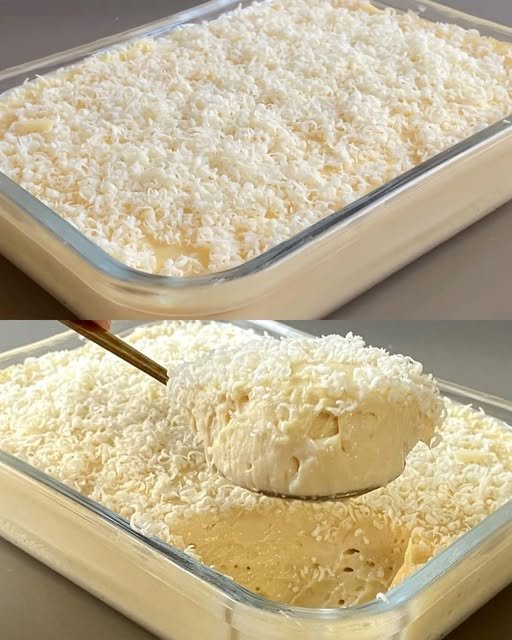
½ cup Unsweetened shredded coconut
-
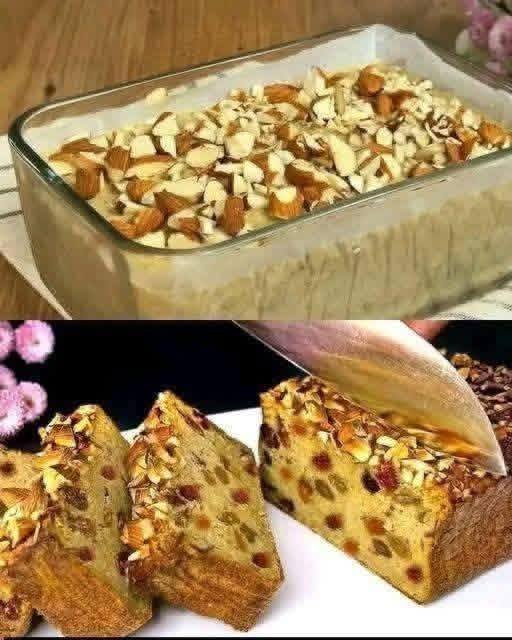
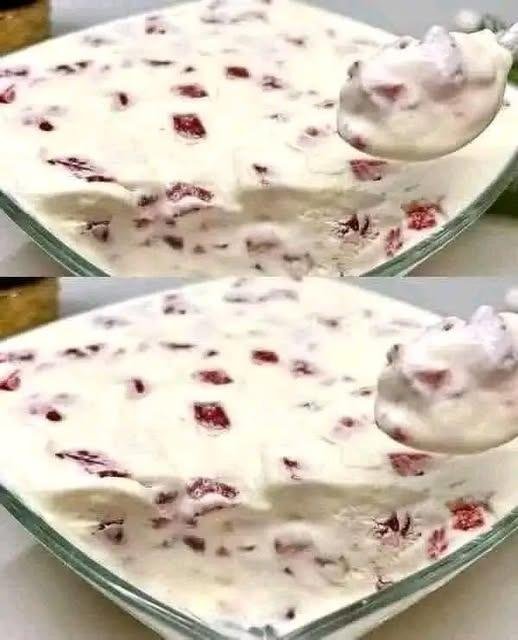
½ cup Fresh raspberries or sliced strawberries (for the “red” bits seen in your photo)
For the Topping:
-
¼ cup Toasted unsweetened coconut flakes
-
Extra whipped cream (sugar-free)
Instructions
-
Prepare the Base: In a medium bowl, mix the almond flour, melted butter, and sweetener until it looks like wet sand. Press this firmly into the bottom and sides of a 9-inch pie dish. (Tip: If you prefer a sturdier crust, you can bake this at 350°F for 8 minutes, but for a true “no-bake” version, just chill it in the freezer while you make the filling).
-
Whip the Cream: In a chilled bowl, beat the heavy whipping cream until stiff peaks form. Set this aside.
-
Cream the Filling: In a separate large bowl, beat the softened cream cheese, powdered sweetener, and extract until smooth and fluffy.
-
Fold it Together: Gently fold the whipped cream into the cream cheese mixture. Once combined, fold in the shredded coconut and the fresh berries.
-
Assemble: Pour the filling into your prepared crust and smooth the top with a spatula.
-
Garnish and Chill: Sprinkle the toasted coconut flakes over the top. Let the pie set in the refrigerator for at least 2–4 hours (or 1 hour in the freezer if you’re in a hurry) to get that “melt-in-your-mouth” consistency.
Helpful Tips
-
Consistency: Make sure your cream cheese is truly at room temperature before mixing, or you’ll end up with tiny lumps.
-
Toasting Coconut: To get that golden look from the photo, toss unsweetened coconut flakes in a dry pan over medium heat for 2–3 minutes until fragrant and brown.
-
Sweetener Note: I recommend powdered sweetener for the filling so it isn’t “gritty.” If you only have granulated, you can pulse it in a blender for a few seconds first.
 Pro-Tips for Success