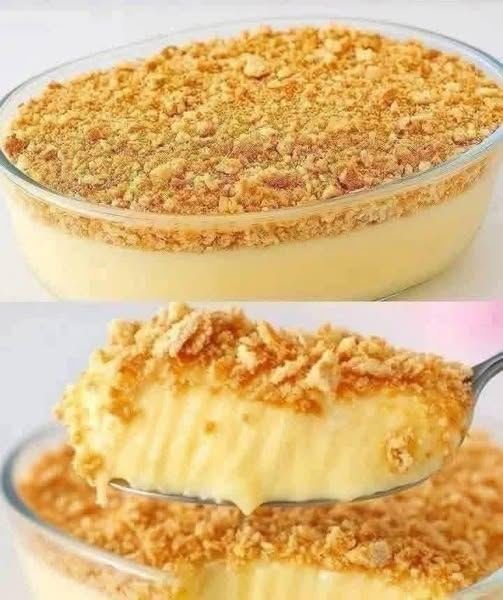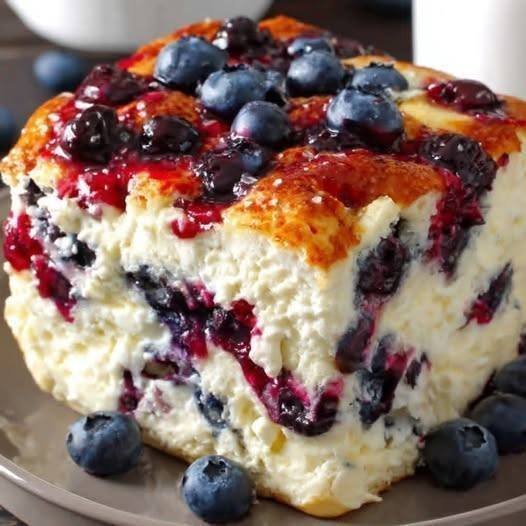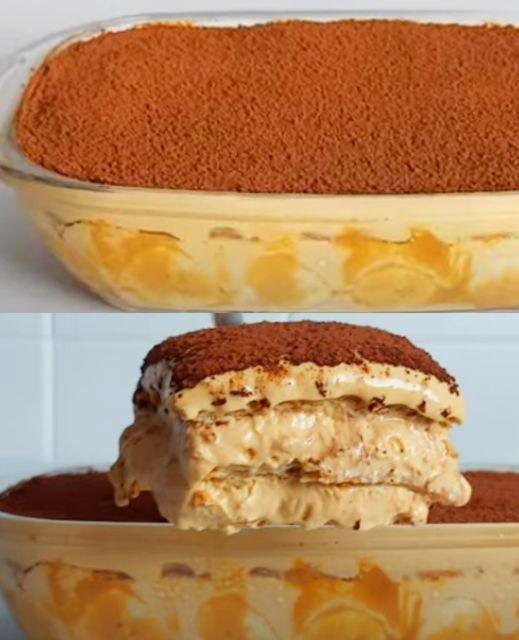
Layered Banoffee Dream
Ingredients
-
For the Base: 250g digestive biscuits (crushed) and 100g unsalted butter (melted).
-
The Caramel: 1 can (397g) Dulce de Leche or condensed milk boiled into toffee.
-
The Fruit: 3–4 large ripe bananas, sliced into rounds.
-
The Topping: 400ml heavy whipping cream, 2 tablespoons powdered sugar, and 1 teaspoon vanilla extract.
-
Garnish: 1 tablespoon cocoa powder (for dusting) or grated dark chocolate.
Step-by-Step Instructions
-
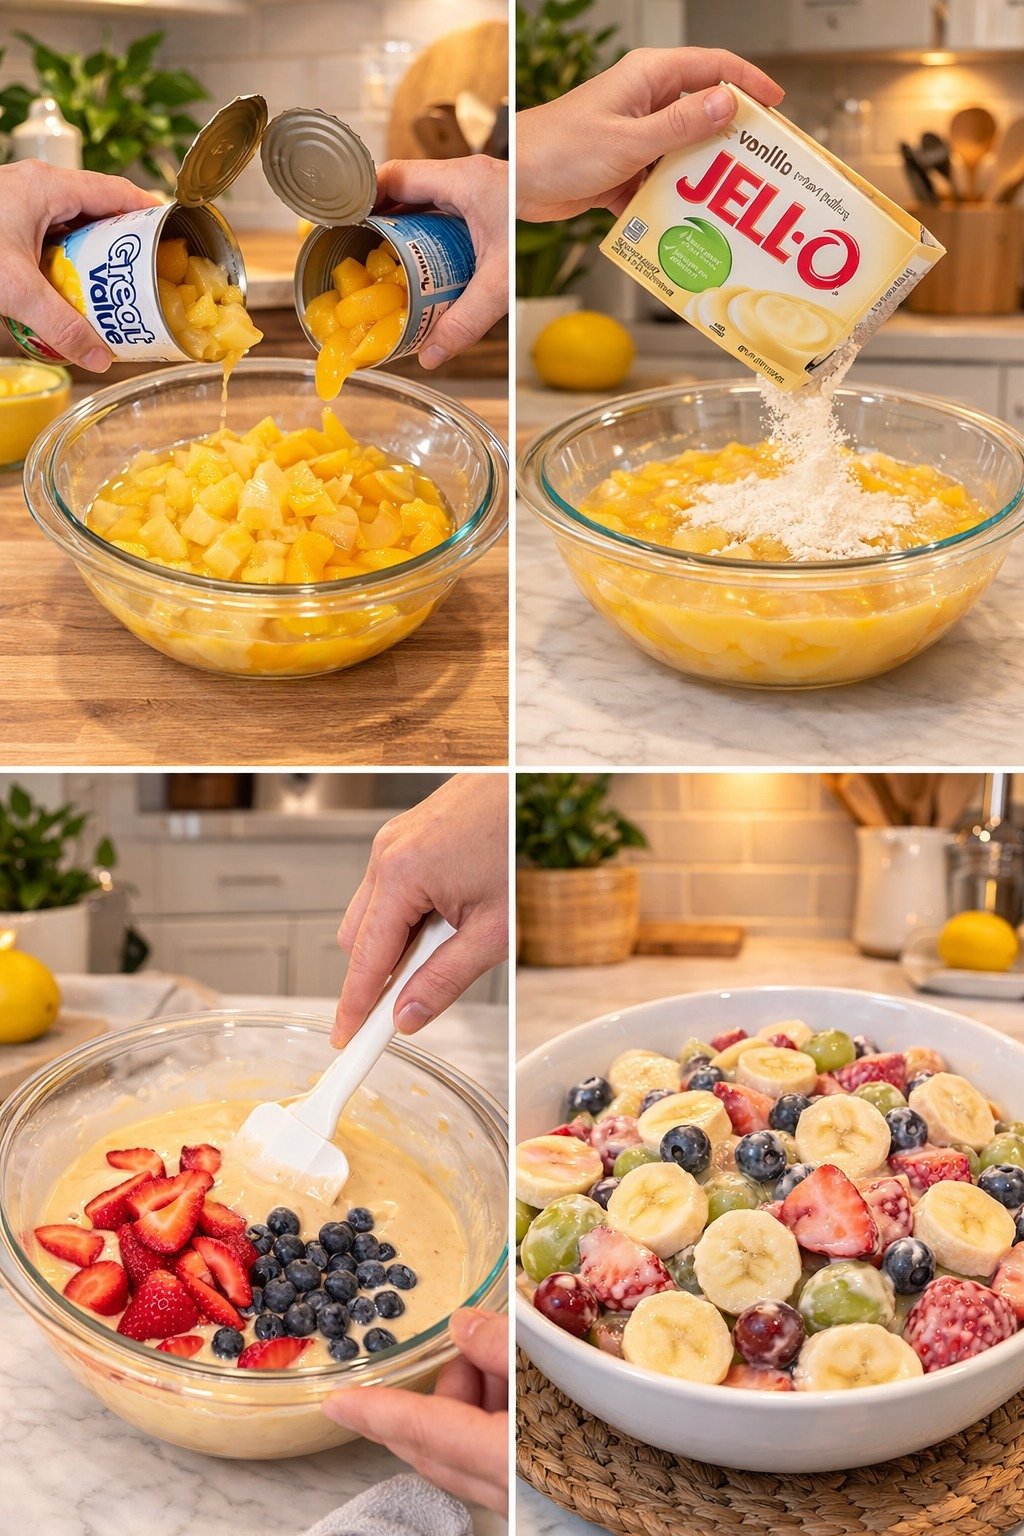
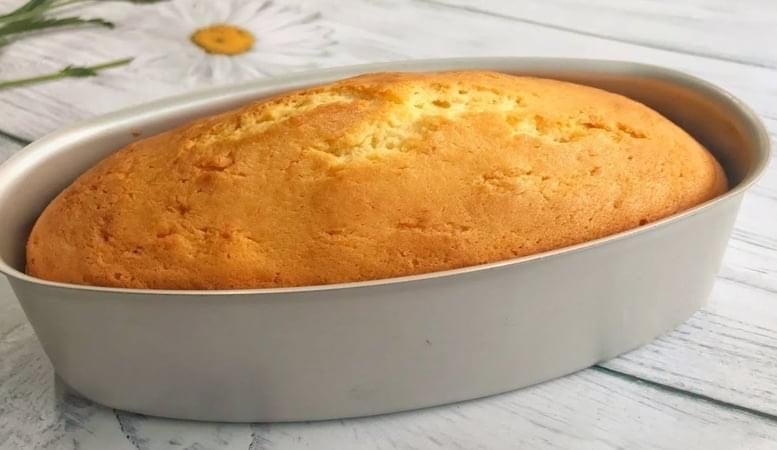
Prepare the Crust: Mix the crushed biscuits with the melted butter until it resembles wet sand. Press the mixture firmly into the bottom of a rectangular or oval glass dish. Chill in the fridge for 20 minutes to set.
-
Add the Caramel: Spread the Dulce de Leche evenly over the chilled biscuit base. If the caramel is too thick, warm it slightly to make it spreadable.
-
Layer the Bananas: Arrange the sliced bananas in a dense layer over the caramel. For the best flavor, ensure the slices cover the entire surface.
-
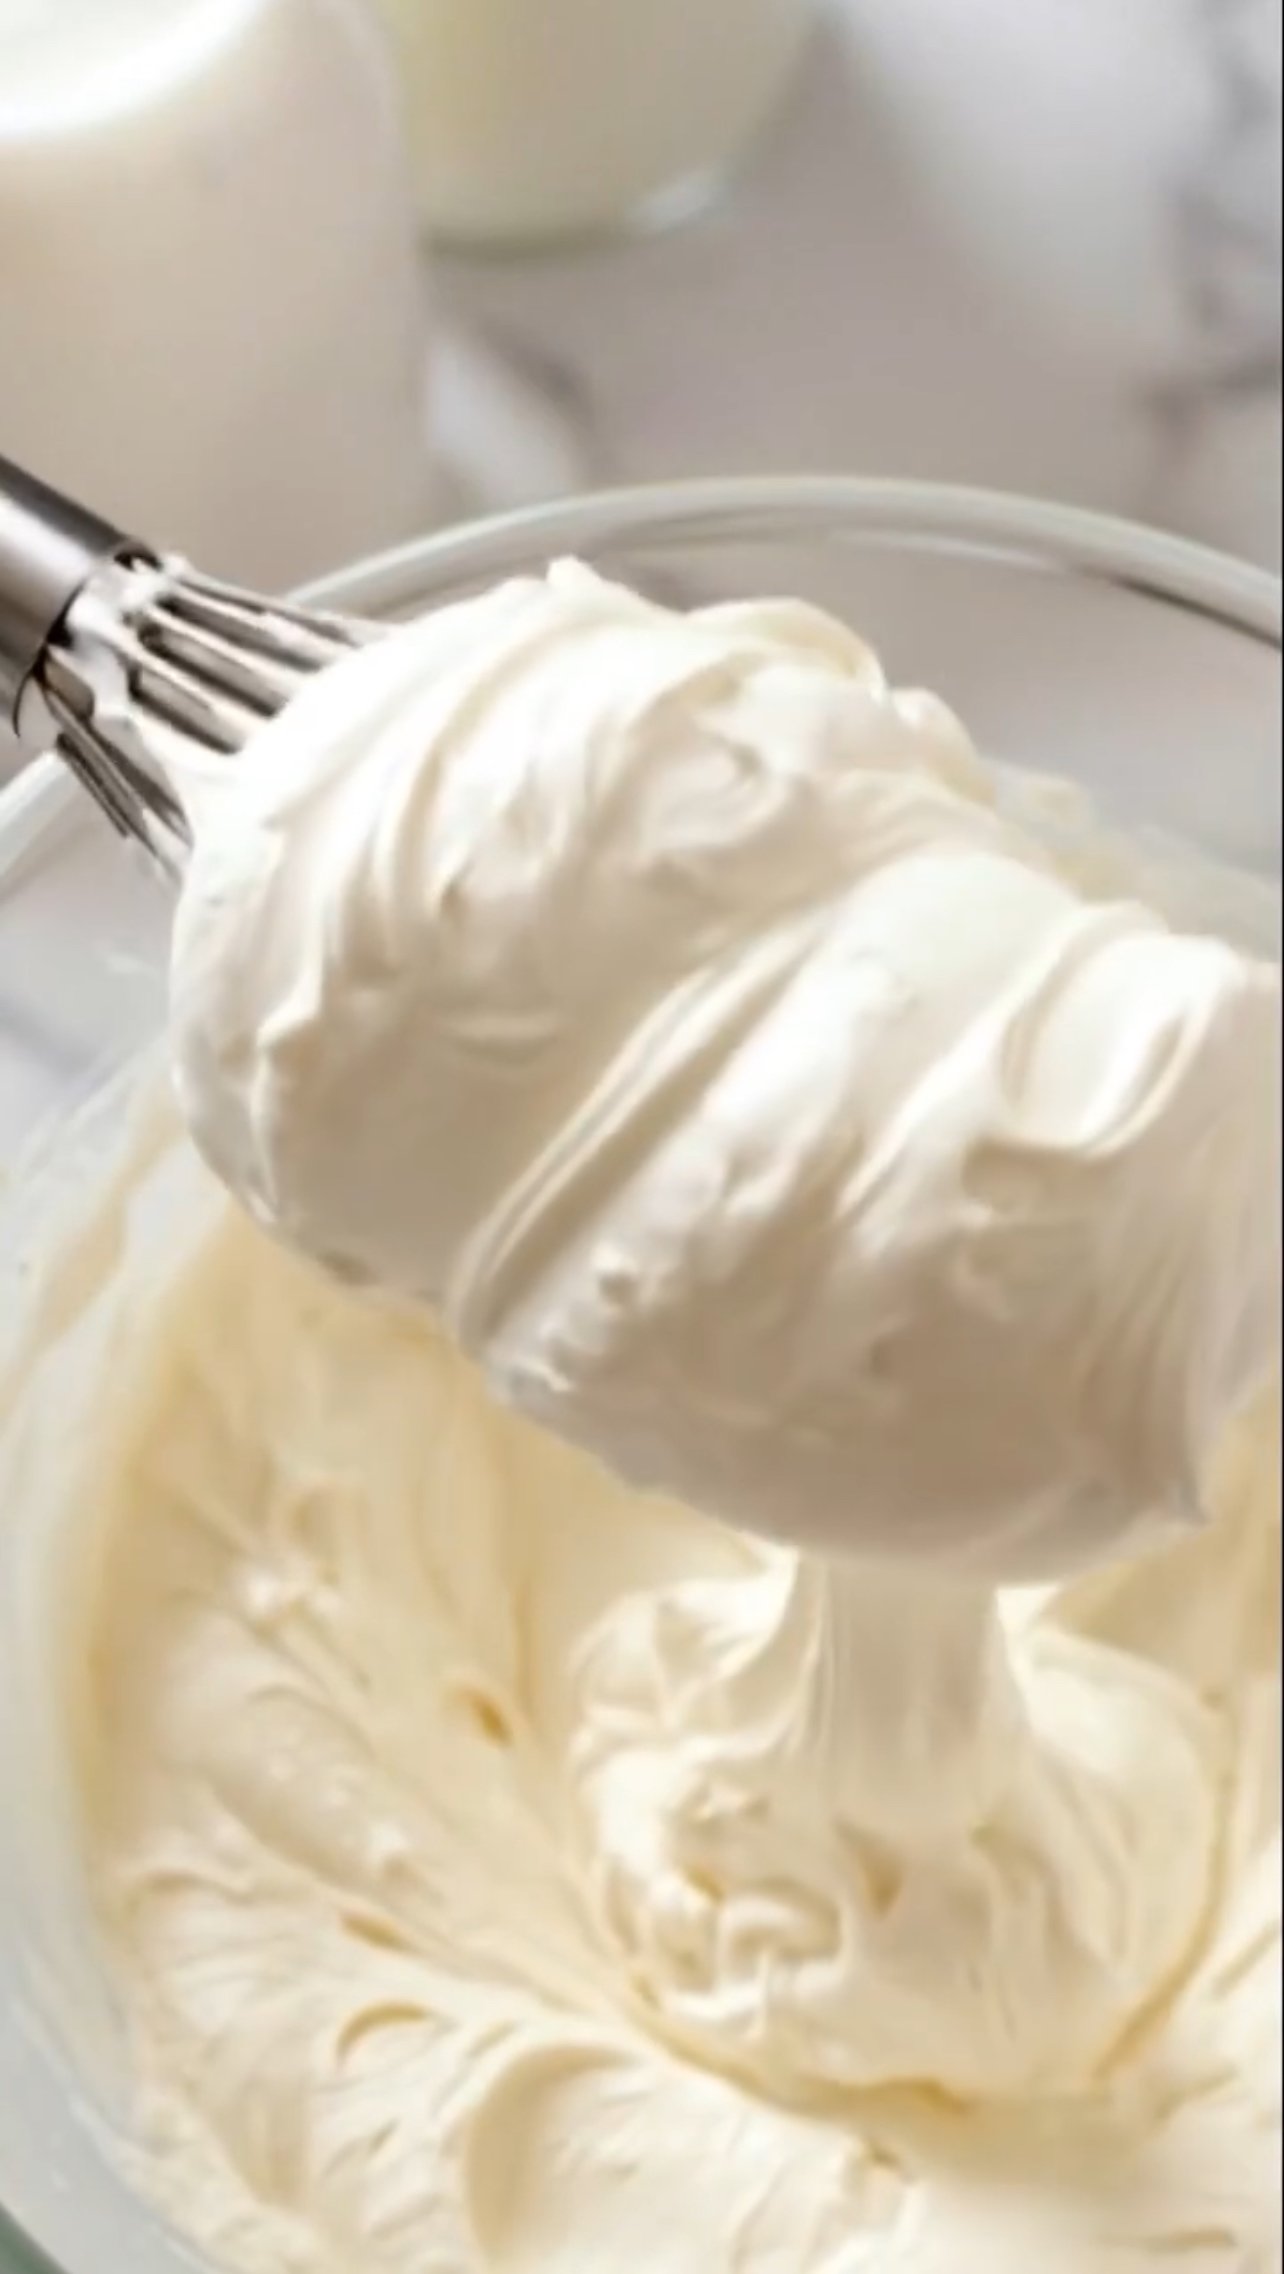
Whip the Cream: In a large bowl, whip the heavy cream, powdered sugar, and vanilla extract until stiff peaks form. Be careful not to over-whip.
-
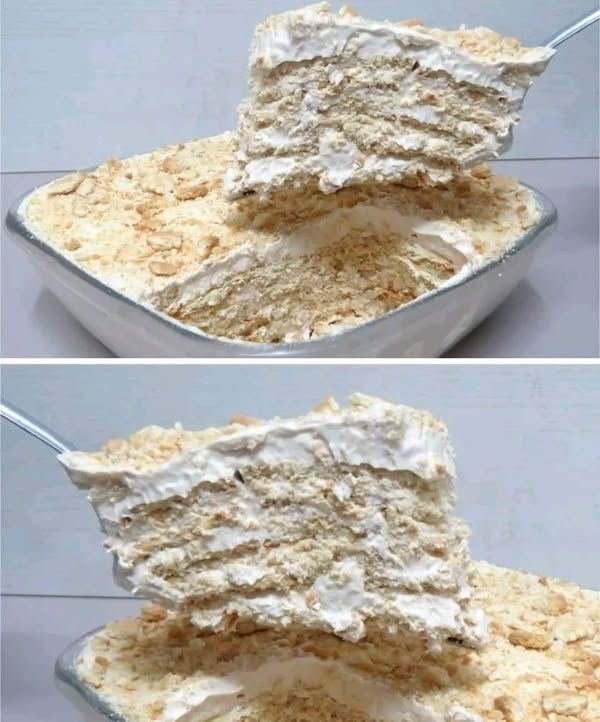
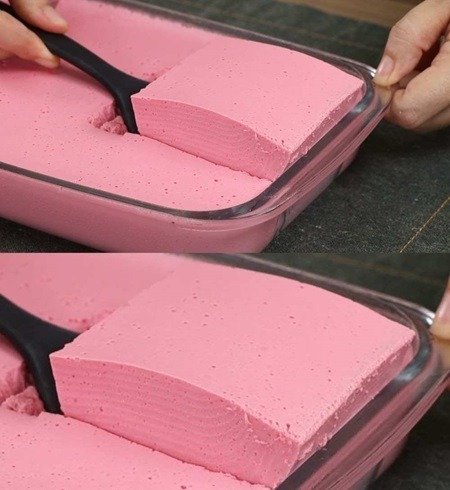
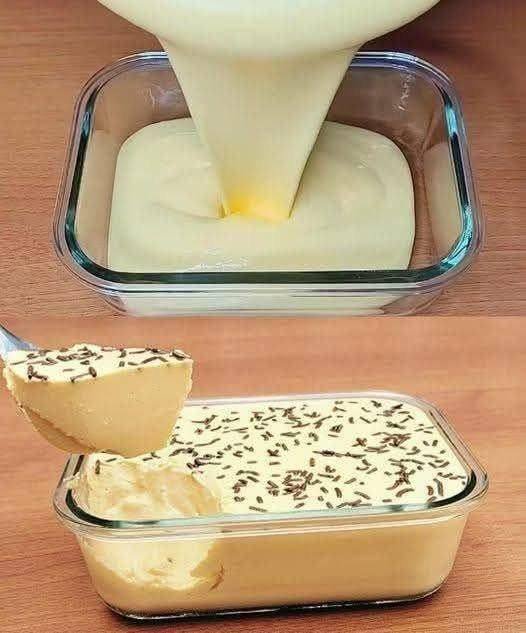
Assemble: Spread the whipped cream over the banana layer. Use a spatula to create a smooth surface or decorative peaks.
-
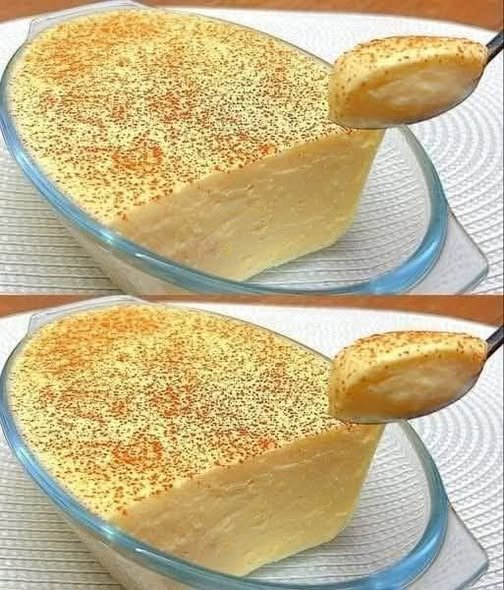
The Finishing Touch: Use a fine-mesh sieve to dust the top generously with cocoa powder, just like in the photo.
-
Chill: Let the dessert set in the refrigerator for at least 1–2 hours before serving to ensure clean slices.
Recipe Q&A: Banoffee Pie
Q: How do I prevent the bananas from turning brown? A: If you aren’t serving the pie immediately, toss the banana slices in a little lemon or lime juice before layering them. The acidity helps slow down the oxidation process.
Q: Can I use homemade caramel instead of store-bought? A: Absolutely. You can make a traditional toffee by simmering butter and brown sugar with condensed milk until thickened and golden. Just ensure it cools completely before adding it to the dish.
Q: Is there a way to make the whipped cream more stable? A: To keep the cream from sagging if the dish will be out for a while, you can add a tablespoon of instant vanilla pudding mix or a “cream stiffener” powder while whipping.
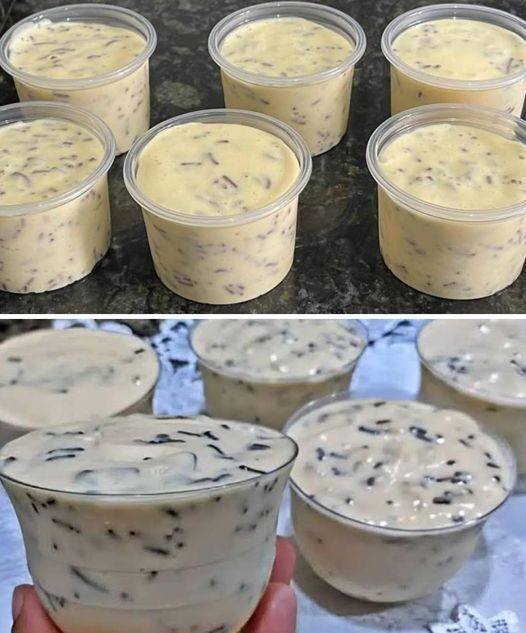
Q: Can this recipe be made in individual servings? A: Yes! This looks beautiful when layered in small glass jars or verrines for individual portions at a party.

 Serve With: