No-Bake Chocolate Peanut Butter Balls
📝
Ingredients (Only 3!)
- 1 cup peanut butter (smooth works best)
- 2 cups crushed biscuits (like digestive or graham crackers)
- 1½ cups melted chocolate (milk or dark)
👩🍳
Step-by-Step Method
Step 1: Crush the biscuits
- Take biscuits and crush them into fine crumbs using a blender or rolling pin.
Step 2: Make the mixture
- In a bowl, add:
- Peanut butter
- Crushed biscuits
- Mix well until it becomes a soft dough-like texture.
👉 If too dry, add 1–2 tbsp milk.
👉 If too sticky, add a little more biscuit crumbs.
Step 3: Shape the balls
- Take small portions and roll into bite-sized balls.
- Place them on a tray lined with butter paper.
Step 4: Chill
- Put the balls in the fridge for 20–30 minutes to firm up.
Step 5: Coat with chocolate
- Melt chocolate (microwave or double boiler).
- Dip each ball into melted chocolate and coat fully.
Step 6: Set
- Place back on tray and refrigerate for 15–20 minutes until chocolate hardens.
😋
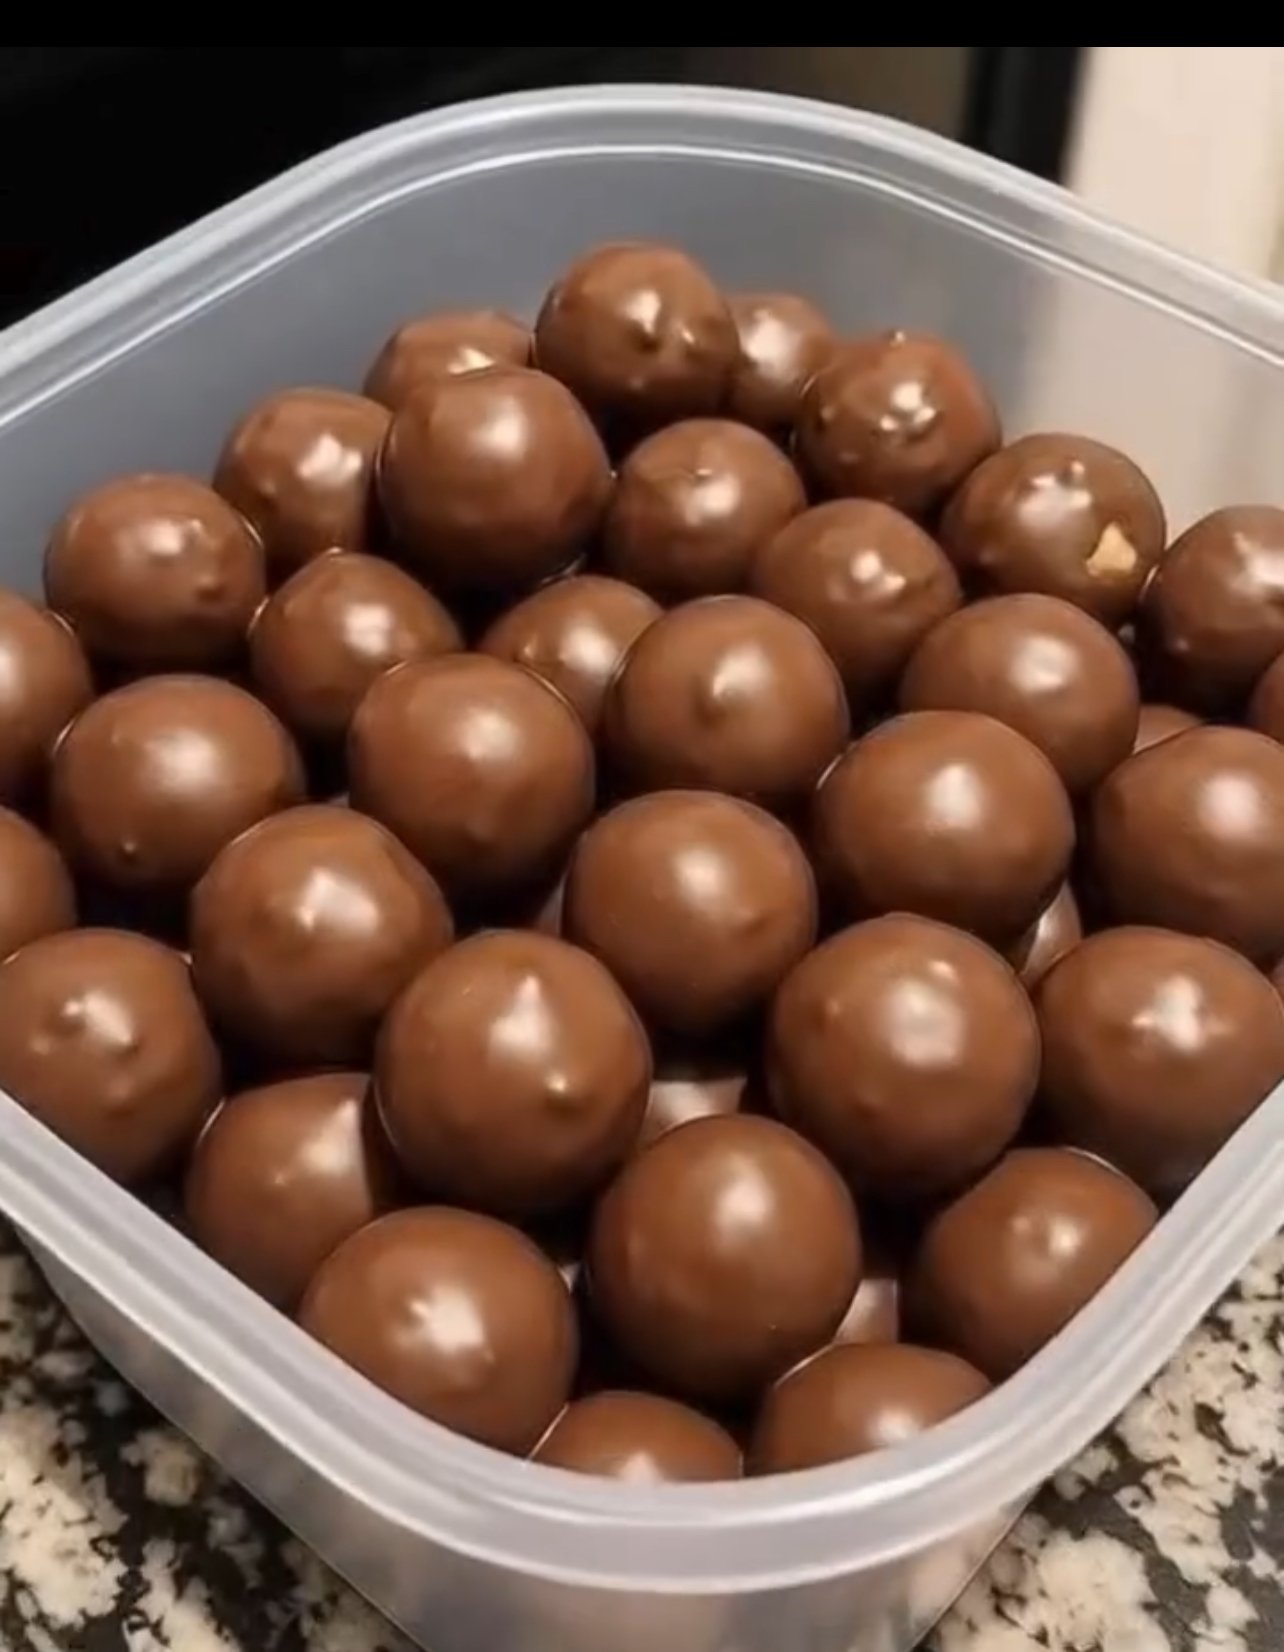
Ready to Enjoy!
Soft inside, chocolaty outside — super addictive!
❓
Q/A – Common Questions
❓ 1. Can I use any biscuits?
✔ Yes! Digestive, Marie, or graham crackers all work well.
❓ 2. What if I don’t have peanut butter?
✔ You can use Nutella or any nut butter (like almond butter).
❓ 3. How long can I store them?
✔ Store in fridge for 5–7 days in an airtight container.
❓ 4. Can I skip chocolate coating?
✔ Yes, but coating makes them extra delicious and rich.
❓ 5. Why are my balls breaking?
✔ Mixture is too dry — add a little milk or more peanut butter.
❓ 6. Can I freeze them?
✔ Yes! Freeze up to 1 month and thaw before eating.

 Supports hydration
 Does NOT detox organs


 Description
 Ingredients
 Instructions
 Serving Suggestions
 Tips
Tips