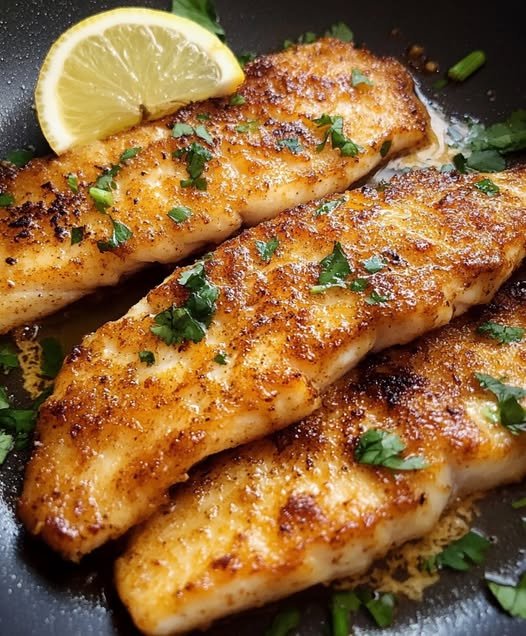
🐟 Crispy Pan Fried Fish (Ready in 5 Minutes)
Quick, budget-friendly, and perfectly crispy on the outside with flaky, juicy fish inside. This method works great for both fresh and frozen fillets.
⭐ Why You’ll Love It
-
Ready in under 10 minutes
-
Uses simple pantry ingredients
-
No deep frying needed
-
Golden, crispy crust every time
-
Delicious with just lemon or any sauce you like
🛒 Ingredients (Serves 2)
-
2 thin fish fillets (5–6 oz each) – tilapia, cod, or haddock
-
Salt & black pepper (to taste)
-
¼ cup all-purpose flour (or rice flour)
-
1 tsp paprika (optional)
-
2–3 tbsp vegetable, canola, or peanut oil
-
Lemon wedges (for serving)
-
Chopped parsley or dill (optional garnish)
🍳 Instructions
-
Dry the fish:
Pat fillets completely dry using paper towels. -
Season:
Sprinkle both sides with salt, pepper, and paprika if using. -
Coat with flour:
Dredge fish in flour, pressing lightly. Shake off excess. -
Heat the pan:
Heat a heavy skillet on medium-high until hot. Add oil to lightly coat the bottom. -
Cook:
Place fish in pan without overcrowding.
Cook 2–3 minutes without moving until golden and crispy. -
Flip:
Gently turn and cook another 2 minutes until fully cooked and flaky. -
Serve:
Remove from pan and serve hot with lemon wedges and herbs.
✅ Pro Tips
-
Always heat pan before adding oil
-
Do not move fish too soon — it will release naturally
-
Thicker fillets need 1–2 extra minutes per side
-
Fish is done when it flakes easily with a fork
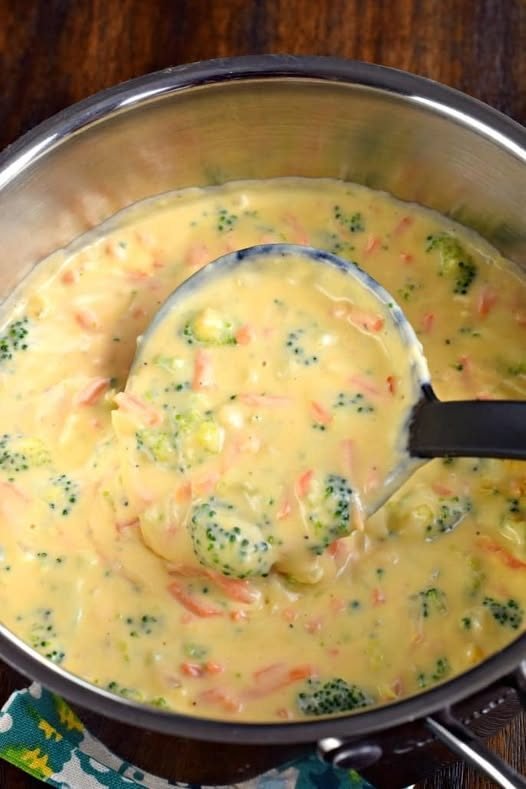
🥣 Sauce Ideas (Optional)
-
Lemon butter sauce
-
Garlic mayo
-
Creamy dill sauce
-
Tartar sauce
-
White wine butter sauce
🕒 Make-Ahead Tip
You can coat the fish in flour and store in the fridge up to 24 hours before frying.
This crispy pan-fried fish pairs perfectly with:
✔ Rice
✔ Salad
✔ Roasted vegetables
✔ Mashed potatoes


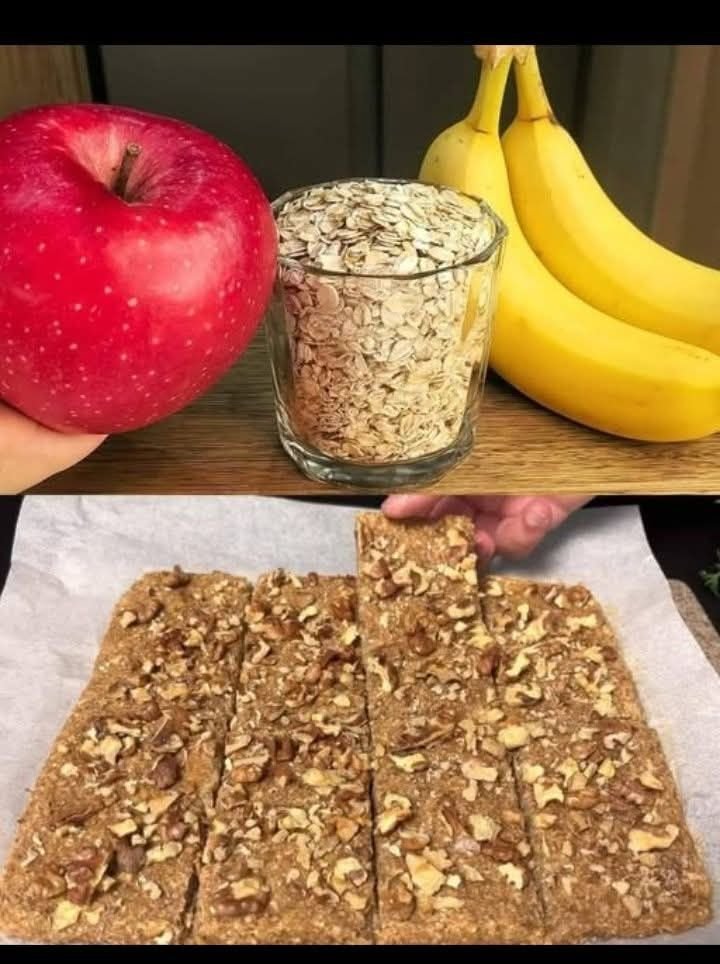
 May help manage blood sugar


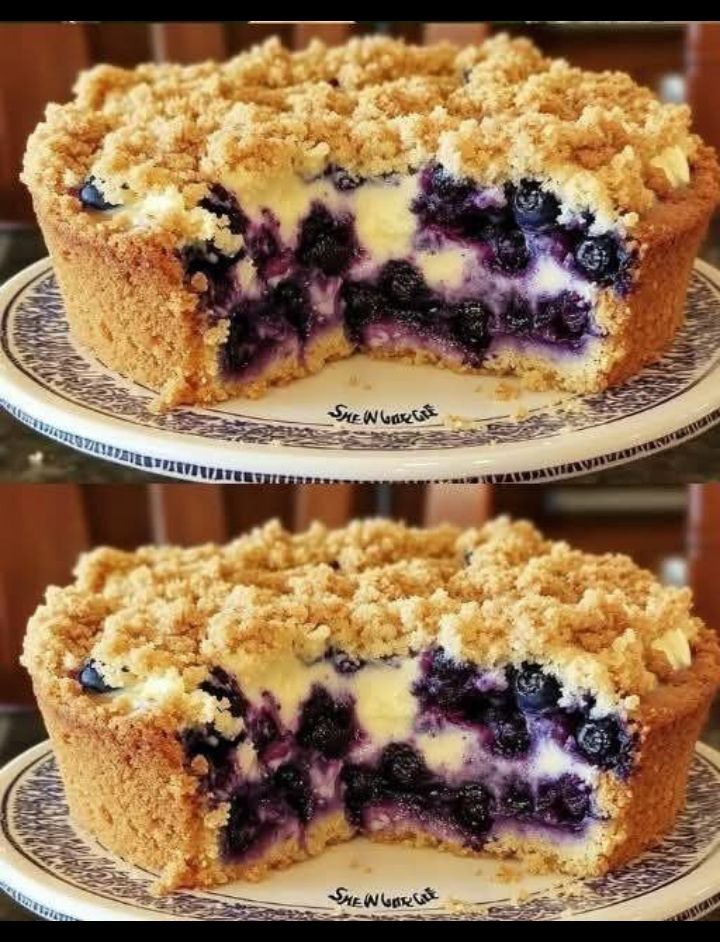
 No-Beat German Apple Pie