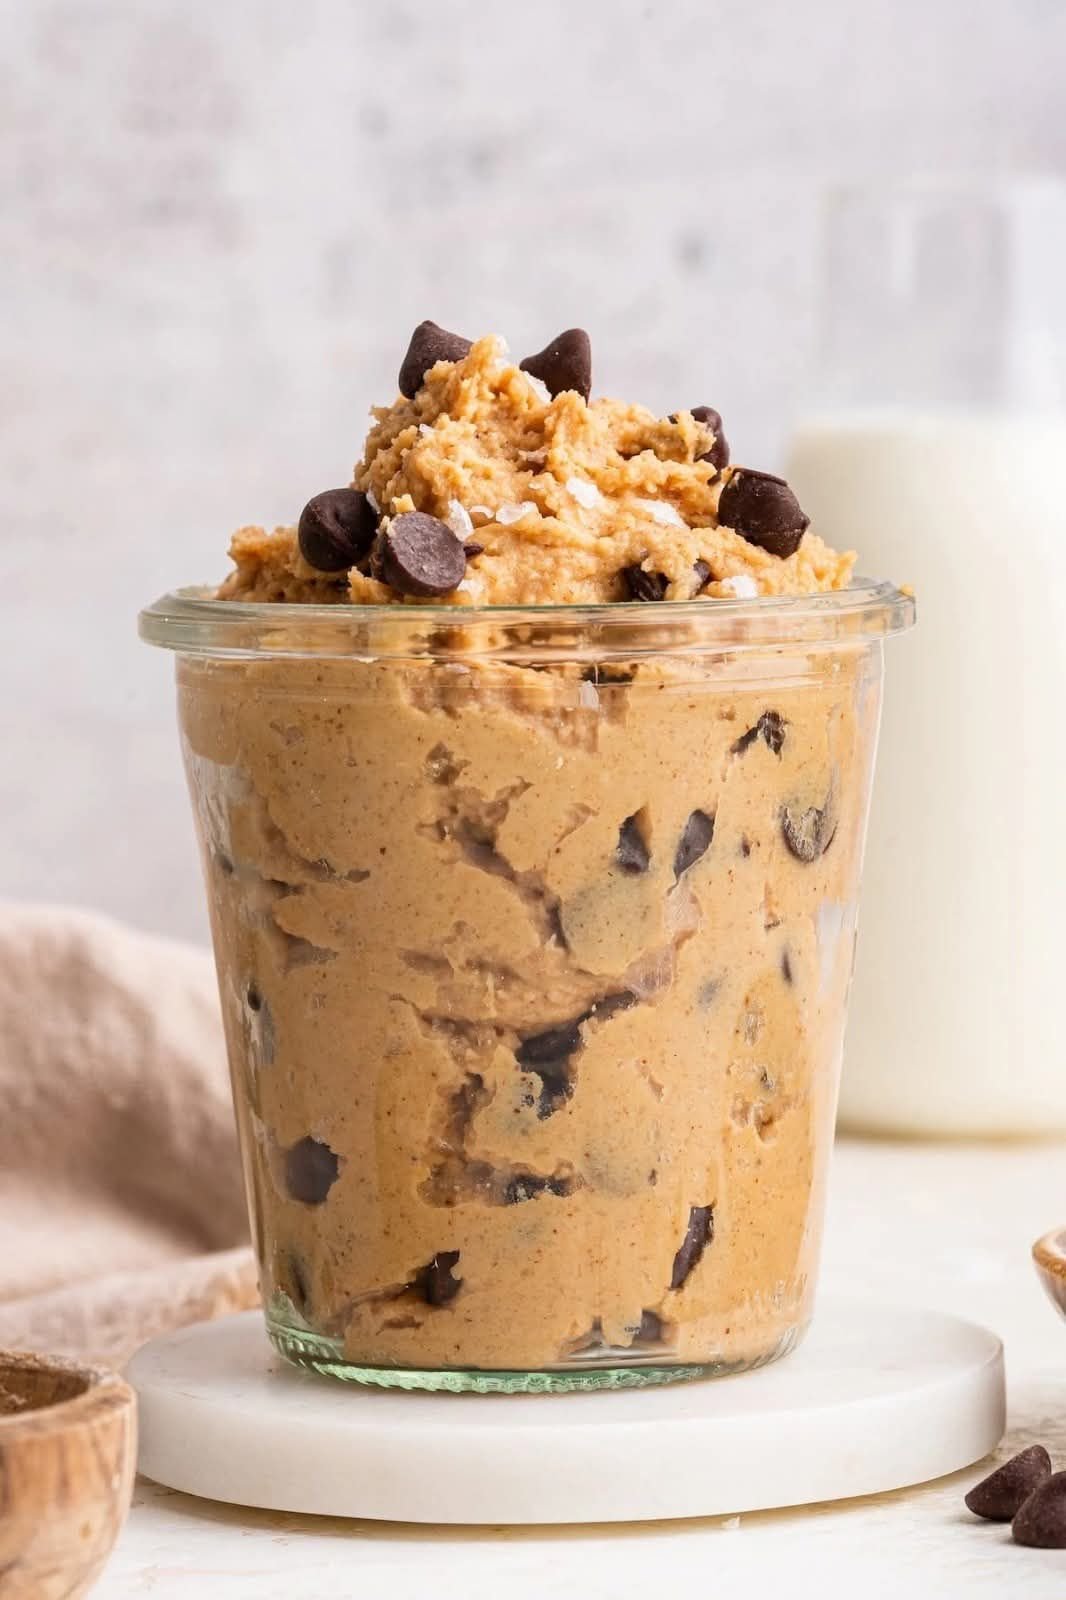
A creamy, rich, dessert-style dip that tastes just like classic cookie dough — without the sugar.
Recipe Card
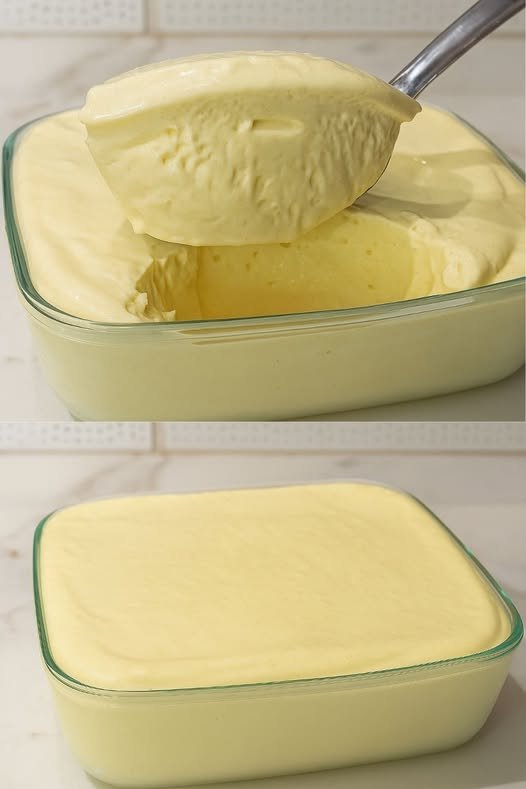
Sugar-Free Chocolate Chip Cookie Dough Dip
A silky, indulgent cookie-dough–style dip made with cream cheese, tahini (or nut butter), and sugar-free chocolate chips. No baking required and ready in minutes.
Servings: 16 (2 tbsp each)
Prep Time: 10 minutes
Total Time: 10 minutes
Yield: ~2 cups
Dietary: Sugar-Free • Low-Carb
Ingredients
8 oz cream cheese, room temperature
1 tsp vanilla extract
1 tsp vanilla liquid stevia (or preferred sweetener)
1/4 cup almond butter (or cashew butter, peanut butter)
1/2 tsp salt
1/2 cup butter, softened (or coconut oil for dairy-free)
1/2 cup sugar-free chocolate chips
Instructions
Blend the Base
Add room-temperature cream cheese to a stand mixer or mixing bowl. Beat until smooth.
Add Flavor
Mix in vanilla extract and liquid stevia. Blend until creamy.
Incorporate almond butter
Add almond butter and salt. Mix well until fully combined. Scrape down the sides as needed.
Add Butter
Beat in softened butter (or coconut oil) until the mixture becomes silky and fluffy.
Adjust the Sweetness
Taste and add a few extra drops of stevia if you prefer a sweeter dip.
Fold in Chocolate Chips
Stir in the sugar-free chocolate chips gently.
Chill & Serve
Transfer to an airtight container and refrigerate for at least 30 minutes for best texture.
Quick Notes
Keep refrigerated for up to 5 days.
For a firmer, scoopable dip, chill longer.
For a lighter texture, whip the butter before adding.
Brief Introduction
This Sugar-Free Chocolate Chip Cookie Dough Dip delivers the nostalgic flavor of classic raw cookie dough in a guilt-free, low-carb form. Made in just 10 minutes with simple ingredients, it’s the perfect high-satisfaction dessert dip for fruits, low-carb crackers, or straight from the spoon. Since it’s sugar-free and gluten-free, it fits easily into low-carb, diabetic-friendly, or keto lifestyles.
Step-by-Step Cooking Guide (With Detailed Notes)
1. Cream the Base
Beat cream cheese until smooth.
Tip: Cold cream cheese creates lumps. Room temperature works best.
2. Add Sweetness & Flavor
Blend in vanilla extract and stevia.
Tip: Stevia can vary in strength — start small and adjust.
3. Add Almond Butter
Mix in almond butter for richness and thickness.
4. Add the Butter
Blend until fluffy.
Troubleshooting:
If it separates, keep mixing — it will come together.
5. Fold in Chocolate Chips
Use a spatula to mix in sugar-free chocolate chips.
Tip: Mini chips mix more evenly than full-size ones.
6. Chill
Chill 30–60 minutes for best cookie-dough texture.
Ingredient Details & Substitutions
Cream Cheese
Provides structure and creaminess.
Sub: Dairy-free cream cheese works perfectly.
Sweetener
Vanilla liquid stevia keeps it smooth.
Sub options:
Monk fruit drops
2–3 tbsp powdered erythritol
1–2 tbsp allulose (adds softness)
Almond butter
Adds richness and slight nuttiness.
Sub options:
Cashew butter
Peanut butter
Sunflower seed butter (nut-free)
Butter / Coconut Oil
Butter gives a classic cookie-dough taste.
Use coconut oil for dairy-free or a firmer dip.
Sugar-Free Chocolate Chips
Use stevia or monk fruit sweetened chips.
Variations & Serving Suggestions
Flavor Variations
Peanut Butter Cookie Dough:
Replace tahini with peanut butter.
Double Chocolate:
Add 2 tbsp cocoa powder.
Brownie Batter Dip:
Add cocoa + crushed walnuts.
Birthday Cake Dip:
Add sugar-free sprinkles + 1/4 tsp almond extract.
Dietary Adaptations
Keto: Use allulose or monk fruit and coconut oil.
Dairy-Free: Use vegan cream cheese + coconut oil.
Nut-Free: Use tahini or sunflower seed butter.
How to Serve
Low-carb crackers
Apple slices
Strawberries
Celery sticks
On pancakes or low-carb waffles
As a dessert dip in party platters
Storage & Make-Ahead
Refrigeration
Store in an airtight container up to 5 days.
Freezing
Freeze up to 2 months.
Thaw in the fridge and mix before serving.
Make-Ahead
Prepare up to 24 hours early.
Flavor improves after chilling.
Nutrition (Approx. per 2 tbsp serving)
Calories: 120
Fat: 11g
Carbs: 2–3g net carbs
Protein: 1g
Sugar: 0g
(Values vary slightly based on chocolate chips and sweetener used.)
FAQ
Q: Can I make this without a mixer?
Yes, but cream cheese must be very soft. Mix with a sturdy spoon or whisk.
Q: My dip is too soft — what happened?
It likely needs more chilling time. Chill longer or add 1–2 tbsp almond flour to thicken.
Q: Can I use powdered sweetener instead of liquid?
Yes — use 2–3 tbsp and adjust to taste.
Q: Why tahini?
It creates a buttery, rich cookie dough flavor with fewer carbs than nut butter.
Optional Personal Note
This dip was created on a day when I wanted a “spoonable dessert” without baking or sugar — and I was shocked at how much it tastes like classic cookie dough. It’s become a reader favorite for quick gatherings, last-minute cravings, and kid-approved treats.


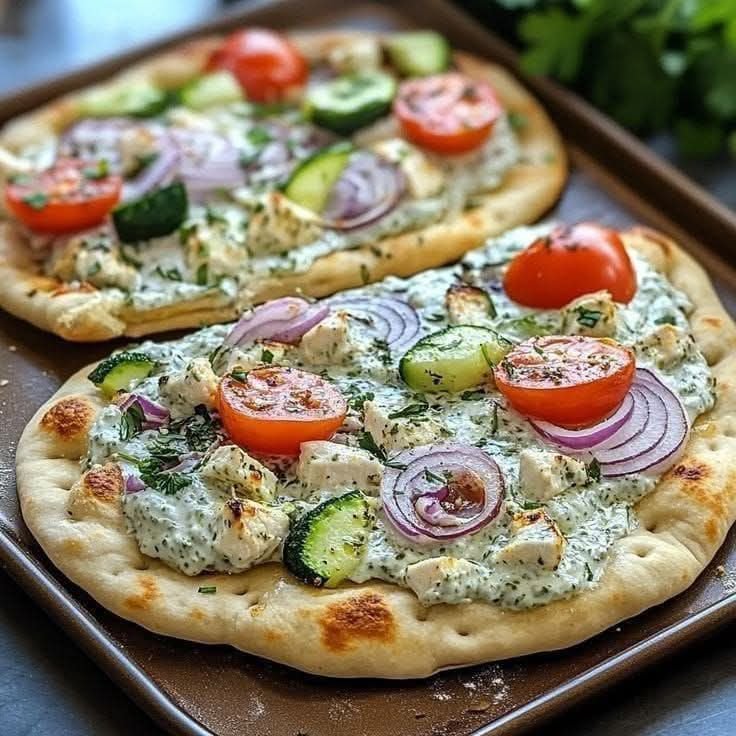
 Tzatziki Chicken Pizza
 Description
 Ingredients
 ):
): Instructions
 Notes
Notes Tips
Tips Servings
 Nutritional Info (Approx. per serving)
 Health Benefits
 Q & A
Q & A

 Always pair fruit with fiber, fat, or protein