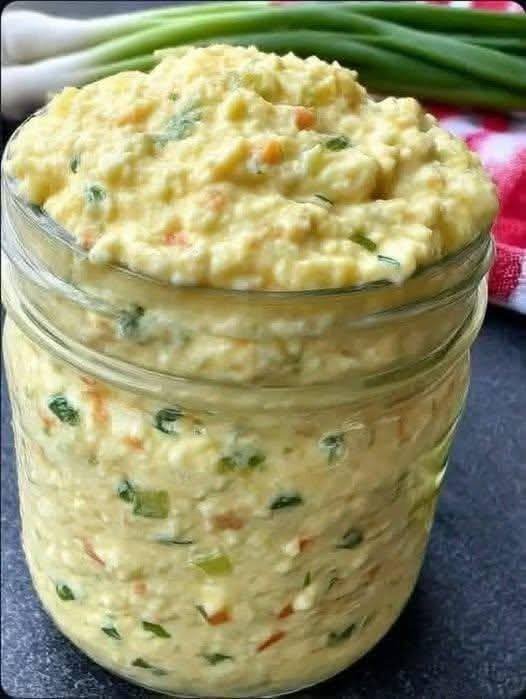
Zero-Carb Savory Egg & Cream Cheese Spread
A creamy, fluffy, protein-packed spread that’s naturally very low in carbs, flour-free, and perfect for keto or low-carb lifestyles. Great as a dip, sandwich filling (lettuce wraps), or side dish.
Note: “Zero carb” is a common phrase, but eggs and dairy contain trace carbs. This recipe is very low carb (≈1g net carb per serving), not absolute zero.
Ingredients (6 servings)
-
6 large eggs, hard-boiled
-
4 oz (115g) full-fat cream cheese, softened
-
2 tbsp mayonnaise (sugar-free)
-
1 tsp Dijon mustard (optional)
-
2 tbsp finely chopped green onions
-
1 tbsp fresh chopped parsley or chives
-
Salt & black pepper to taste
-
Optional add-ins: pinch paprika, garlic powder, or shredded cheddar
Instructions
-
Boil Eggs
Place eggs in cold water, bring to boil, then simmer 9–10 minutes. Cool in ice water and peel. -
Mash Base
In a bowl, mash eggs with a fork to desired texture (chunky or smooth). -
Mix Creamy Ingredients
Add softened cream cheese, mayonnaise, mustard, salt, and pepper. Mix until fluffy. -
Add Herbs
Fold in green onions and herbs. -
Chill (Optional but Recommended)
Refrigerate 30–60 minutes for best flavor and texture. -
Serve
Eat alone, in lettuce wraps, stuffed in celery, or as a side with grilled meat.
Description
This spread is:
-
High protein
-
High healthy fats
-
Low carb
-
Gluten-free
-
Flour-free
-
Quick (15 minutes prep)
It’s rich, creamy, slightly tangy, and very satisfying.
Tips for Best Results
-
Use room temperature cream cheese for smoother texture.
-
For extra fluffiness, use a hand mixer.
-
Add crispy bacon bits for more flavor.
-
For dairy-free: replace cream cheese with mashed avocado (will slightly increase carbs).
-
Store in airtight container up to 3 days in refrigerator.
Servings
-
Makes: 6 servings
-
Serving size: About ½ cup
Nutritional Information (Per Serving – Approximate)
-
Calories: 210
-
Protein: 10g
-
Fat: 19g
-
Net Carbs: 1g
-
Fiber: 0g
-
Sugar: <1g
(Values vary depending on brands used.)
Benefits
 Supports low-carb & keto diets Helps reduce cravings High satiety (keeps you full longer) Quick meal prep option No flour or starch
Q & A
Q: Is this really zero carb?
A: Not technically. Eggs and dairy contain tiny amounts of carbs, but it’s extremely low carb.
Q: Can I eat this while cutting weight?
A: Yes, if it fits your calorie goals. It’s low carb but still calorie-dense due to fat.
Q: Can I freeze it?
A: Not recommended — texture changes after thawing.
Q: How can I make it spicier?
A: Add hot sauce, jalapeños, cayenne, or pepper flakes.
Q: Can I meal prep this?
A: Yes, keeps well refrigerated for 3 days.

 Notes & Pro-Tips
 Nutritional Info & Benefits
 Common Q&A
 Ingredients
 Instructions
 Servings
 Nutritional Info (per pancake, without toppings)
 Benefits
 Serve With:


 Health Benefits
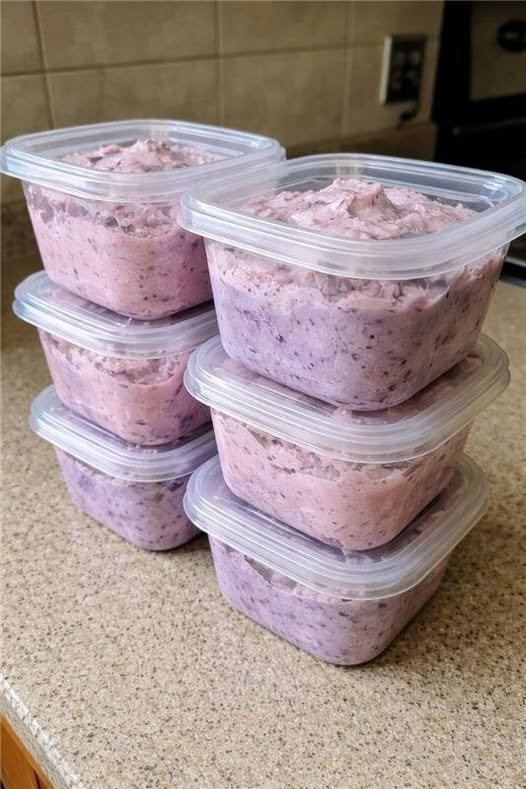
 3-Ingredient Sugar-Free Berry Whip
 Ingredients
 Optional Step (Ice Cream Texture)
 Why This Recipe Is Special
 Nutrition (Approximate)
 Final Thoughts

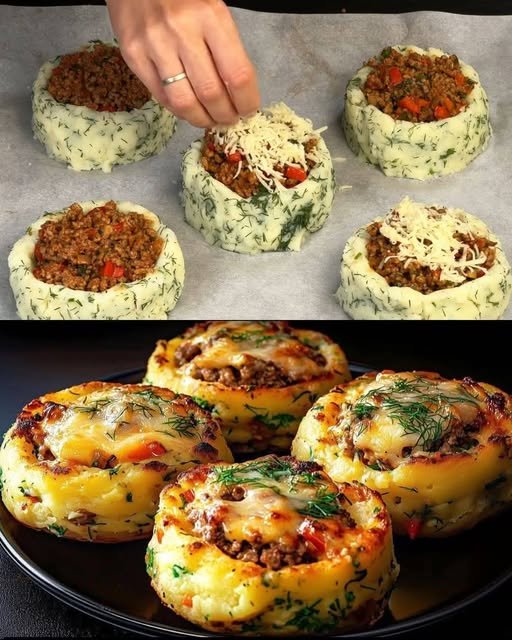
 Stuffed Mashed Potato Nests
 Prep Time: 25 minutes
 Bake Time: 15 minutes
 STEP 1: Cook the Potatoes
 Variations