Creamy No-Churn Vanilla Bean Ice Cream
Prep time: 15 minutes | Freezing time: 6+ hours | Yields: Approx. 1.5 quarts
Detailed Ingredients List
-
The Base: 2 cups (16 oz) Heavy whipping cream.
-
Crucial: Ensure the cream is very cold (straight from the fridge) to achieve maximum volume.
-
-
The Sweetener: 1 can (14 oz) Sweetened condensed milk. This acts as both the sugar and the softener, preventing large ice crystals from forming.
-
Flavoring: 1–2 tsp Pure vanilla extract (or the seeds from one vanilla bean for a gourmet look).
-
Optional Textures: ½ cup of mix-ins (crushed cookies, chocolate chunks, or fruit swirls).
Comprehensive Preparation Instructions
1. Whipping the Cream to Perfection
Pour the cold heavy whipping cream into a large, chilled glass or metal bowl. Using a hand mixer or a stand mixer fitted with the whisk attachment, beat the cream on medium-high speed. Continue until stiff peaks form—this means when you lift the whisk, the cream stands straight up without drooping.
-
Tip: Be careful not to over-beat, or the cream will turn into butter.
2. Preparing the Condensed Milk Base
In a separate large bowl, empty the entire can of sweetened condensed milk. Stir in the vanilla extract and any other liquid flavorings or food colorings you choose to use. If you are making chocolate ice cream, sift in your cocoa powder at this stage to ensure there are no lumps.
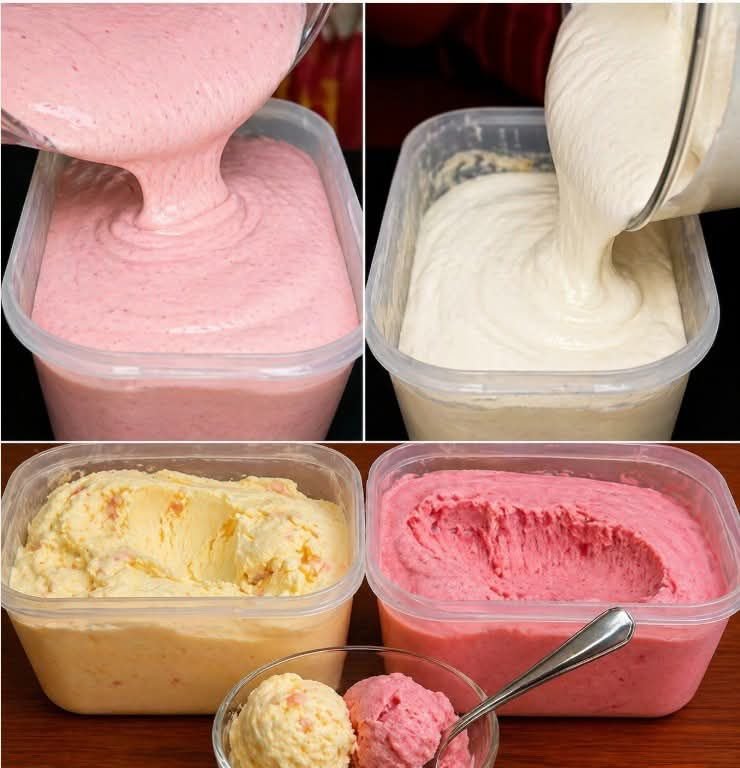
3. The “Light & Airy” Fold
This is the most important step. Take a large scoop of the whipped cream and stir it vigorously into the condensed milk to lighten the mixture. Then, add the remaining whipped cream. Using a rubber spatula, gently fold the cream into the base by cutting through the center and lifting from the bottom. Continue until no white streaks remain.
-
Goal: You want to keep as much air in the mixture as possible.
4. Customizing Your Flavor
If you are adding “chunky” ingredients like crushed cookies, fruit puree, or nuts, fold them in gently now. For a “ribbon” effect (like a caramel or fudge swirl), pour half the mixture into your container, drizzle the sauce, and then add the remaining mixture, swirling once or twice with a knife.
5. Freezing for Success
Transfer the mixture into a shallow, freezer-safe container (an 8×4-inch loaf pan works perfectly). Smooth the top with your spatula. To prevent ice crystals from forming on the surface, press a piece of plastic wrap or wax paper directly onto the surface of the cream, then cover the container tightly with a lid or foil.
6. The Waiting Period
Place the container in the coldest part of your freezer. Freeze for at least 6 hours, though overnight is recommended for a firm, traditional ice cream texture.
Expert Tips for Serving
-
The Tempering Step: Because homemade ice cream doesn’t contain the chemical softeners found in store-bought tubs, it may be quite firm. Let it sit on the counter for 3–5 minutes before scooping.
-
The Scoop: Dip your ice cream scoop in warm water between each serving to get those perfect, professional-looking spheres.