6 cups chicken broth
1½ cups dry macaroni or other small pasta
1 tablespoon olive oil
1 medium onion, chopped
3 cloves garlic, minced
2 carrots, peeled and diced
1 cup spinach, roughly chopped
½ cup sun-dried tomatoes, chopped
1 tablespoon tomato paste
1 cup cream or heavy cream
½ cup grated Parmesan cheese
Seasonings & Spices
1 teaspoon salt (adjust to taste)
½ teaspoon black pepper
1½ teaspoons Italian seasoning
¼ teaspoon red pepper flakes (optional, for a mild kick)
½ teaspoon dried parsley
½ teaspoon thyme
Instructions
Sauté Aromatics (optional but adds flavor):
Heat olive oil in a skillet over medium heat. Add the onion, garlic, and carrots. Sauté for 3–4 minutes until fragrant and lightly softened. Transfer to your slow cooker.
Add Chicken and Base Ingredients:
Place the chicken breasts in the crockpot. Add chicken broth, sun-dried tomatoes, tomato paste, Italian seasoning, thyme, parsley, salt, and pepper. Stir to combine.
Slow Cook:
Cover and cook on Low for 5–6 hours or High for 2½–3 hours, until the chicken is fully cooked and tender.
Shred the Chicken:
Remove the chicken from the slow cooker, shred it using two forks, and return it to the pot.
Add the Pasta:
Stir in the dry macaroni. Cook on High for 20–25 minutes, or until the pasta is tender. Stir occasionally to prevent sticking.
Add Cream & Spinach:
Pour in the cream and add the chopped spinach. Stir gently and let it heat through for about 5 minutes until the soup becomes creamy and the spinach wilts.
Finish with Parmesan:
Stir in Parmesan cheese right before serving. Taste and adjust seasoning if needed.
Serve:
Ladle into bowls and drizzle lightly with olive oil or sprinkle with extra Parmesan and red pepper flakes for garnish.
Tips & Variations
Boost the Flavor Base:
While optional, sautéing the onion, garlic, and carrots before adding them to the slow cooker deepens the flavor and adds a slightly caramelized note. If you’re short on time, skip this step—but it’s worth doing if you can.
Chicken Options:
Boneless chicken thighs can replace breasts for a richer flavor and tender texture.
You can also use rotisserie chicken—just add it during the final 30 minutes of cooking to avoid overcooking.
Pasta Tips:
Add the pasta near the end to keep it from getting mushy.
If you plan to store leftovers, cook the pasta separately and add it to individual portions when serving.
Any small pasta like ditalini, small shells, or elbow macaroni works well.
Make It Creamier:
For a more indulgent soup, stir in an extra ¼ cup of cream or a small spoon of cream cheese near the end. If you prefer it lighter, use half-and-half or evaporated milk instead of heavy cream.
Adjusting Thickness:
If the soup thickens too much after adding pasta and cheese, simply stir in more chicken broth until it reaches your desired consistency.
Extra Mediterranean Flair:
Add chopped roasted red peppers, artichoke hearts, or a few Kalamata olives for more depth and color. Fresh herbs like basil, parsley, or oregano can be stirred in before serving for brightness.
Spice Level:
The red pepper flakes give just a touch of warmth. Increase or omit them depending on your taste. You can also add a pinch of smoked paprika for a hint of depth.
Dairy-Free Option:
Use coconut milk instead of cream and skip the Parmesan. Add a spoonful of nutritional yeast for a cheesy flavor.
Serving Ideas:
Serve with warm pita bread, toasted baguette slices, or homemade pita chips on the side. A squeeze of lemon right before serving brightens the flavors beautifully.
Storage & Reheating:
Store leftovers in an airtight container in the fridge for up to 3 days. The pasta will absorb some liquid, so add a splash of broth or water when reheating. For longer storage, freeze the soup without pasta for up to 2 months.
Q&A
Q: Can I cook the pasta separately and add it later?
Yes, that’s a great option if you’re making the soup ahead or want to freeze it. Add cooked pasta to individual bowls just before serving to keep it from getting soggy.
Q: Can I use milk instead of cream?
You can, but the soup will be less rich. To keep it creamy, use whole milk or add a small spoon of cream cheese or Greek yogurt at the end.
Q: What other vegetables work in this soup?
You can include chopped zucchini, celery, peas, or even diced sweet peppers. Just make sure they’re added early enough to soften during cooking.
Q: Can I make this on the stovetop instead of a crockpot?
Yes. Sauté the vegetables, then add the broth, chicken, and seasonings. Simmer covered for 20–25 minutes until the chicken is cooked, then shred it, add pasta, and finish with cream, spinach, and Parmesan.
Q: How can I make it more “Mediterranean”?
Add chopped olives, roasted red peppers, or a handful of fresh basil before serving. You can also top each bowl with a drizzle of olive oil and extra Parmesan.
Nutrition
(per serving, approx.)
Calories: 420 kcal
Protein: 34 g
Carbohydrates: 28 g
Fat: 18 g
Fiber: 3 g
Sugar: 5 g
Sodium: 720 mg
(Values may vary depending on pasta type, cream percentage, and cheese amount used.)
Conclusion
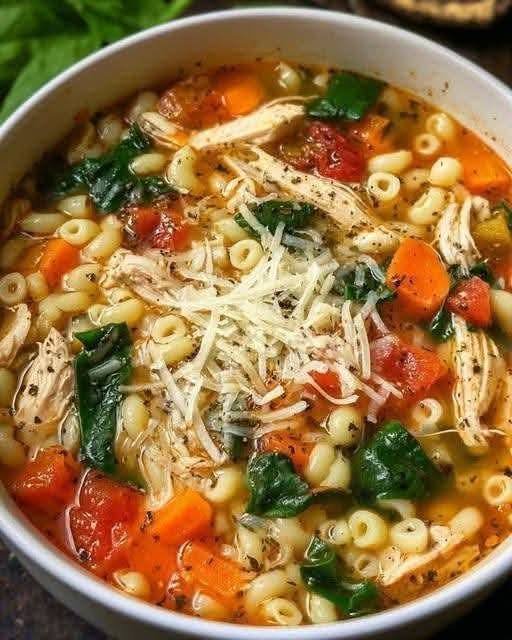
This Mediterranean Crockpot Marry Me Chicken Macaroni Soup is a bowl of comfort that delivers both creamy richness and bright, savory Mediterranean flavor. With tender chicken, sun-dried tomatoes, and spinach in a velvety broth, it’s the perfect slow cooker meal for busy days. The macaroni makes it hearty enough for dinner, while the cream and Parmesan create that irresistible “marry me” flavor everyone loves. Simple, cozy, and satisfying—this is a one-pot dish worth making again and again.


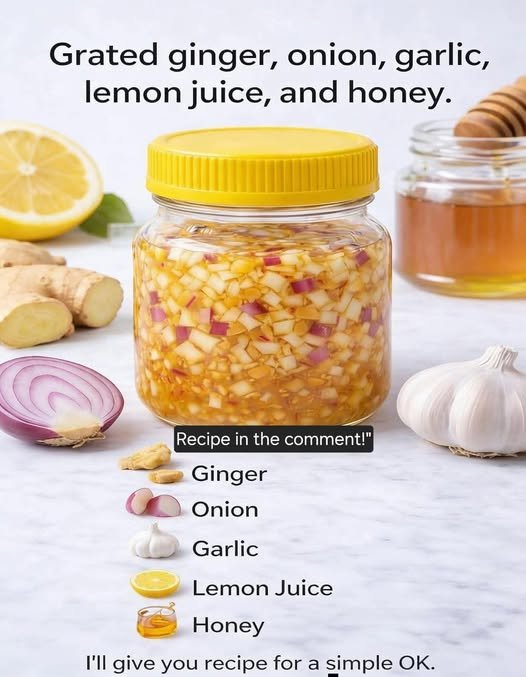
 Garlic
 Onion
Onion Ginger
 Lemon
Lemon Recommended short course: 5 to 7 days maximum.
 These effects vary from person to person and do not constitute clinical evidence of treatment or cure.
 Not recommended in case of ulcers, severe reflux, or gastritis
 Not recommended for children under 6 years old
 Pregnancy: Medical advice is essential
 Never replace treatment prescribed by a healthcare professional


 Sticky Bourbon Chicken & Fried Rice
 Ingredients
 Instructions
 Use high heat when cooking fried rice for authentic flavor.
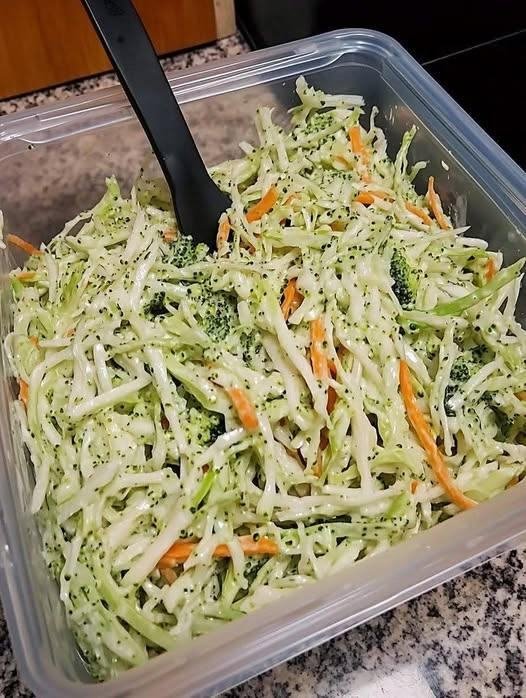
 Vegetables – Provide vitamins, fiber, and antioxidants.
 Rice – Supplies energy and carbohydrates for daily activities.
 Summary:
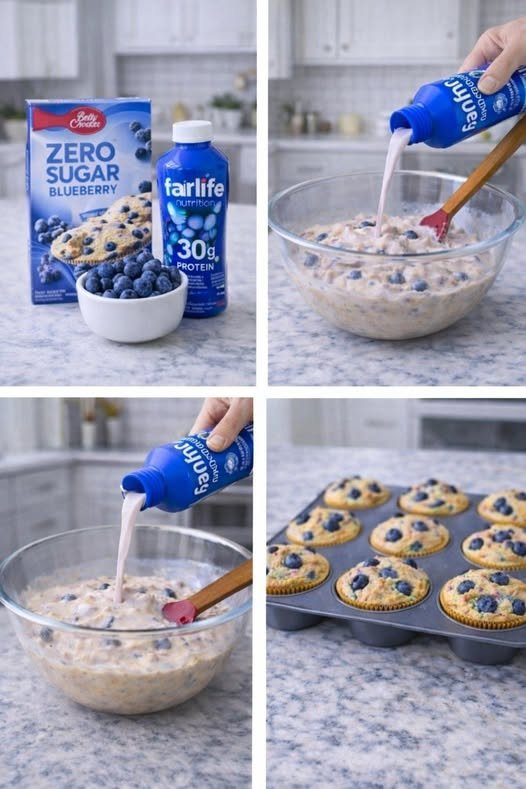
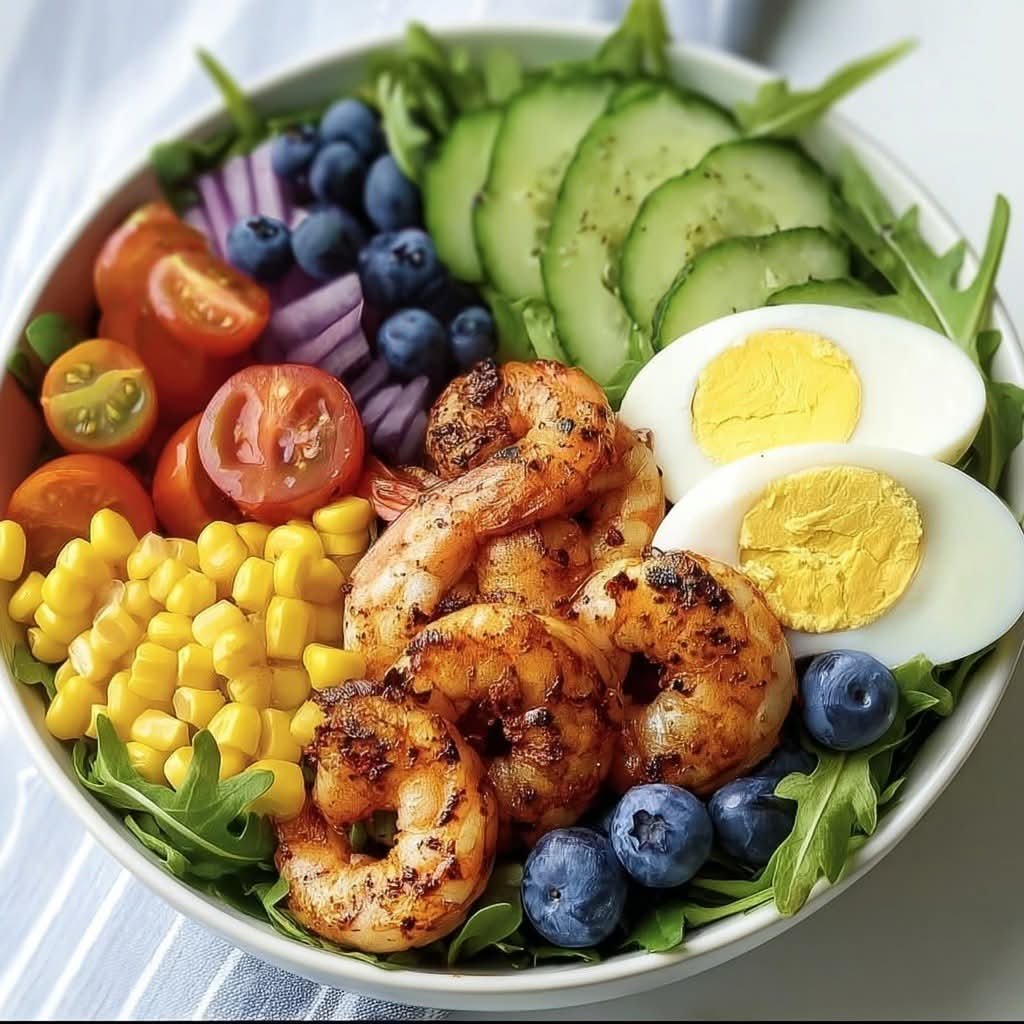
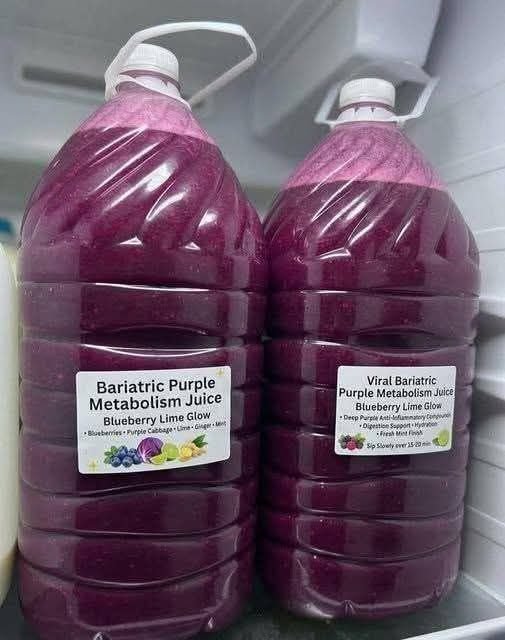
 Blueberries – Rich in antioxidants and support brain health
 Protein Milk – Helps build muscle and keeps you full longer
 Lower Sugar – Great for healthier lifestyle choices
 Energy Boost – Perfect breakfast or snack option
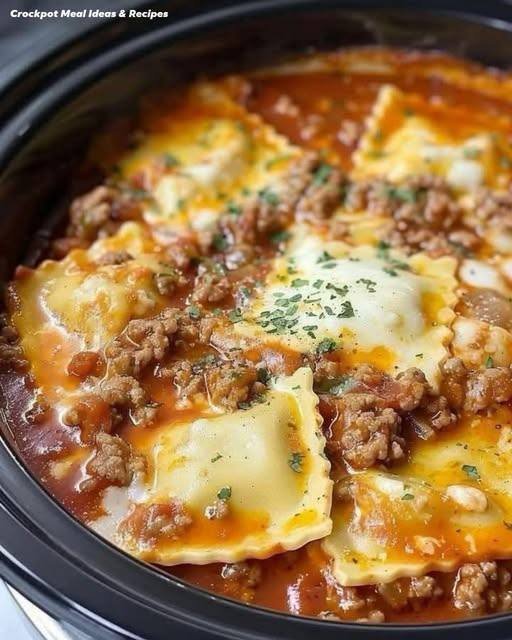
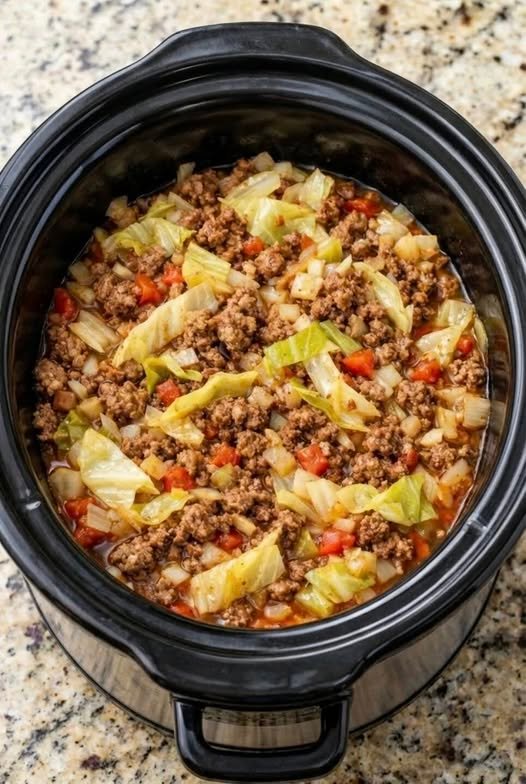
 Crockpot Ravioli Lasagna
 Description
 Ingredients For Crockpot Ravioli Lasagna
 Cook the Meat
 Layer in the Crockpot
 Slow Cook
 Serve
Serve Servings
 Notes
Notes Tips for Best Results
 Nutritional Information (Approximate per serving – based on 8 servings)
 Benefits of This Recipe
 Q & A
Q & A