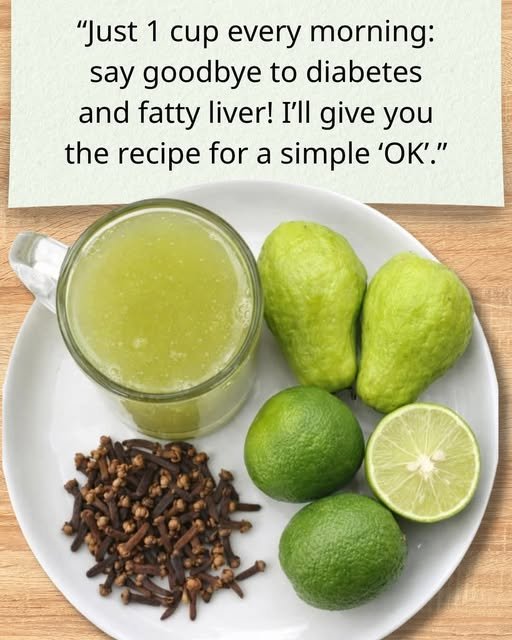
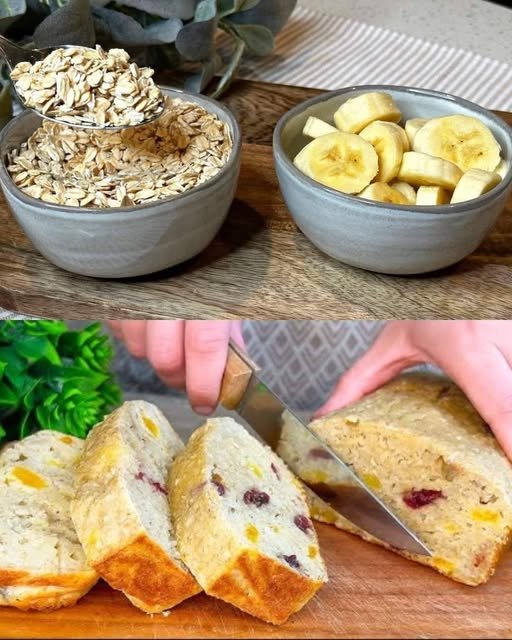
Chayote, Lime, and Clove Tonic
A hydrating, fiber-rich drink often used in traditional wellness routines.
The Ingredients
-
1 medium Chayote: (The pear-shaped green vegetable). It is high in antioxidants and water content.
-
2 Fresh Limes: Excellent source of Vitamin C.
-
5–7 Whole Cloves: Known for their anti-inflammatory properties.
-
2 cups Water: (approx. 500 ml).
Preparation Steps
-
Prep the Chayote: Wash the chayote thoroughly. You don’t need to peel it if it’s organic, as the skin contains nutrients. Cut it into small cubes, removing the soft seed in the middle.
-
Boil the Cloves: Place the whole cloves in a small pot with 1 cup of water. Bring to a boil, then simmer for about 5 minutes to create a “clove tea.” Let it cool.
-
Blend: Place the diced chayote, the juice of the 2 limes, the remaining cup of plain water, and the cooled clove tea (you can strain out the cloves or leave them in if your blender is high-powered) into a blender.
-
Liquefy: Blend on high until the mixture is completely smooth.
-
Serve: For the best results, drink it fresh. Some prefer to strain it through a fine mesh sieve for a smoother juice, while others keep the pulp for the added fiber.
Why These Ingredients?
-
Chayote: It is naturally low in calories and has a diuretic effect, which can help some people with minor swelling (edema).
-
Lime: Helps with digestion and adds a bright flavor without adding sugar.
-
Cloves: Contain eugenol, which has been studied for its ability to reduce oxidative stress.
 Ingredients
 Step-by-Step Instructions
 Optional Enhancements
 Tips for Best Results


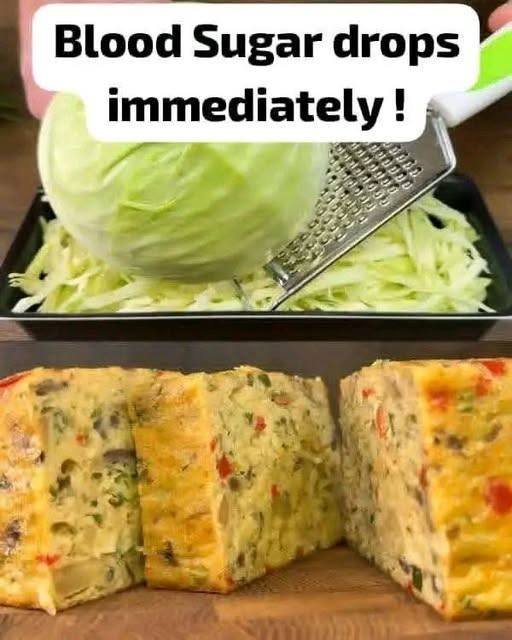
 Note: This recipe supports healthy blood sugar management, but it does not replace medical treatment or cause “instant” glucose drops.
 Suitable for:
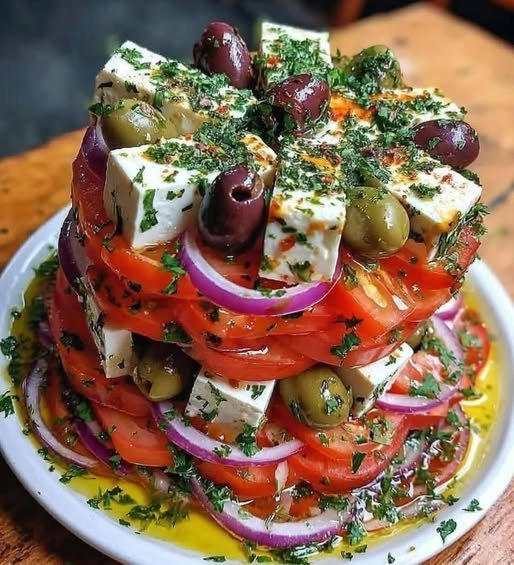
 Prepare Vegetables
 Make the Dressing
 Build the Tower
 Finish
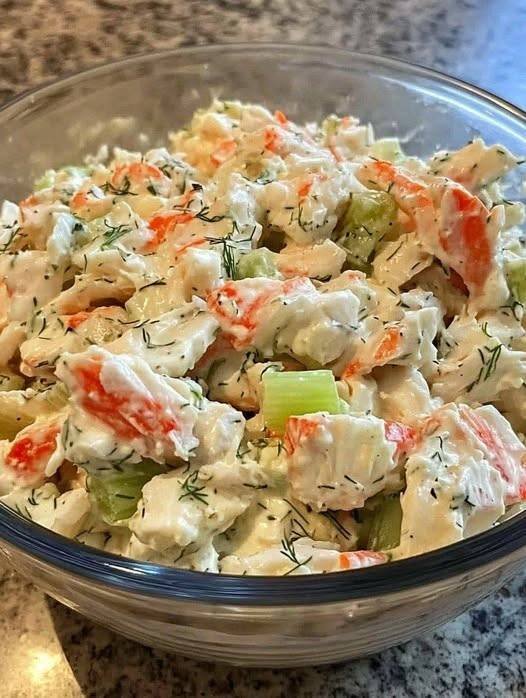
 Classic Seafood Salad
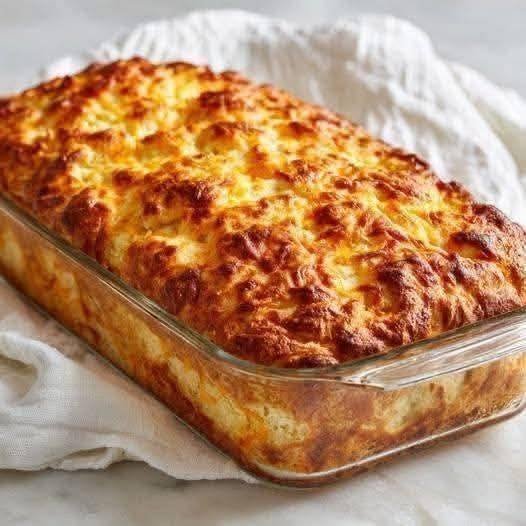
 Mini Chicken Pot Pies (Biscuit Cups)
 Ingredients
 Instructions
 Notes & Tips
 Servings
 Nutritional Information (per mini pot pie)
 Q&A Section
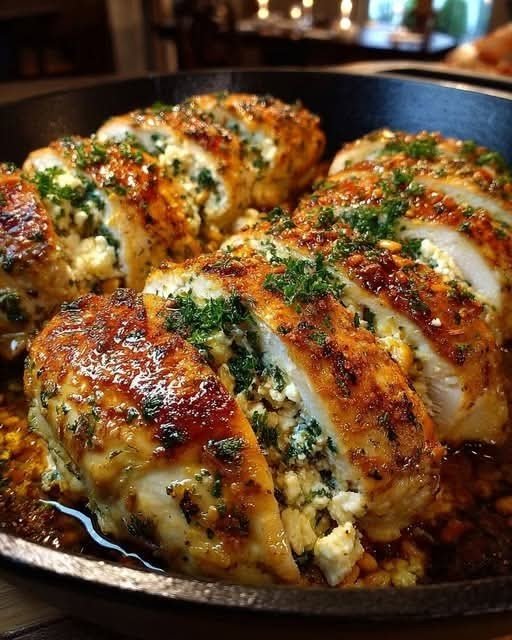
 Golden-Brown Roasted Chicken Breasts with Mediterranean Stuffing
 Ingredients
 Notes
Notes Nutritional Information (Approx. per serving)
 Health Benefits