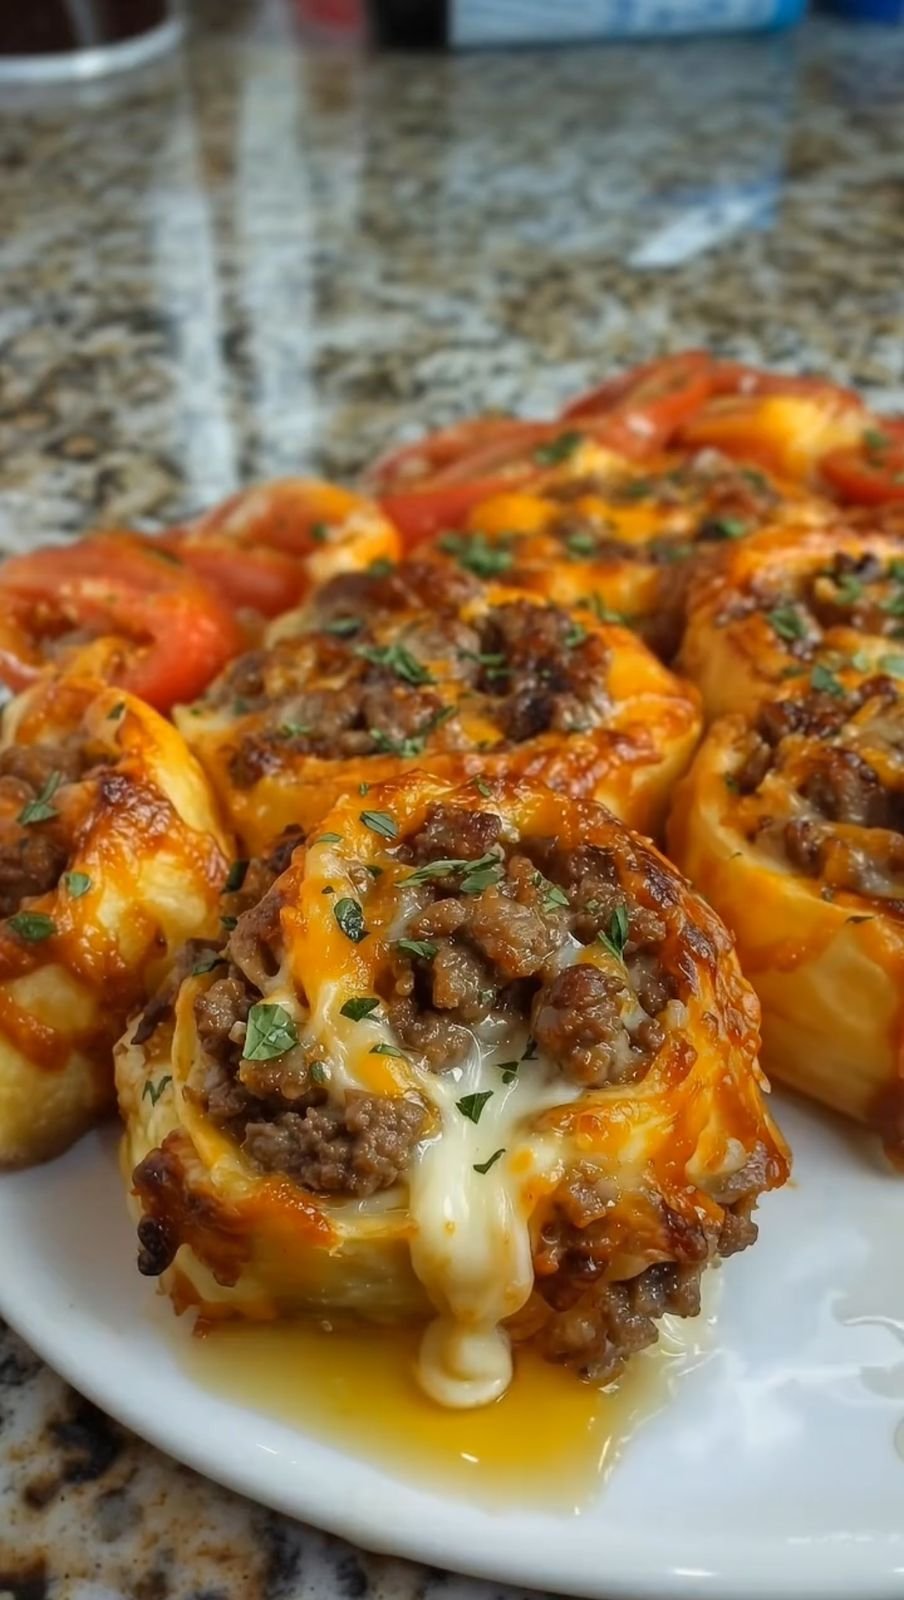
🧄🧀 Garlic Butter Cheeseburger Rollups
Soft dough filled with seasoned beef and melted cheese
⏱ Prep Time: 15 minutes
🔥 Bake Time: 20–25 minutes
🍽 Servings: 6–8 rollups
🛒 Ingredients
For the Filling:
-
1 pound (450 g) ground beef
-
1 teaspoon garlic powder
-
1 teaspoon onion powder
-
Salt, to taste
-
Black pepper, to taste
-
1 cup shredded cheddar cheese
-
1 cup shredded mozzarella cheese
For the Dough:
-
1 package refrigerated pizza dough
For Brushing:
-
2 tablespoons butter, melted
👩🍳 Instructions
Step 1: Cook the Beef
Heat a skillet over medium heat.
Add the ground beef and cook, stirring often, until fully cooked and evenly browned.
Season with garlic powder, onion powder, salt, and pepper.
Remove from heat and allow the beef to cool slightly.
Step 2: Prepare the Oven
Preheat your oven to the temperature listed on the pizza dough package (usually about 375°F / 190°C).
Line a baking tray with parchment paper or lightly grease it.
Step 3: Roll the Dough
Lightly dust your work surface with flour.
Roll out the pizza dough into a large rectangle, about ¼ inch thick.
Step 4: Add Cheese
Sprinkle the shredded cheddar cheese evenly over the dough, leaving about 1 inch around the edges.
Step 5: Add Beef
Spread the cooked beef evenly over the cheese layer.
Step 6: Add More Cheese
Sprinkle the mozzarella cheese evenly over the beef.
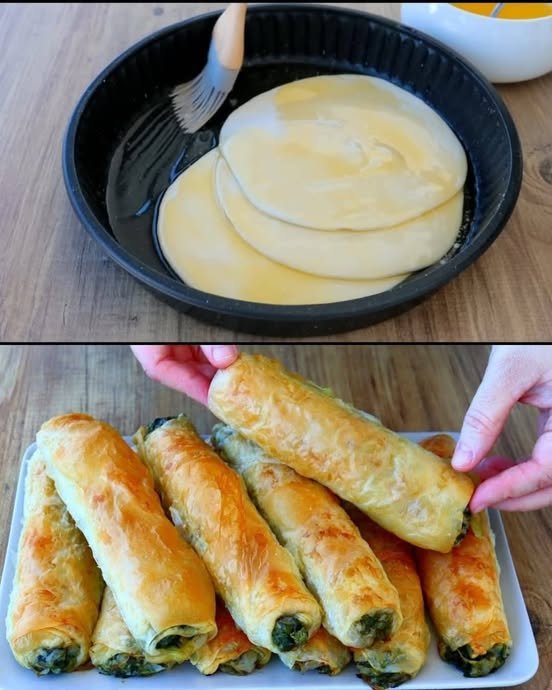
Step 7: Roll It Up
Starting from the long side, gently roll the dough into a tight log, keeping the filling inside.
Step 8: Brush with Butter
Brush the melted butter over the outside of the roll.
(Optional: sprinkle a little garlic powder or dried parsley on top.)
Step 9: Bake
Place the roll on the prepared baking tray.
Bake for 20–25 minutes, or until the dough is golden and the cheese inside is fully melted.
Step 10: Slice and Serve
Remove from the oven and let rest for 5 minutes.
Slice into rolls and serve warm.
🍽 Serving Suggestions
-
Serve with ketchup, mustard, or garlic sauce
-
Add pickles or onions to the beef for a cheeseburger-style flavor
-
Pair with a fresh salad or fries
🧊 Storage
-
Store leftovers in an airtight container in the refrigerator for up to 2 days
-
Reheat in oven or air fryer for best texture