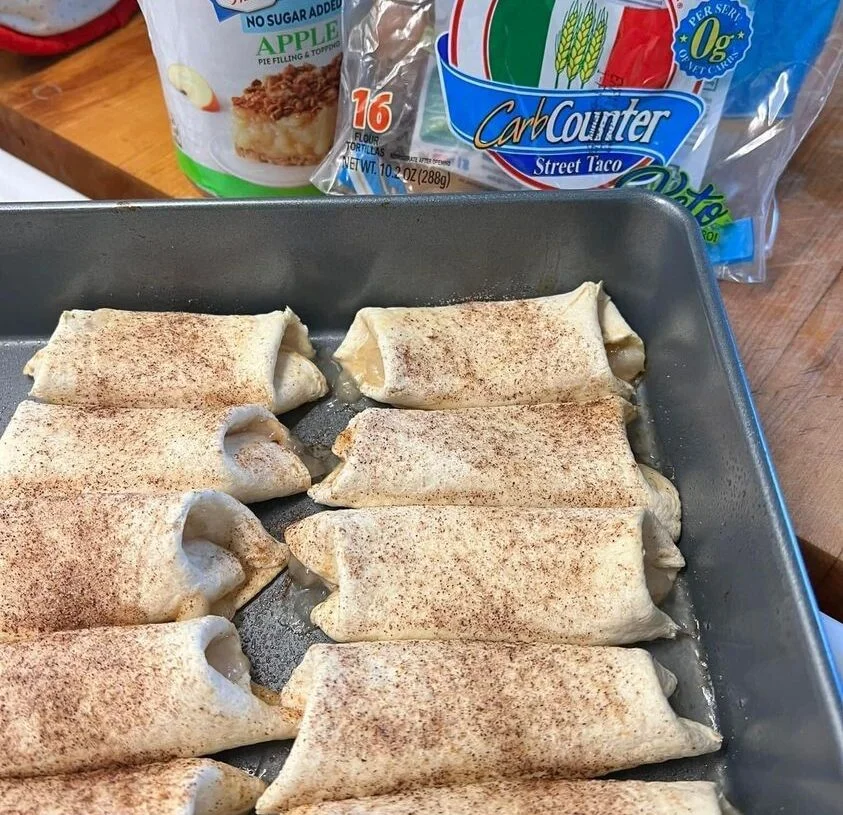
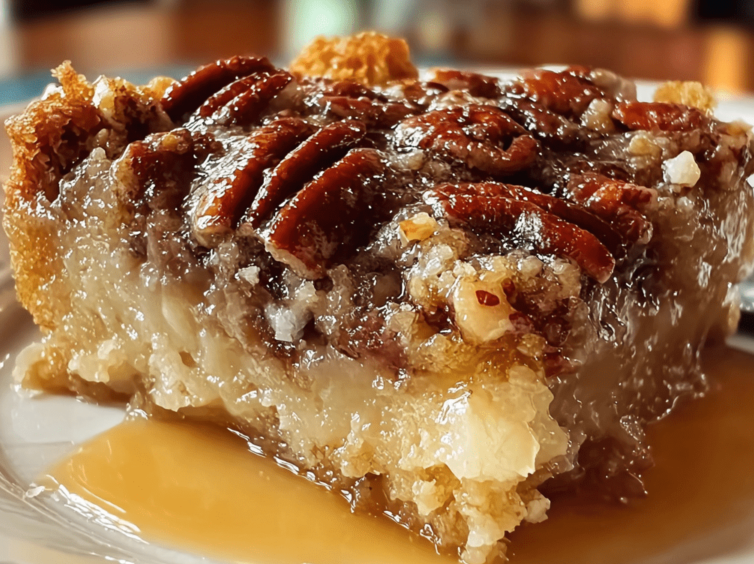
Introduction: Embark on a culinary journey with our delightful Weight Watchers Apple “Enchilada” dessert—a wholesome indulgence that satisfies your sweet cravings without compromising on your wellness goals. This innovative recipe transforms everyday ingredients into a delectable treat, earning a mere 2 SmartPoints per serving. Join us as we explore the intricacies of crafting these Apple “Enchiladas,” providing detailed instructions, culinary insights, and precise measurements for a guilt-free dessert experience.
Ingredients:
For the Apple Filling:
- 4 cups thinly sliced apples (peeled and cored)
- 2 tablespoons lemon juice
- 1/4 cup granulated sugar
- 1 teaspoon ground cinnamon
- 1/4 teaspoon nutmeg
- 1 tablespoon cornstarch
- 1/4 cup water
For the “Enchiladas”:
- 8 small whole wheat tortillas (6 inches in diameter)
- Cooking spray
For the Topping:
- 1/4 cup light whipped cream
- Ground cinnamon for dusting
Instructions:
- Apple Preparation Precision:
- Begin the culinary journey with apple preparation precision. Peel, core, and thinly slice four cups of apples. Toss them in lemon juice to preserve freshness and prevent browning.
- Sugar and Spice Symphony:
- In a bowl, orchestrate a sugar and spice symphony by combining granulated sugar, ground cinnamon, nutmeg, and cornstarch. This aromatic blend enhances the natural sweetness of the apples, creating a flavorful filling.
- Apple Coating Ballet:
- Engage in an apple coating ballet by tossing the sliced apples in the sugar and spice mixture. Ensure each slice is evenly coated, allowing the flavors to meld harmoniously.
- Stovetop Elegance:
- Bring the mixture to stovetop elegance by cooking the coated apples in a saucepan over medium heat. Add water to create a luscious syrup, simmering until the apples are tender yet maintain their shape.
- Tortilla Warming Ritual:
- Embrace a tortilla warming ritual by lightly heating whole wheat tortillas. This step enhances their pliability, making them easier to roll and creating a delightful texture in the finished “Enchiladas.”
- Filling Distribution Artistry:
- Distribute the apple filling with artistry, spooning a generous portion onto each warmed tortilla. Ensure an even distribution to guarantee a consistent flavor profile in every bite.
- Rolling Mastery:
- Master the rolling technique by folding the sides of each tortilla toward the center and then rolling from the bottom to create a snug “Enchilada.” Place them seam-side down on a prepared baking dish.
- Cooking Spray Finale:
- Conclude the preparation with a cooking spray finale, lightly coating the tops of the “Enchiladas.” This step promotes a golden brown finish in the oven while keeping the dish light and heart-healthy.
- Oven Baking Brilliance:
- Bake the “Enchiladas” in a preheated oven at 350°F (175°C) for approximately 15-20 minutes or until they achieve a golden perfection. This oven baking brilliance allows the flavors to meld and intensify.
- Whipped Cream Elegance:
- Present a whipped cream elegance by topping each “Enchilada” with a dollop of light whipped cream. This airy addition adds a delightful creaminess, complementing the warm apple filling.
- Cinnamon Dusting Extravaganza:
- Embark on a cinnamon dusting extravaganza, sprinkling ground cinnamon over the whipped cream. This final touch not only enhances the visual appeal but adds an extra layer of warmth to the dessert.
- Serving Presentation Panache:
- Showcase serving presentation panache by arranging the “Enchiladas” on a dessert platter. Consider drizzling any remaining apple syrup over the top for an added burst of flavor.
- SmartPoints Transparency:
- Embrace SmartPoints transparency by calculating and sharing the nutritional information per serving. This transparency empowers your audience to make informed choices within their wellness journey.
- Portion Control Wisdom:
- Offer portion control wisdom by highlighting that each “Enchilada” is a perfectly portioned delight, allowing for guilt-free enjoyment without compromising on dietary goals.
- Health-Conscious Ingredient Insights:
- Provide insights into the health-conscious choices made in the recipe, such as whole wheat tortillas and light whipped cream. These choices align with the Weight Watchers philosophy of mindful and balanced eating.
- Versatility Exploration:
- Encourage versatility exploration by suggesting variations to the recipe. Whether it’s adding a hint of vanilla to the whipped cream or incorporating a sprinkle of chopped nuts, invite your audience to personalize the dish.
- Storage and Reheating Recommendations:
- Share storage and reheating recommendations for those who may want to enjoy the Apple “Enchiladas” at a later time. Proper storage ensures they maintain their texture and flavor upon reheating.
- Community Connection Invitation:
- Transform your website into a community connection hub by inviting your audience to share their experiences with the Apple “Enchiladas.” Encourage them to experiment with different apple varieties or share creative presentations.
- Seasonal Ingredient Adaptations:
- Offer seasonal ingredient adaptations, suggesting ways to modify the recipe based on the availability of different apple varieties or seasonal twists. This flexibility allows the dish to be enjoyed year-round.
- Culinary Conclusion Celebration:
- Conclude the culinary celebration by inviting your audience to savor the delightful experience of Weight Watchers Apple “Enchiladas.” Emphasize the joy of indulging in a sweet treat that aligns with wellness goals, providing a perfect balance of flavor and nutrition.


 What You’ll Need:
 How to Make Them:
 Bonus Tip:


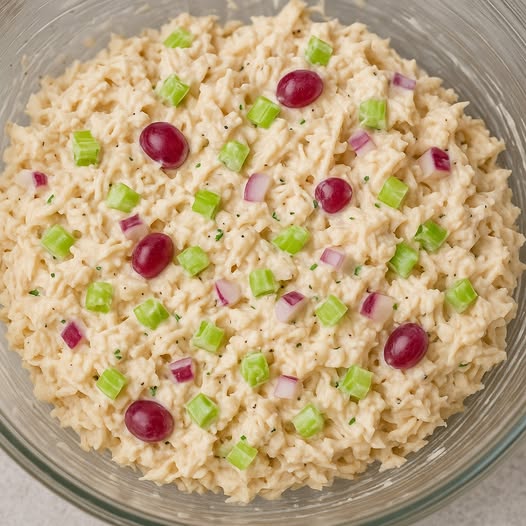
 taste absolutely yum