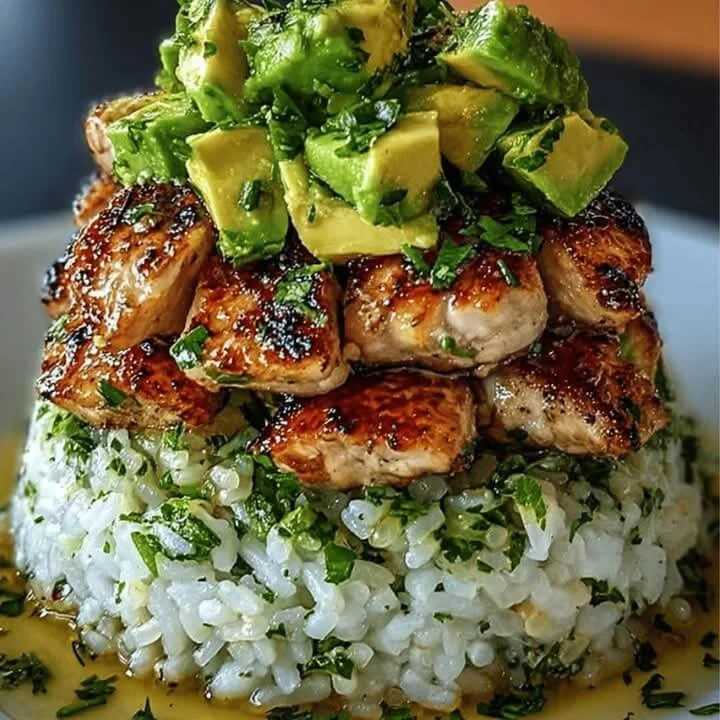
Mediterranean Honey Lemon Chicken & Avocado Rice Stack
Table of Contents
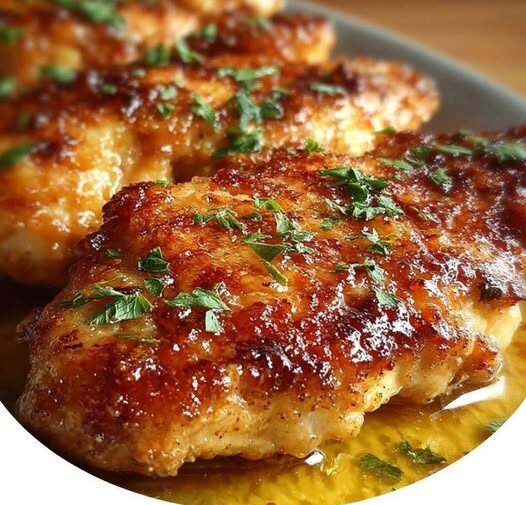
This Mediterranean Honey Lemon Chicken & Avocado Rice Stack is a vibrant, layered dish that combines warm, zesty chicken with a fragrant herb rice base and creamy avocado. It’s not only visually stunning but also packed with bold flavors and nutritious ingredients. Perfect for a summer lunch, light dinner, or a meal-prep-friendly option, this recipe brings together the brightness of the Mediterranean with a modern presentation. Think of it as a wholesome grain bowl—stacked!
Total Time:
Prep Time: 15 minutes
Cook Time: 20 minutes
Total Time: 35 minutes
Servings: 2–3 stacks
Ingredients:
For the Chicken:
2 boneless, skinless chicken breasts
2 tablespoons extra virgin olive oil
1 tablespoon honey
Juice of 1 lemon (about 2 tablespoons)
2 garlic cloves, minced
1 teaspoon dried oregano
½ teaspoon dried thyme
Salt and black pepper, to taste
For the Rice Layer:
1 cup cooked basmati or brown rice
1 tablespoon olive oil
½ teaspoon dried mint or parsley
Pinch of salt
For the Avocado Layer:
1 ripe avocado, diced
Juice of ½ lemon
Salt and pepper, to taste
Optional Toppings:
Cherry tomatoes, halved
Cucumber, finely diced
Crumbled feta cheese
Chopped fresh parsley or basil
See also Mushroom Rice
Drizzle of extra virgin olive oil
Instructions:
1. Marinate and Cook the Chicken:
In a bowl, combine olive oil, honey, lemon juice, minced garlic, oregano, thyme, salt, and pepper.
Add the chicken breasts and coat well. Marinate for at least 15 minutes (or overnight if time allows).
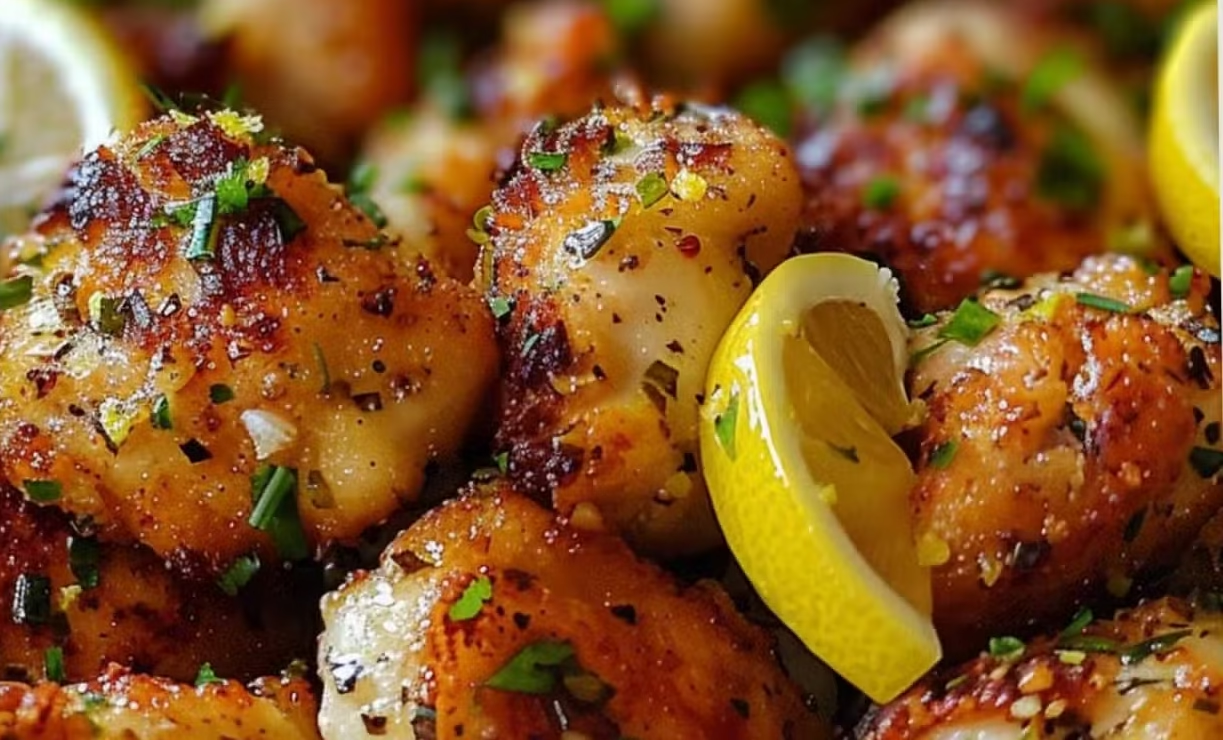
Heat a skillet or grill pan over medium heat. Cook the chicken 5–6 minutes per side until golden brown and cooked through.
Let it rest for 5 minutes, then slice thinly.
2. Prepare the Rice Layer:
In a bowl, toss the cooked rice with olive oil, dried mint or parsley, and a pinch of salt.
Warm slightly if desired or use at room temperature.
3. Make the Avocado Layer:
In a separate bowl, gently mix the diced avocado with lemon juice, salt, and pepper.
Mash slightly for a chunky texture, or keep in cubes depending on preference.
4. Assemble the Stack:
Use a food ring mold or a clean measuring cup to layer the stack (lightly oil it if needed).
Press a layer of herbed rice into the bottom.
Add a layer of avocado mix and press gently.
Top with sliced honey lemon chicken.
Gently lift the mold to reveal your stack.
5. Garnish and Serve:
Top with cherry tomatoes, diced cucumber, crumbled feta, chopped herbs, and a drizzle of olive oil.
Serve immediately for the best presentation and flavor.
Tips for Success:
Marinate Longer for Deeper Flavor:
If time permits, marinate the chicken for 2–4 hours or overnight in the fridge. The longer soak enhances the lemon-honey-garlic notes.
Use a Mold for a Clean Stack:
A stainless steel food ring or a 1-cup measuring cup works great for clean layering. Lightly oil the inside to release easily.
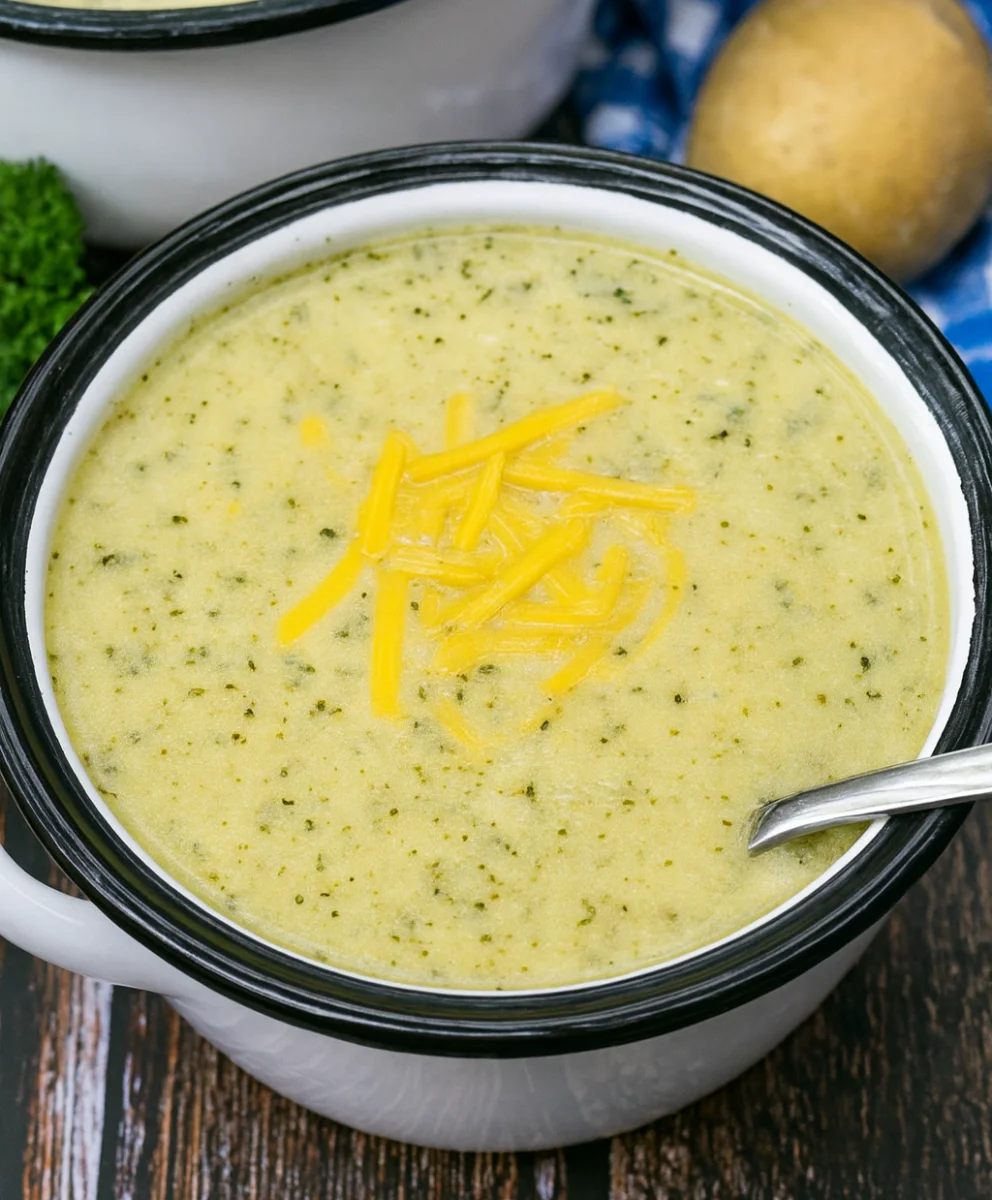
See also Rotisserie Chicken Mushroom Soup
Keep Avocado Fresh:
Toss avocado with lemon juice immediately after dicing to prevent browning. Assemble just before serving for the best color and texture.
Warm or Room Temp:
The rice can be served warm, but make sure the avocado isn’t hot when layering. Keep components at similar temperatures for best stacking and taste.
Slice Chicken Thinly:
For the best bite and presentation, let the chicken rest after cooking and then slice it thinly across the grain.
Customize Texture:
You can mash the avocado slightly for a creamier middle layer or keep it cubed for a chunkier, fresher feel.
Variations:
Grain Swap:
Substitute the rice with:
Quinoa for extra protein
Farro for a nutty bite
Cauliflower rice for a low-carb option
Protein Options:
Swap chicken with grilled shrimp, salmon, or chickpeas for a pescatarian or vegetarian version.
Spicy Kick:
Add red pepper flakes or a dash of harissa paste to the chicken marinade for a spicy Mediterranean flair.
Avocado Sauce Alternative:
Blend the avocado with a bit of yogurt, lemon, olive oil, and garlic to create a smooth avocado cream layer or drizzle.
Add Crunch:
Top with toasted pine nuts, crispy chickpeas, or crushed pita chips for added texture.
Make It a Bowl:
If you don’t want to stack, simply layer all components in a bowl and serve as a deconstructed version.
Vegan Version:
Use maple syrup instead of honey, and substitute chicken with grilled tofu, tempeh, or roasted vegetables.
Q&A: Frequently Asked Questions
Q1: Can I make this ahead of time?
Yes, you can prep the components (chicken, rice, and avocado) ahead of time. Store them separately in airtight containers. Assemble the stacks just before serving for best texture and presentation.
See also Mediterranean-Style Creamy Beef & Tortellini Pasta
Q2: What can I use if I don’t have a food ring mold?
You can use a 1-cup measuring cup or even a cleaned tuna can with both ends removed. Lightly oil it for easy release.
Q3: How do I store leftovers?
Store leftovers in separate containers. Avocado may brown over time, so it’s best eaten fresh. Add lemon juice to slow oxidation.
Q4: Can I serve this cold?
Yes! This recipe works well chilled, especially in summer. Just let the rice and chicken cool completely before stacking.
Q5: Is this gluten-free?
Yes—this dish is naturally gluten-free as long as you use certified gluten-free rice and ingredients.
Estimated Nutrition (Per Stack – serves 2–3)
Note: Values are estimates and may vary based on exact portions and toppings.
Calories: ~450–500 kcal
Protein: 28–32g
Carbohydrates: 35–40g
Fat: 22–25g
Fiber: 5–7g
Sugar: 6–8g
Sodium: ~400–500mg
Includes chicken, avocado, rice, olive oil, and toppings like feta and vegetables.
Conclusion
The Mediterranean Honey Lemon Chicken & Avocado Rice Stack is a perfect harmony of flavors—sweet, citrusy, herbaceous, and creamy—all layered into a stunning stack. Whether you’re preparing a beautiful brunch, an elegant lunch, or simply want a fresh, wholesome meal-prep idea, this dish fits the bill. It’s easy to adapt, impressively presented, and bursting with Mediterranean goodness.
Try it once, and you’ll be stacking it again and again!