Table of Contents
Carnivore Cake Recipe:
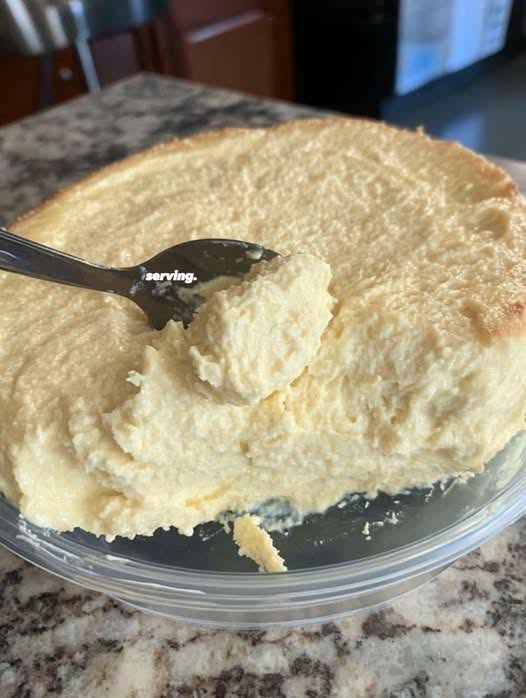
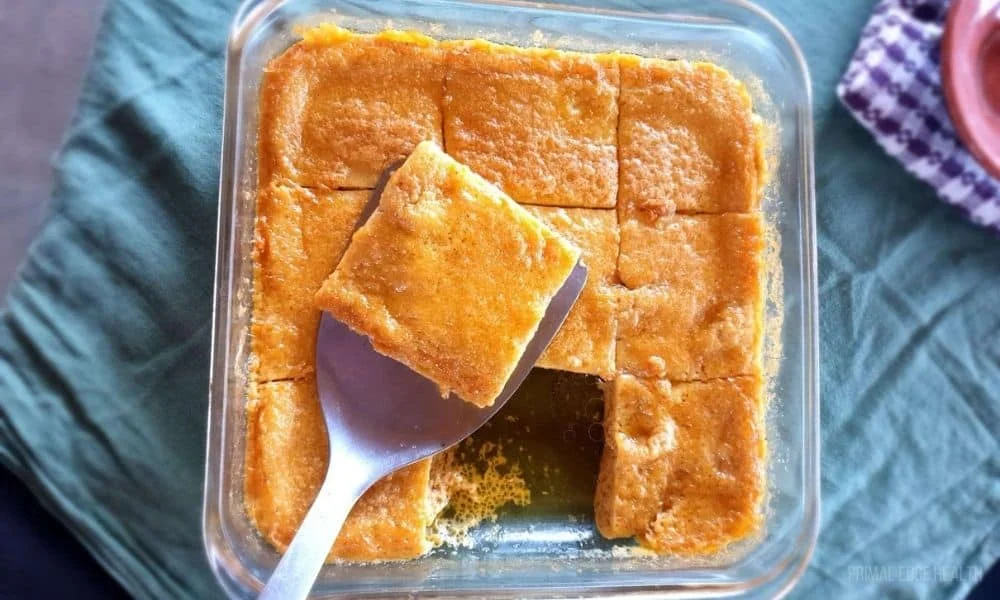
If you’re craving a carnivore-friendly dessert or snack, this Carnivore Cake is a unique, protein-packed option made with only animal-based ingredients. Rich in beef, eggs, and butter, it’s simple, delicious, and aligns perfectly with the carnivore diet.
Ingredients:
- 1/2 lb ground beef (80/20 blend for some fat)
- 4 large eggs (preferably pastured)
- 3 tbsp melted butter (cultured butter for a richer taste)
- 2 tbsp beef tallow (optional, for extra fat and moisture)
- 1/2 tsp sea salt (to taste)
- 1/4 tsp baking soda (optional, helps give the cake lift)
- 1 tsp vanilla extract (optional, adds a subtle sweetness, check for no sugar)
- 1 tbsp heavy cream (optional, for extra moisture)
Instructions:
- Preheat the Oven:
- Preheat your oven to 350°F (175°C). Grease a small cake pan (8-inch round or square) with butter or beef tallow to ensure easy removal.
- Prepare the Beef Mixture:
- In a large bowl, combine the ground beef, eggs, melted butter, and beef tallow (if using).
- Whisk well to break up the beef and fully incorporate it into the egg and fat mixture. The consistency should be a bit loose but not too runny.
- Add Flavoring and Rising Agents:
- Stir in the sea salt, baking soda, and vanilla extract (if using). The baking soda helps the cake rise and gives it a slightly fluffier texture, but it’s optional.
- If you’re using heavy cream, add it now to enhance the moisture content.
- Mix and Pour:
- Mix everything thoroughly until the ingredients are evenly distributed. The batter will have a dense consistency due to the beef.
- Pour the mixture into your prepared cake pan, smoothing the top with a spatula.
- Bake the Cake:
- Place the cake pan in the preheated oven and bake for 20-25 minutes, or until the top is golden brown and a toothpick inserted into the center comes out clean.
- Cool and Serve:
- Allow the cake to cool for 5-10 minutes before removing it from the pan. Slice into pieces and serve immediately.
Optional Variations:
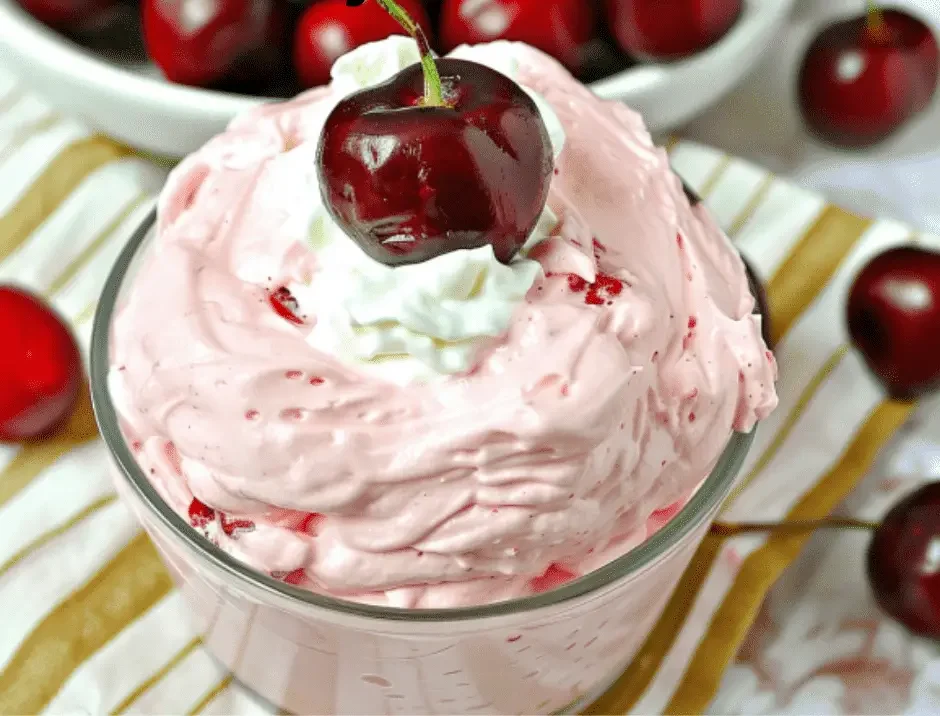
- Topping: If you want to add extra richness, top the cake with a dollop of whipped cream or more melted butter.
- Flavor: For a more savory version, you can add a pinch of garlic powder or freshly cracked black pepper.