Indulging in desserts while adhering to dietary restrictions often feels like a distant dream. However, W-W Lemon Cake recipe unveils a delightful solution, merging health consciousness with sweet cravings. This culinary masterpiece requires only three ingredients, making it a minimalist marvel in the world of confectionary delights.
The Ingredients: At the heart of this recipe lies a harmonious blend of simplicity and flavor. A box of lemon cake mix, approximately 18.25 ounces in weight, serves as the foundation. Opting for a sugar-free or low-sugar variant aligns with W-W’ principles, ensuring a guilt-free treat. Complementing the mix is a can of diet lemon-lime soda, typically 12 ounces, infusing effervescence and tanginess. Finally, a cup of fat-free Greek yogurt, whether plain or lemon-flavored, adds a creamy texture and enriches the lemony essence.
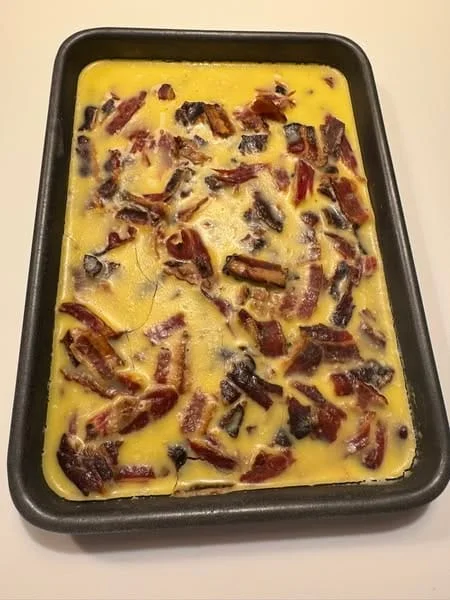
The Process: Preparation begins with a preheated oven, set to the temperature recommended on the cake mix box, laying the groundwork for baking perfection. In a mixing bowl, the lemon cake mix intertwines with the fizzy embrace of diet lemon-lime soda, undergoing a transformative fusion until smooth and lump-free. This amalgamation forms the luscious batter, destined for a prepared cake pan of choice, be it a bundt pan or a traditional round vessel. As the oven works its magic, baking the cake to golden perfection, anticipation mounts, filling the kitchen with tantalizing aromas.
The Finishing Touch: Once the cake emerges, a testament to culinary prowess, it requires a moment of reprieve, cooling gracefully on the countertop. Meanwhile, a velvety frosting materializes, crafted from fat-free Greek yogurt, potentially elevated with a hint of lemon zest for added vibrancy. With artistic precision, the yogurt dressing envelops the cake, bestowing it with a final flourish of elegance and flavor. Sliced with anticipation, each portion promises a symphony of lemony delight, satisfying both palate and conscience.
Conclusion: W-W Lemon Cake transcends the boundaries of traditional baking, offering a guilt-free indulgence that champions health and flavor in equal measure. With just three ingredients and a dash of creativity, this culinary masterpiece underscores the notion that simplicity is the ultimate sophistication. Embrace the zestful journey and savor every delectable bite of this lemon-infused triumph.