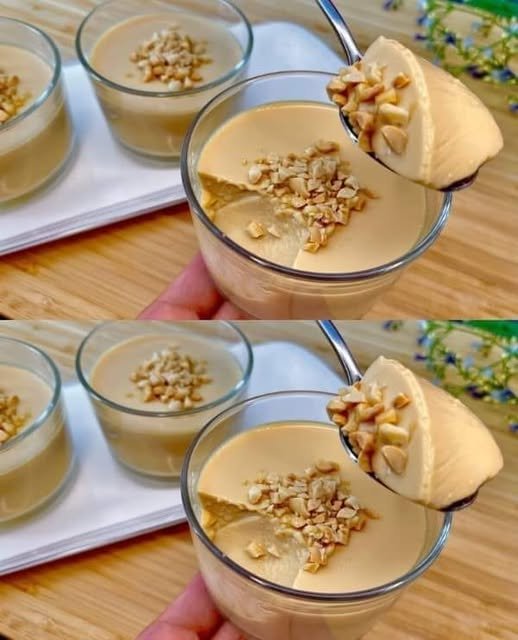
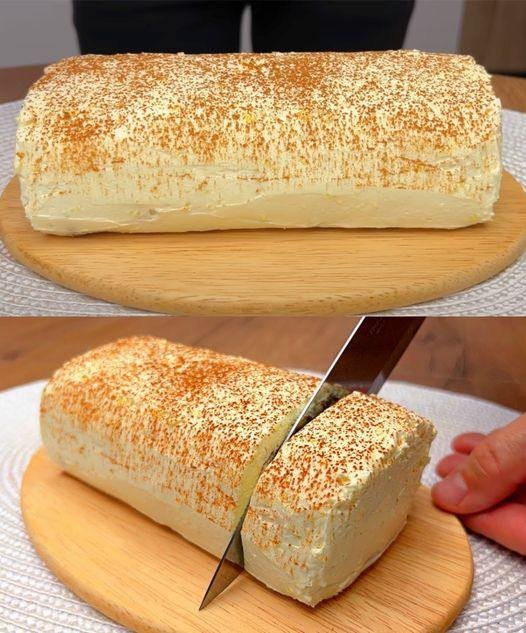
🍮 No-Bake 3-Ingredient Milk Pudding
Smooth • Creamy • Simple Custard-Style Dessert
This easy milk pudding is a soft, creamy dessert made with just milk, sugar, and eggs. It sets gently in the refrigerator and has a smooth, comforting texture similar to classic custard. With careful low-heat cooking and constant stirring, you get a silky pudding without baking or complicated steps.
Recipe Overview
-
Prep Time: 5 minutes
-
Cook Time: 10–15 minutes
-
Chill Time: 2–3 hours
-
Servings: 4 small bowls
Ingredients
Main Ingredients
-
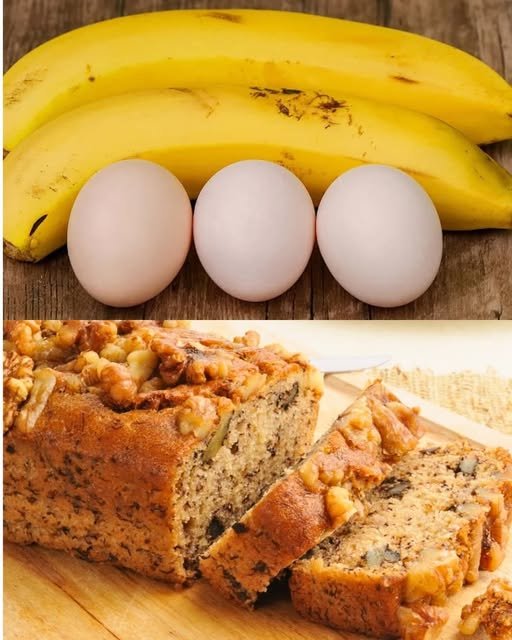
2 cups (500 ml) milk
-
⅓ cup (70 g) sugar
-
2 large eggs
Optional (Recommended)
-
1 teaspoon vanilla extract
(adds aroma and smooth flavor)
Optional Toppings
-
Chopped peanuts or walnuts
-
Caramel drizzle
-
Fresh fruit
Equipment Needed
-
Medium saucepan
-
Whisk or silicone spatula
-
Fine-mesh strainer
-
Serving bowls or ramekins
Step-by-Step Instructions
1. Mix the Eggs and Sugar
-
Place the saucepan on the counter (do not heat yet)
-
Add eggs and sugar
-
Whisk until the sugar is mostly dissolved and the mixture looks slightly pale and smooth
2. Add the Milk
-
Slowly pour the milk into the egg mixture
-
Whisk continuously to keep everything smooth
-
Add vanilla extract if using
3. Cook Gently
-
Place the saucepan over low heat
-
Stir constantly using a whisk or spatula
-
Scrape the bottom and sides of the pan to prevent sticking
⚠️ Important: Keep the heat low. High heat can cause the eggs to cook unevenly.
4. Thicken the Pudding
-
Continue stirring for 10–12 minutes
-
The mixture will gradually thicken
-
It is ready when it:
-
Coats the back of a spoon
-
Looks creamy but still pours easily
-
(It will firm up more as it cools.)
5. Strain for Smoothness
-
Remove from heat
-
Pour the mixture through a fine strainer into a bowl or jug
-
This step ensures a silky, lump-free texture
6. Chill and Set
-
Pour the pudding into serving bowls or ramekins
-
Let cool at room temperature for about 20 minutes
-
Cover and refrigerate for 2–3 hours, until fully set
7. Serve
-
Serve chilled
-
Add nuts, caramel, or fruit just before serving if desired
Texture & Flavor
-
Texture: Smooth, soft, custard-like
-
Flavor: Lightly sweet, creamy, comforting
Helpful Tips
-
Stir continuously for best texture
-
Never let the mixture boil
-
Use room-temperature eggs for smoother blending
-
For extra richness, replace ¼ cup of milk with cream
Optional Variation (Firmer Texture)
If you prefer a firmer, pudding-style set:
-
Mix 1 tablespoon cornstarch into the cold milk before heating
-
Proceed with the recipe as written
Storage
-
Store covered in the refrigerator
-
Best enjoyed within 2 days


 This step is key for softness