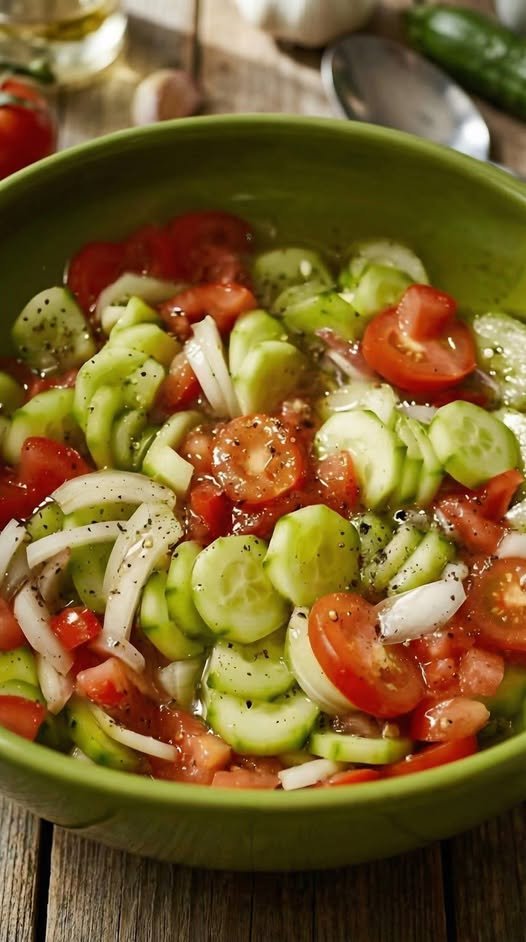
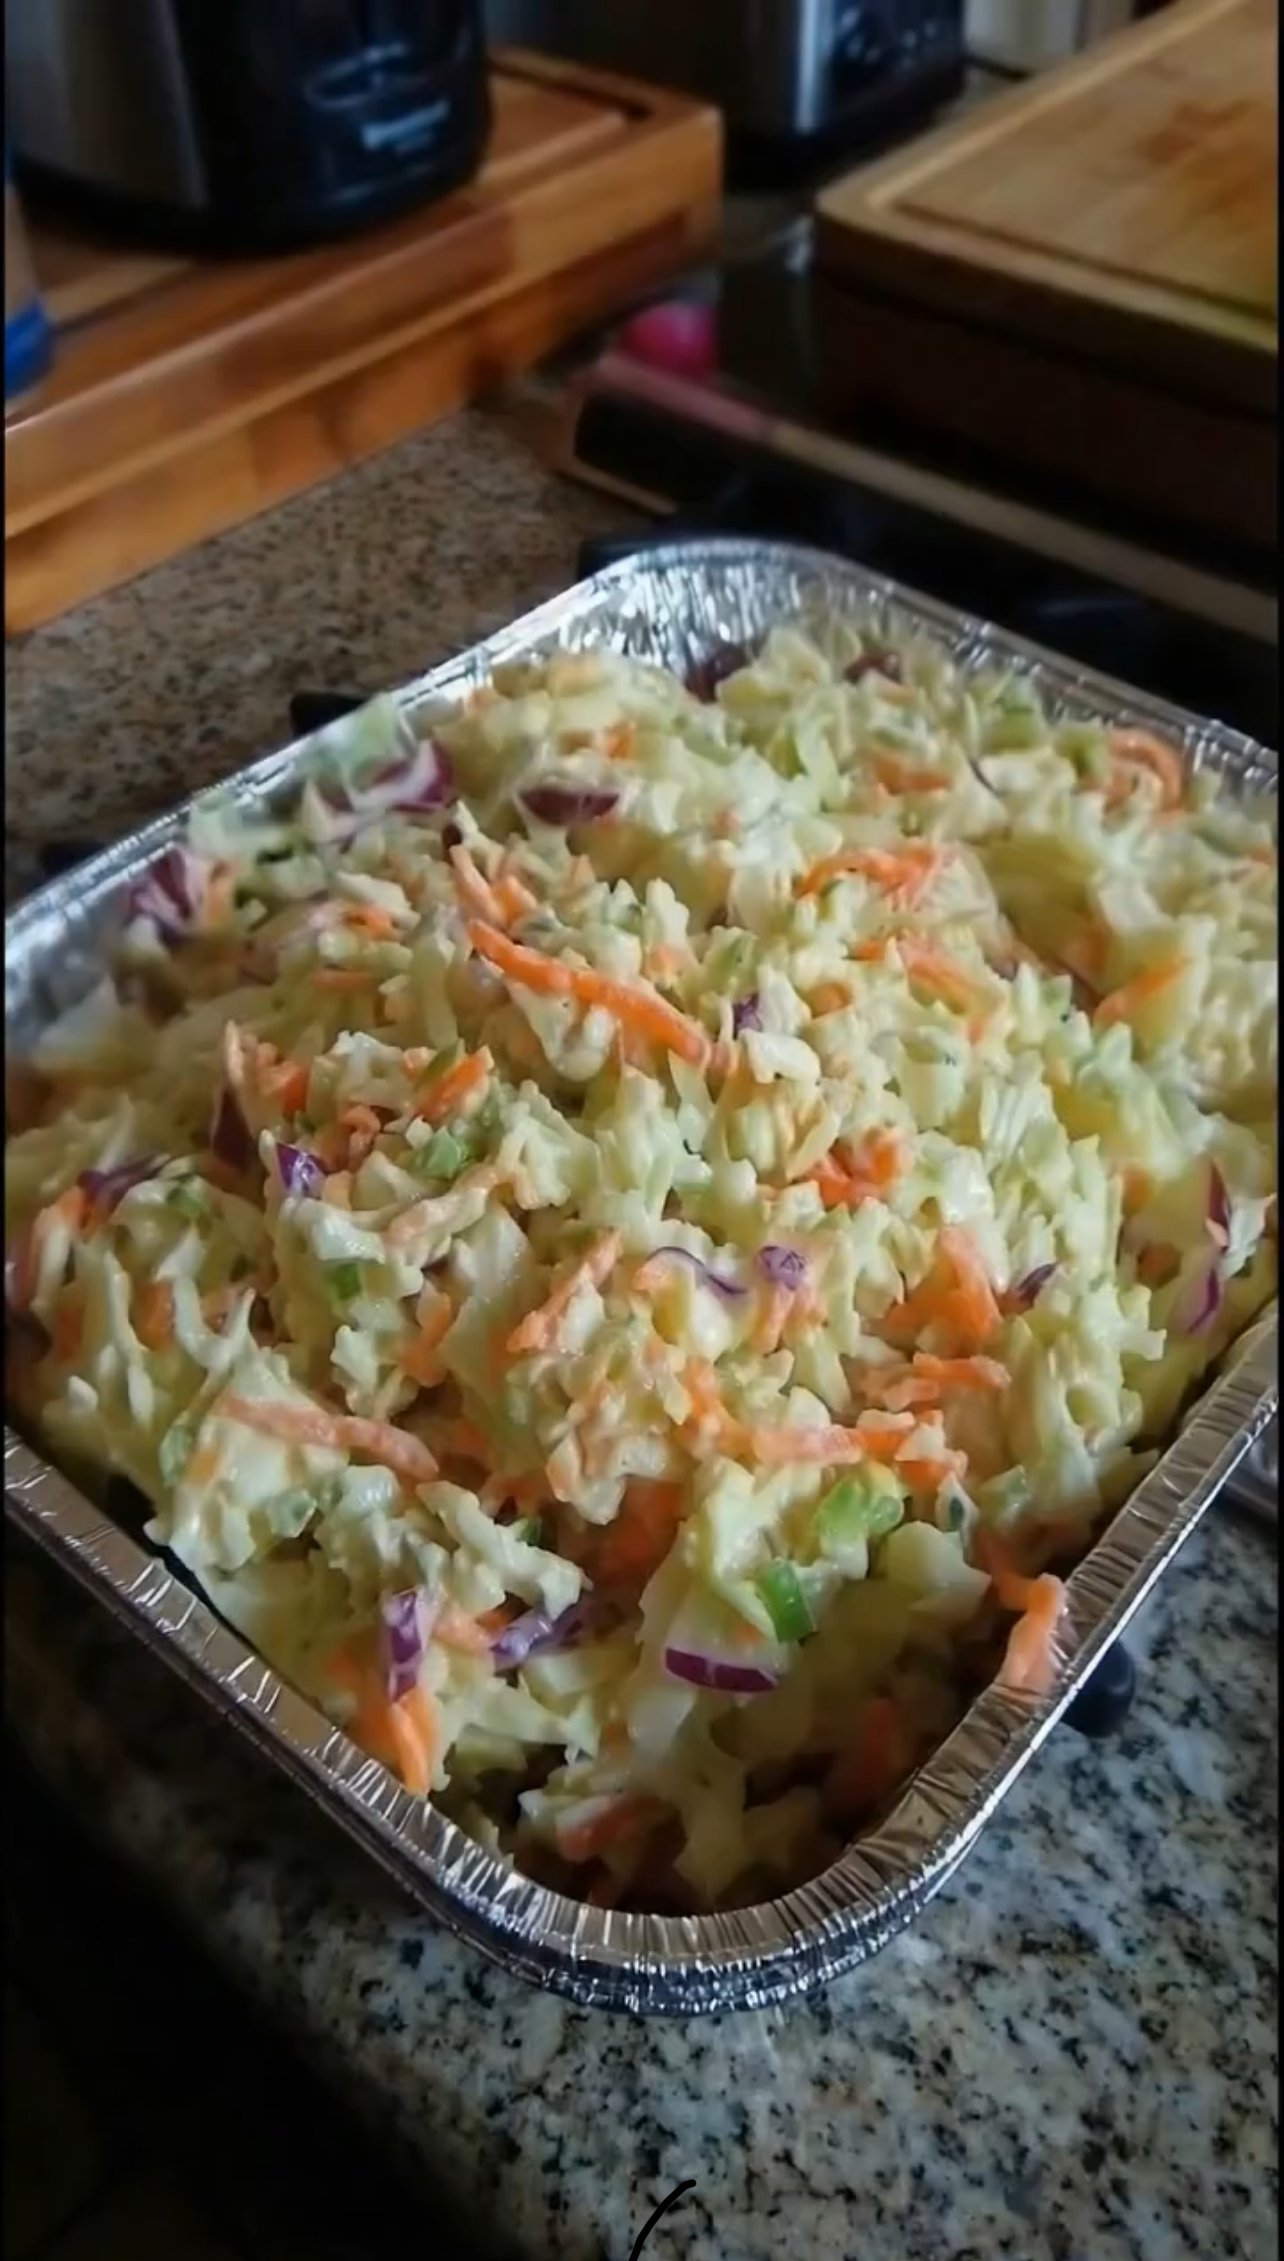
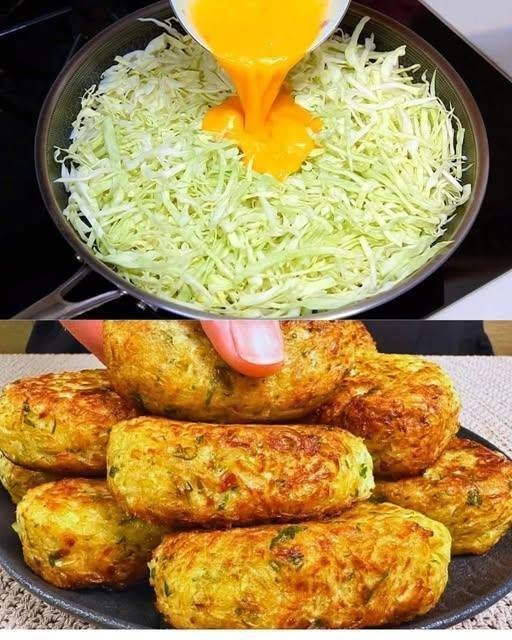
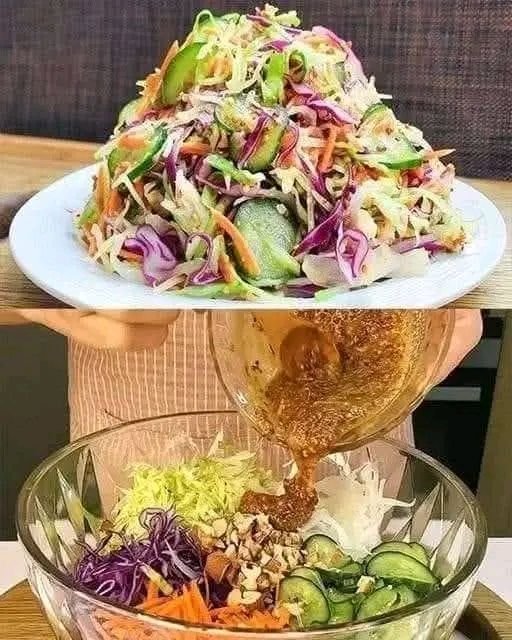
Sweet & Spicy Pickle Slaw
If you like your coleslaw with bold personality, this Sweet and Spicy Pickle Slaw delivers. It is creamy, tangy, slightly sweet, and finished with just enough heat to keep things interesting. The pickle juice adds a punchy twist that cuts through the richness of mayonnaise and balances the natural sweetness of cabbage and carrots.
This slaw works beautifully alongside grilled meats, fried chicken, burgers, pulled beef sandwiches, or even tucked into wraps. It is simple to prepare and tastes even better after chilling, making it ideal for gatherings and meal prep.
Prep Time: 20 minutes
Chill Time: 30–60 minutes (recommended)
Total Time: About 1 hour
Servings: 6
Ingredients
1 small shallot, minced (no more than 2 tablespoons)
½ cup mayonnaise
⅓ cup granulated sugar
¼ cup pickle juice
1 to 2 teaspoons hot sauce (adjust to taste)
1 teaspoon kosher salt
½ teaspoon freshly ground black pepper
½ small head green cabbage, roughly chopped (about 3 cups)
½ small head red cabbage, roughly chopped (about 3 cups)
1 cup shredded carrots
Instructions
Prepare the vegetables. Roughly chop green and red cabbage into bite-sized pieces. Place in a large mixing bowl. Add shredded carrots.
Salt lightly (optional step for texture). If you prefer softer slaw, sprinkle a pinch of salt over the cabbage and let it sit for 10 minutes, then drain excess moisture.
Mince the shallot. Finely mince the shallot so it blends evenly into the dressing without overpowering bites.
See also Mediterranean Garlic Butter Zucchini Grilled Cheese
Make the dressing. In a medium bowl, whisk together mayonnaise, sugar, pickle juice, hot sauce, kosher salt, and black pepper until smooth.
Adjust seasoning. Taste and adjust heat, sweetness, or tanginess by adding more hot sauce or pickle juice as desired.
Combine. Add minced shallot to the dressing and stir to incorporate.
Dress the slaw. Pour the dressing over the cabbage and carrots. Toss thoroughly until everything is evenly coated.
Chill. Cover and refrigerate for at least 30 minutes to allow flavors to meld.
Stir before serving. Give the slaw a good toss before serving to redistribute dressing.
Serve cold. Enjoy as a side dish or topping for sandwiches and tacos.
Tips
Slice cabbage evenly for consistent texture.
Do not over-mince cabbage into tiny pieces; some crunch is key.
Use fresh, crisp cabbage for best results.
Adjust sugar depending on how sweet your pickle juice is.
Start with 1 teaspoon of hot sauce, then increase gradually.
Chill at least 30 minutes for deeper flavor.
For extra crunch, add carrots just before serving.
Use full-fat mayonnaise for a creamier texture.
If slaw seems watery, drain excess liquid before serving.
Make it a few hours ahead for gatherings.
Variations
Dill Pickle Boost: Add chopped dill pickles for extra crunch.
Mustard Kick: Stir in 1 teaspoon of Dijon mustard.
Apple Addition: Add thinly sliced green apple for sweetness.
Jalapeño Heat: Mix in finely diced fresh jalapeño.
Vinegar Tang: Add 1 tablespoon of apple cider vinegar for sharper acidity.
Low-Sugar Option: Reduce sugar by half for a tangier slaw.
Creamy Upgrade: Add 1 tablespoon of sour cream for richness.
See also Mediterranean Easy Stuffed Cabbage Soup
BBQ Style: Stir in a tablespoon of barbecue sauce.
Herb Freshness: Add chopped fresh dill or parsley.
Purple-Forward Slaw: Use more red cabbage for deeper color.
Q&A
Can I make this ahead of time?
Yes, it tastes even better after chilling for a few hours.
How long does it last?
Up to 3 days in the refrigerator.
Can I use bagged coleslaw mix?
Yes, substitute about 6 cups total.
Is it very spicy?
The heat is adjustable depending on the hot sauce amount.
Can I use sweet pickle juice?
Yes, but reduce added sugar.
Why is my slaw watery?
Cabbage releases moisture; drain excess liquid before serving.
Can I make it dairy-free?
It already is, as long as your mayo is dairy-free.
Can I substitute red onion for shallot?
Yes, but use slightly less, as it is stronger.
What dishes pair well?
Burgers, grilled chicken, pulled beef, or fried fish.
Can I freeze it?
No, mayonnaise-based slaw does not freeze well.
Nutrition
(Approximate per serving)
Calories: 210
Protein: 2 g
Fat: 15 g
Carbohydrates: 18 g
Sugar: 14 g
Fiber: 3 g
Sodium: 420 mg
Values may vary depending on exact brands and measurements used.
Conclusion
Sweet and Spicy Pickle Slaw is not your average coleslaw. The combination of creamy mayonnaise, bright pickle juice, gentle sweetness, and a touch of heat creates a bold and balanced side dish that stands out on any table.
It is crunchy, colorful, and versatile enough to serve alongside grilled meats or piled high on sandwiches. Once you try this pickle-forward twist, it may quickly replace your usual coleslaw recipe.


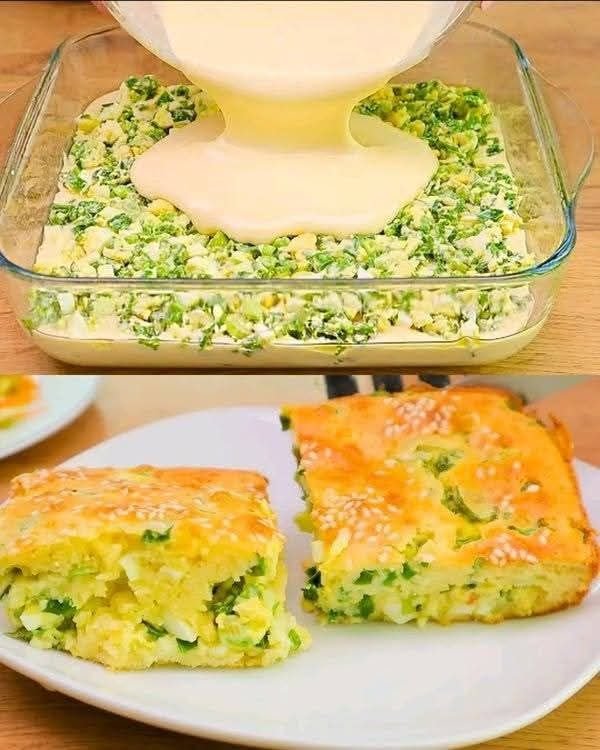
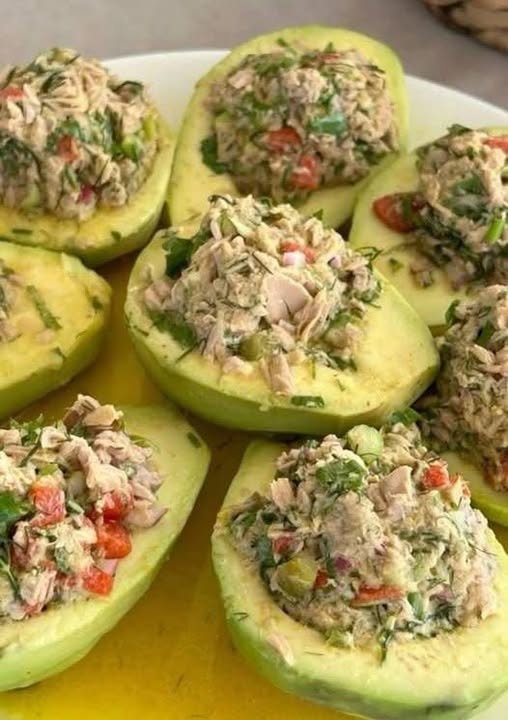
 Prep the Cucumbers
 Prepare the Eggs & Veggies
 Make the Dressing
 Combine
 High in protein (eggs + yogurt) → keeps you full longer
 Note: No single food causes weight loss. Weight loss happens when your overall daily calorie intake is lower than what you burn.