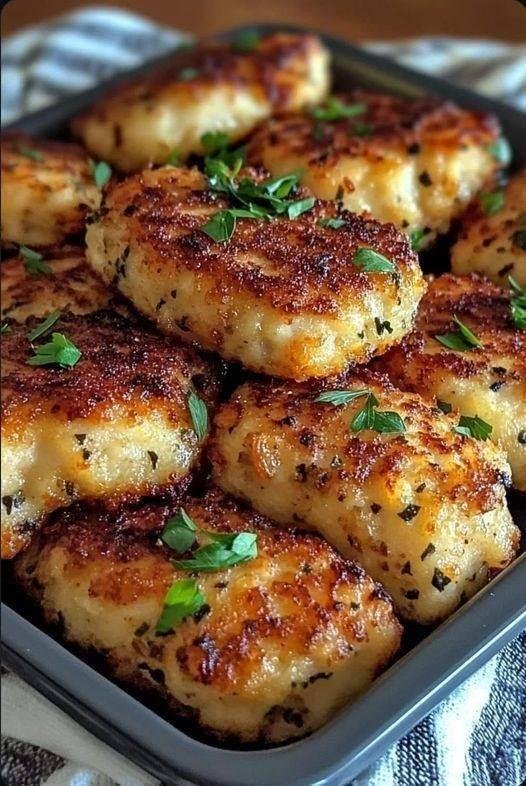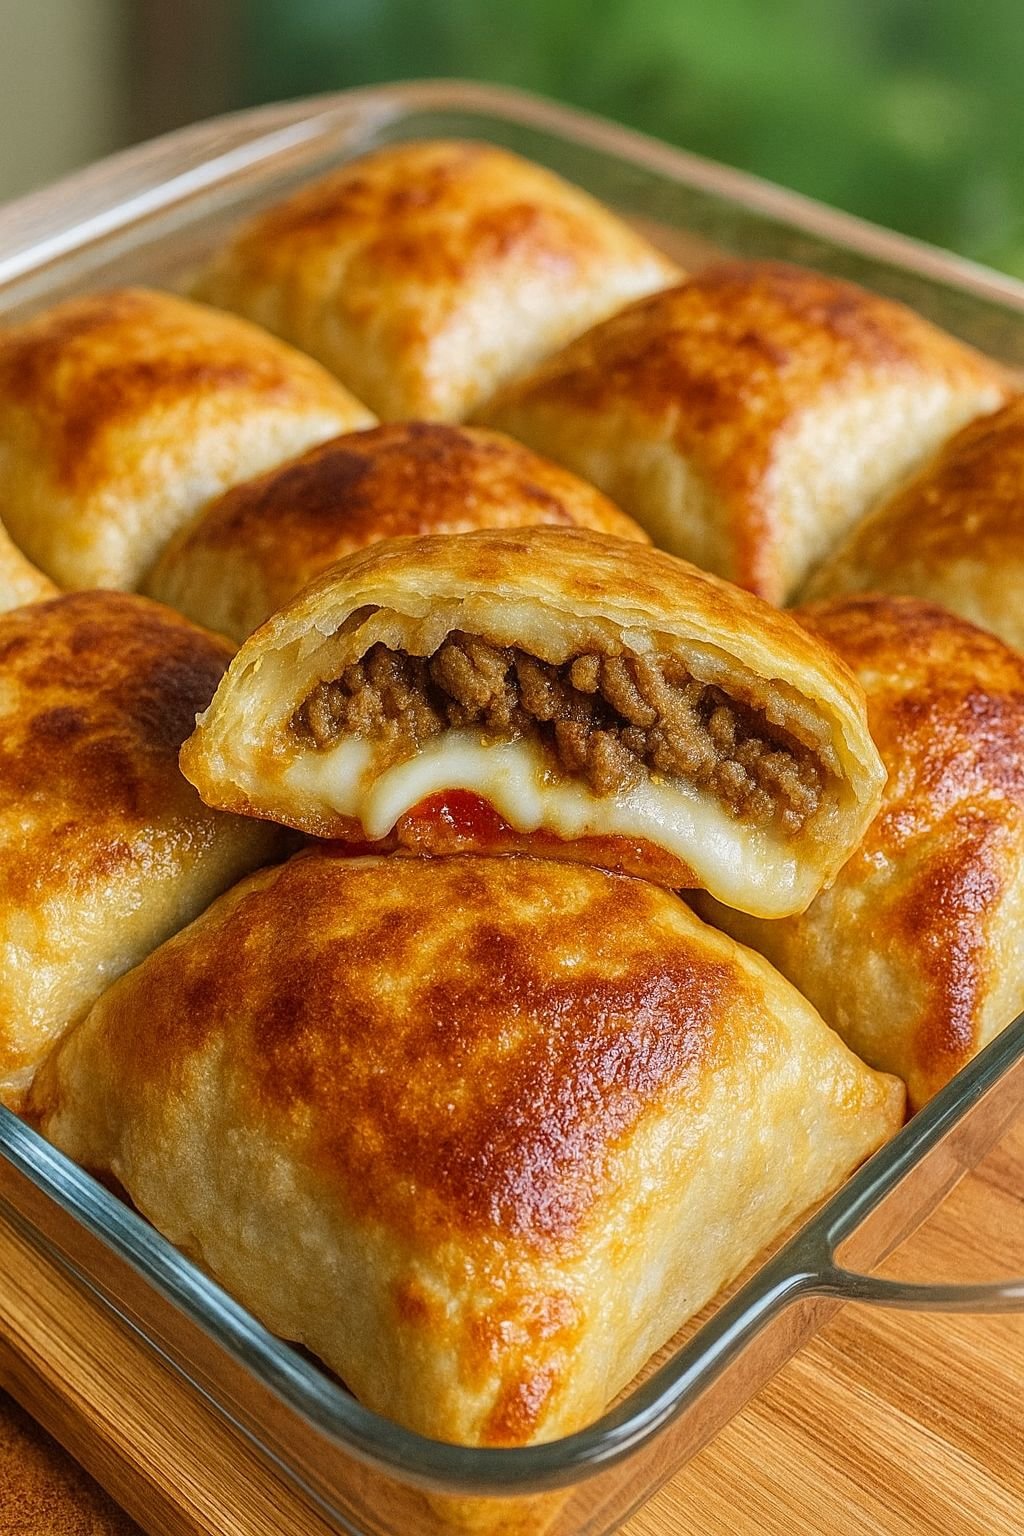
Loaded Cheesy Pocket Tacos
Prep time: 15 mins | Cook time: 25 mins | Total time: 40 mins
Ingredients
The Filling
-
1 lb ground beef
-
1 small onion: Finely chopped.
-
1 tsp garlic powder
-
1 tsp paprika
-
1 tsp cumin
-
1 tsp chili powder
-
Salt and black pepper: To taste.
-
1/2 cup pizza sauce or taco sauce
The Cheese Blend
-
1 cup shredded mozzarella or cheddar
-
1/2 cup shredded Monterey Jack
The Dough & Finish
-
1 package refrigerated crescent or pizza dough
-
1 egg: Beaten (for egg wash).
-
Optional toppings: Sour cream, salsa, chopped parsley, or cilantro.
Instructions
1. Sauté and Season the Beef
In a skillet over medium heat, cook the ground beef and chopped onion until the beef is browned and the onions are soft. Drain the excess fat—this is crucial to ensure the dough doesn’t get soggy. Stir in the garlic powder, paprika, cumin, chili powder, salt, and pepper. Cook for 2 more minutes to let the spices “bloom,” then remove from heat to cool slightly.
2. Prepare the Oven and Dough
Preheat your oven to 375°F (190°C). Line a baking sheet with parchment paper. Unroll your dough and cut it into equal squares or rectangles. If using crescent dough, you can pinch the perforated diagonal seams together to create solid rectangles.
3. Assemble the Pockets
Place a spoonful of the beef mixture in the center of each dough piece. Drizzle a little sauce over the meat, then top with a generous pinch of the blended cheeses.
AI Tip: Leave a small border around the edges so you can get a clean seal!
4. Seal and Glaze
Fold the dough over the filling. Use your fingers or the tines of a fork to pinch the edges firmly. Place them seam-side down on your baking sheet. Brush the tops with the beaten egg wash; this is what gives them that professional, bakery-style golden sheen.
5. Bake to Perfection
Bake for 20–25 minutes. You’re looking for the dough to be puffed up and a deep golden brown. Let them rest for 5 minutes after they come out of the oven—the cheese inside will be very hot!
Serving Suggestions
-
The “Dip” Flight: Serve these with three small bowls: one with cool sour cream, one with spicy salsa, and one with guacamole.
-
Add a Crunch: If you want some texture, sprinkle a little cornmeal on the bottom of the baking sheet before placing the pockets down.


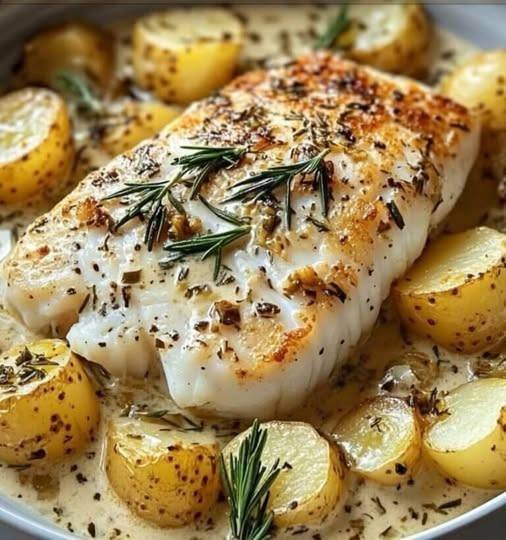
 High-protein, nutrient-rich cod