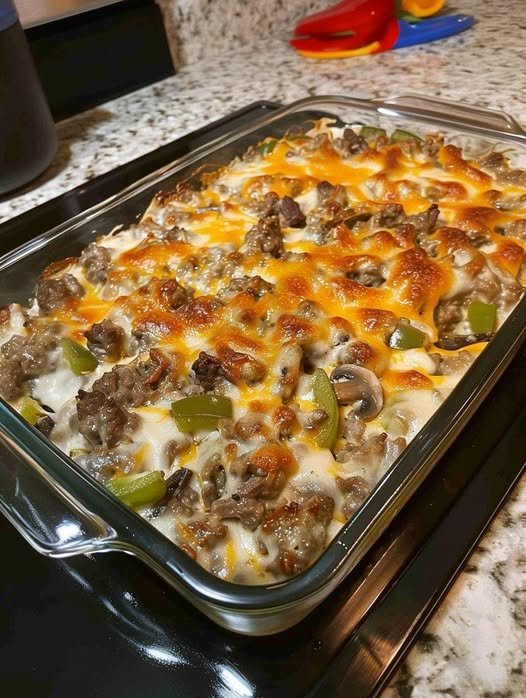
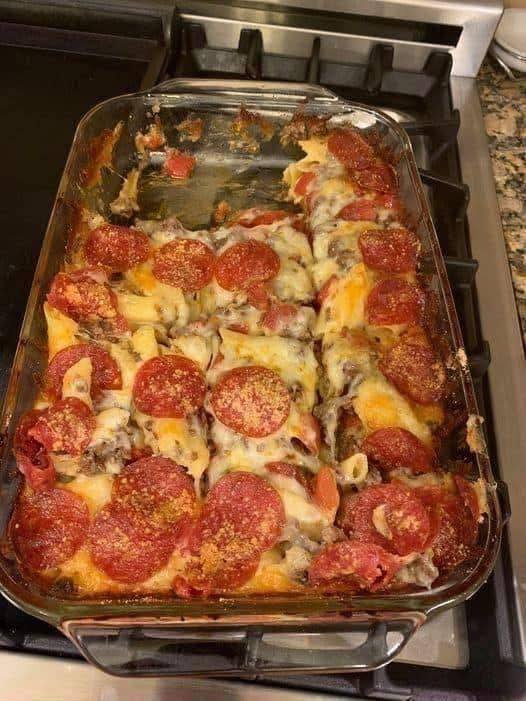
Keto Philly Cheesesteak Casserole
A rich, creamy, and high-protein bake that captures the classic flavors of a Philly cheesesteak without the bun.
-
Prep time: 15 minutes
-
Cook time: 20-25 minutes
-
Servings: 6 (Approx. 1 heaped cup each)
-
Calories: 495 kcal | Net Carbs: 7 g
Ingredients
The Base:
-
907 g (2 lbs) Ground beef (90% lean recommended)
-
3 large Bell peppers (any color), thinly sliced
-
1 large Onion (yellow, red, or sweet), thinly sliced
-
113 g (4 oz) Cream cheese
-
¼ cup Chicken bone broth
The Seasoning:
-
2 tsp Sea salt
-
½ tsp Black pepper
-
½ tsp Garlic powder
-
1 tsp Smoked paprika
-
½ tbsp Italian seasoning
The Topping:
-
6 slices Provolone cheese (or 1.5 cups shredded Provolone, Mozzarella, or Monterey Jack)
Instructions
1. Preparation
-
Preheat your oven to 177°C (350°F).
-
Prepare a rectangular baking dish (ideally 8 x 11.5 inches). If using stoneware, no oil is needed; otherwise, lightly grease the dish with oil or butter.
2. Cook the Beef and Veggies
-
Place a large skillet over medium-high heat. Add the ground beef and cook, breaking it up with a spatula, until browned. Season with the sea salt and black pepper.
-
Once the beef is thoroughly cooked, add the sliced onions and bell peppers to the pan.
-
Sprinkle in the garlic powder, Italian seasoning, and smoked paprika. Sauté for a few minutes until the vegetables are slightly softened but still hold their shape.
3. Create the Creamy Sauce
-
Lower the heat slightly. Add the chicken bone broth and the cream cheese to the skillet.
-
Stir continuously until the cream cheese is fully melted and forms a smooth, creamy coating over the beef and vegetables. Tip: Remove from heat immediately once melted to prevent the sauce from drying out.
4. Bake
-
Transfer the beef mixture into your prepared baking dish, spreading it out evenly.
-
Lay the provolone cheese slices over the top, overlapping them slightly to cover the surface.
-
Bake in the oven until the cheese is completely melted and bubbly.
-
Optional: For a crispy brown top, move the dish to the top rack and broil for 2–3 minutes.
5. Rest and Serve
-
Let the casserole sit for 5 to 10 minutes before serving. This allows the juices to settle and the flavors to “lock in.“
Storage & Reheating
-
Fridge: Store in an airtight container for 5–6 days.
-
Freezer: Wrap tightly and freeze for up to 100 days. Thaw in the fridge for 24 hours before reheating.
-
Reheating: Microwave individual portions or warm the whole dish in the oven at 175°C (350°F) until heated through.

 Note: While this recipe contains no added sugar, it is not zero-calorie. Apples and oats contain natural carbohydrates.
 Diabetic-Friendly
 Oats
Oats Apples
 Egg
Egg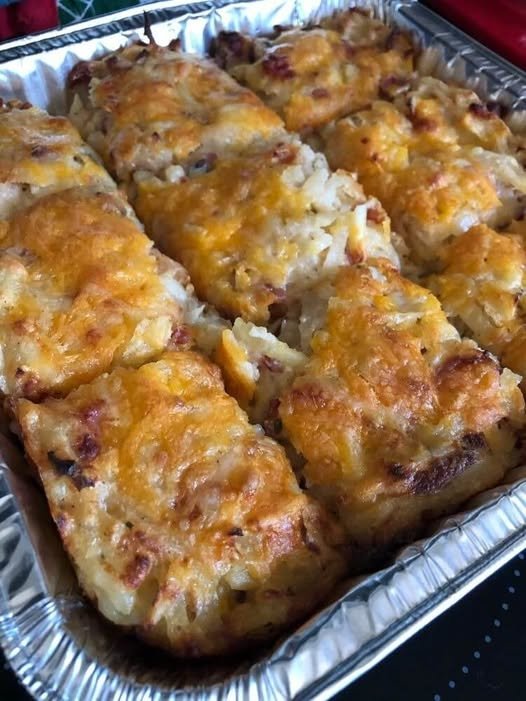


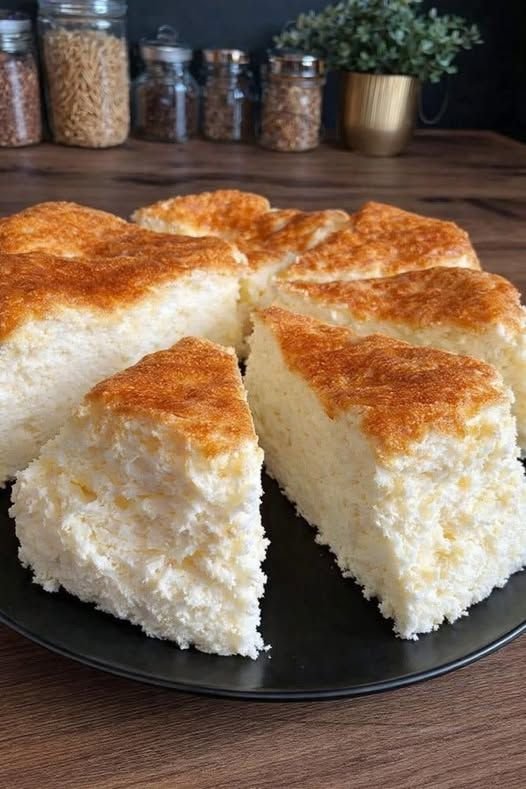
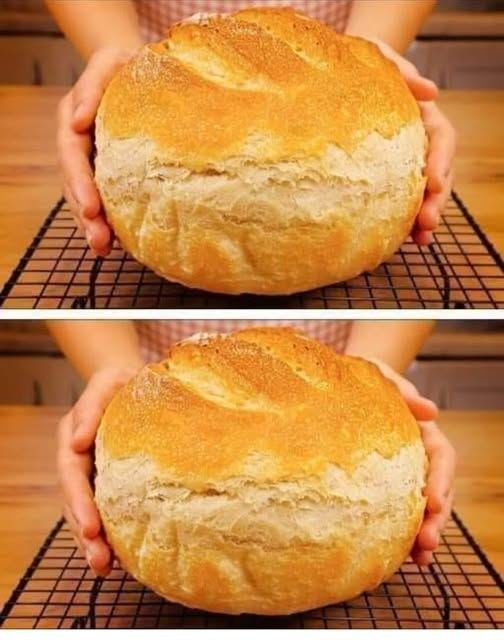
 Homemade White Bread

 Description
 Ingredients
 Instructions
 Preheat Oven
 Cook the Beef
 Layer the Casserole
 Bake
Bake Broil (Optional but Recommended)
 Rest & Serve
 Serving Suggestions
 Variations
 Nutrition (Approx. Per Serving – 6 servings)
 Common Questions
 Final Thoughts