Blueberry Streusel Muffins
-
Prep time: 15 minutes
-
Cook time: 20-25 minutes
-
Servings: 12 Large Muffins
The Ingredients
For the Streusel Topping:
-
1/2 cup all-purpose flour
-
1/2 cup granulated sugar
-
1/4 cup unsalted butter, melted
-
1 tsp ground cinnamon
For the Muffin Batter:
-
1 1/2 cups all-purpose flour
-
3/4 cup granulated sugar
-
1/2 tsp salt
-
2 tsp baking powder
-
1/3 cup vegetable oil
-
1 large egg
-
1/3 cup whole milk
-
1 cup fresh blueberries (frozen works too, just don’t thaw them!)
-
1 tsp vanilla extract
Instructions
-
Prep the Oven: Preheat your oven to 200°C (400°F). Line a 12-cup muffin tin with paper liners.
-
Make the Crunch: In a small bowl, mix the streusel ingredients with a fork until it looks like coarse crumbs. Set aside.
-
Mix Dry & Wet: In a large bowl, whisk together the flour, sugar, baking powder, and salt. In a separate measuring jug, whisk the oil, egg, milk, and vanilla.
-
Combine: Pour the wet ingredients into the dry. Fold gently with a spatula. Stop as soon as the flour streaks disappear—lumps are your friend here!
-
Fold in Berries: Gently toss your blueberries in a teaspoon of flour (this stops them sinking) and fold them into the batter.
-
Bake: Fill muffin cups to the brim. Pile that streusel on top generously. Bake for 20–25 minutes or until a toothpick comes out clean.
Nutritional Info (Per Muffin)
| Calorie/Macro | Amount |
| Calories | 240 kcal |
| Total Fat | 9g |
| Carbohydrates | 36g |
| Protein | 3g |
| Sugar | 18g |
Pro Tips for Success
-
The “No-Overmix” Rule: Overmixing develops gluten, which leads to tough, rubbery muffins. Mix until “just combined.”
-
High Heat Start: Starting at 200°C creates a rapid steam burst that lifts the muffin tops into those beautiful domes.
-
Fresh vs. Frozen: If using frozen berries, do not thaw them. If you do, they’ll bleed juice and turn your entire muffin grey-purple.
Benefits of this Recipe
-
Antioxidant Boost: Blueberries are packed with anthocyanins, which support heart health and brain function.
-
Texture Contrast: You get the soft, fluffy interior paired with a biscuit-like crunch on top.
-
Versatility: You can swap the blueberries for raspberries or blackberries using the exact same ratios.
Q&A
Q: Can I use Greek yogurt instead of milk?
A: Absolutely. It will make the muffins even more moist and slightly tangier. Use a 1:1 swap.
Q: My muffins didn’t rise, what happened?
A: Check your baking powder! If it’s older than 6 months, it might be expired. Also, ensure your oven was fully preheated before the tin went in.
Q: How do I store these?
A: Keep them in an airtight container at room temperature for 2 days. For longer storage, they freeze beautifully for up to 3 months.
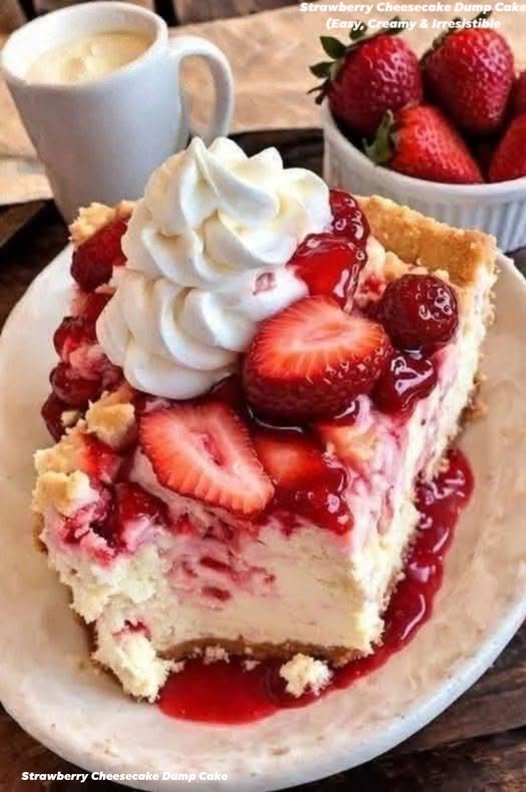
 Strawberry Cheesecake Dump Cake
 Description
 Ingredients (Only 5!)
 Instructions
 Serving Ideas
 Q & A
Q & A


 Tips for Best Results
 Use rolled oats, not instant flavored oats.
 Keeps You Full Longer
 Supports Digestion
 Helps Control Blood Sugar
 Boosts Metabolism
 Heart Healthy