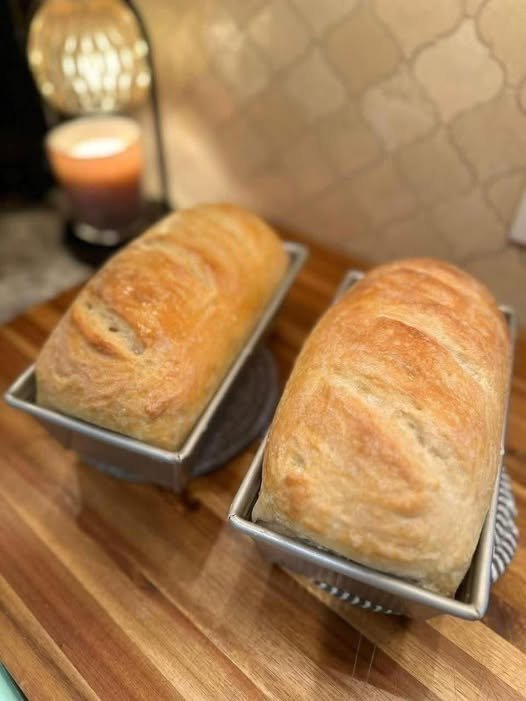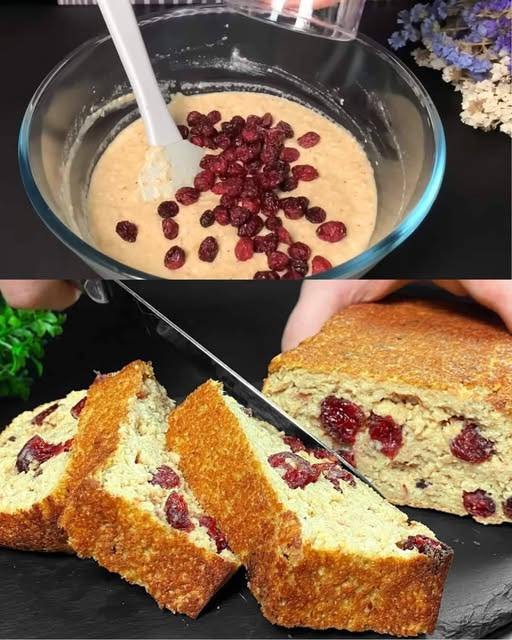
Banana Carrot Raisin Bread
Prep Time: 15 minutes
Bake Time: 50–60 minutes
Yield: 1 standard loaf (9×5 inch pan)
This bread is soft, naturally sweet from bananas and carrots, and dotted with juicy raisins. It’s perfect for breakfast, tea time, or a light dessert.
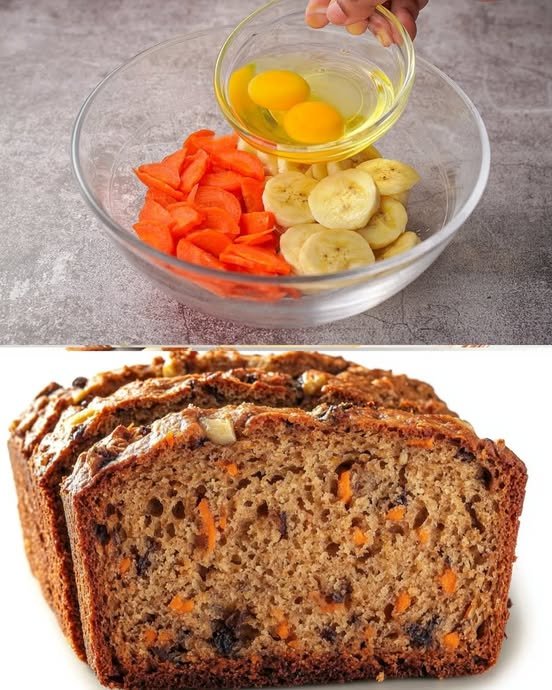
📝 Ingredients
Wet Ingredients
-
2 medium ripe bananas, mashed well
-
1 cup grated carrots (about 2 medium carrots)
-
2 large eggs, at room temperature
-
½ cup (120 ml) vegetable oil
-
½ cup (100 g) brown sugar, packed
-
1 teaspoon vanilla extract
Dry Ingredients
-
1½ cups (190 g) all-purpose flour
-
1 teaspoon baking soda
-
1 teaspoon baking powder
-
½ teaspoon salt
-
1 teaspoon ground cinnamon
Mix-ins
-
½ cup (80 g) raisins
👩🍳 Instructions
Step 1: Prepare the Pan and Oven
Preheat your oven to 350°F (175°C).
Grease a 9×5 inch loaf pan with oil or butter, or line it with parchment paper so the bread can be removed easily after baking.
Step 2: Mix the Wet Ingredients
In a large mixing bowl:
-
Mash the bananas until smooth.
-
Add grated carrots.
-
Add eggs, vegetable oil, brown sugar, and vanilla extract.
-
Whisk everything together until well blended and smooth.
Step 3: Mix the Dry Ingredients
In a separate bowl:
-
Add flour, baking soda, baking powder, salt, and cinnamon.
-
Whisk or sift them together so the leavening agents and spices are evenly mixed.
Step 4: Combine Wet and Dry
-
Gradually add the dry ingredients into the wet mixture.
-
Stir gently using a spatula or spoon until just combined.
-
Do not overmix; overmixing can make the bread dense instead of soft.
Step 5: Add the Raisins
-
Fold in the raisins gently so they are evenly spread throughout the batter.
Step 6: Bake
-
Pour the batter into the prepared loaf pan.
-
Smooth the top with a spatula.
-
Bake for 50–60 minutes.
-
Check doneness by inserting a toothpick into the center:
-
It should come out clean or with a few moist crumbs.
-
Step 7: Cool
-
Let the bread cool in the pan for 10 minutes.
-
Remove it and place it on a wire rack to cool completely before slicing.
🌟 Tips for Best Results
-
Carrots: Use the fine side of a grater for a smoother texture.
-
Extra texture (optional): Add ½ cup chopped walnuts or pecans along with raisins.
-
Sweetness: You may reduce sugar slightly if your bananas are very ripe.
-
Storage:
-
Keep in an airtight container at room temperature for 3–4 days.
-
Refrigerate for up to 1 week.
-
Freeze slices for up to 2 months.
-