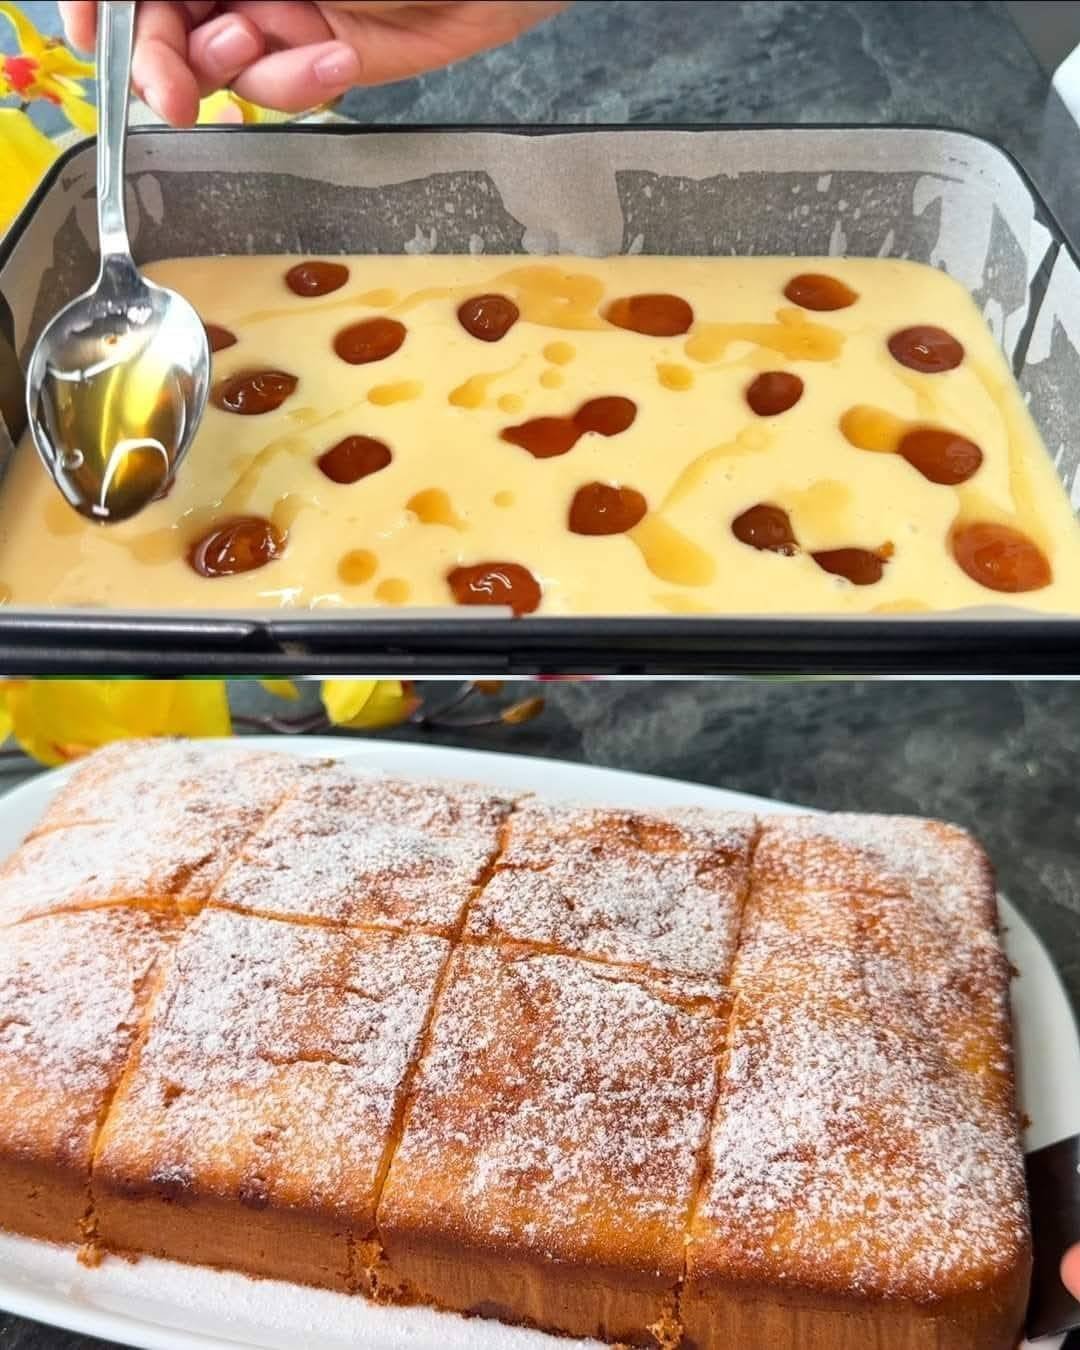
Creamy Blender Dessert (No-Bake, No-Cook)
Prep Time: 10 minutes
Chill Time: 1–2 hours
Servings: 6–8 small cups
Difficulty: Very easy
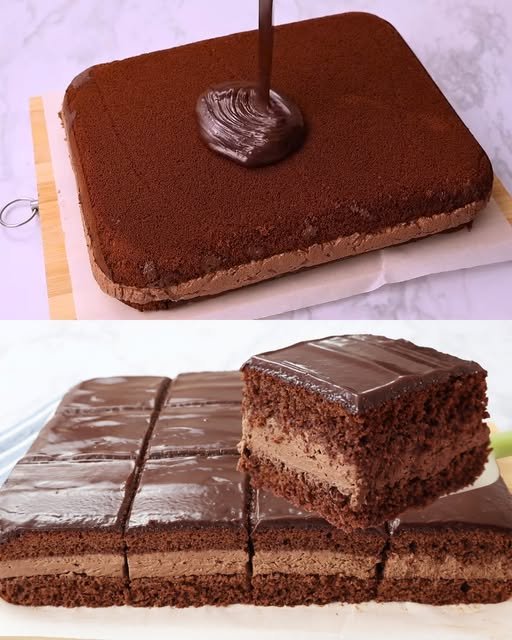
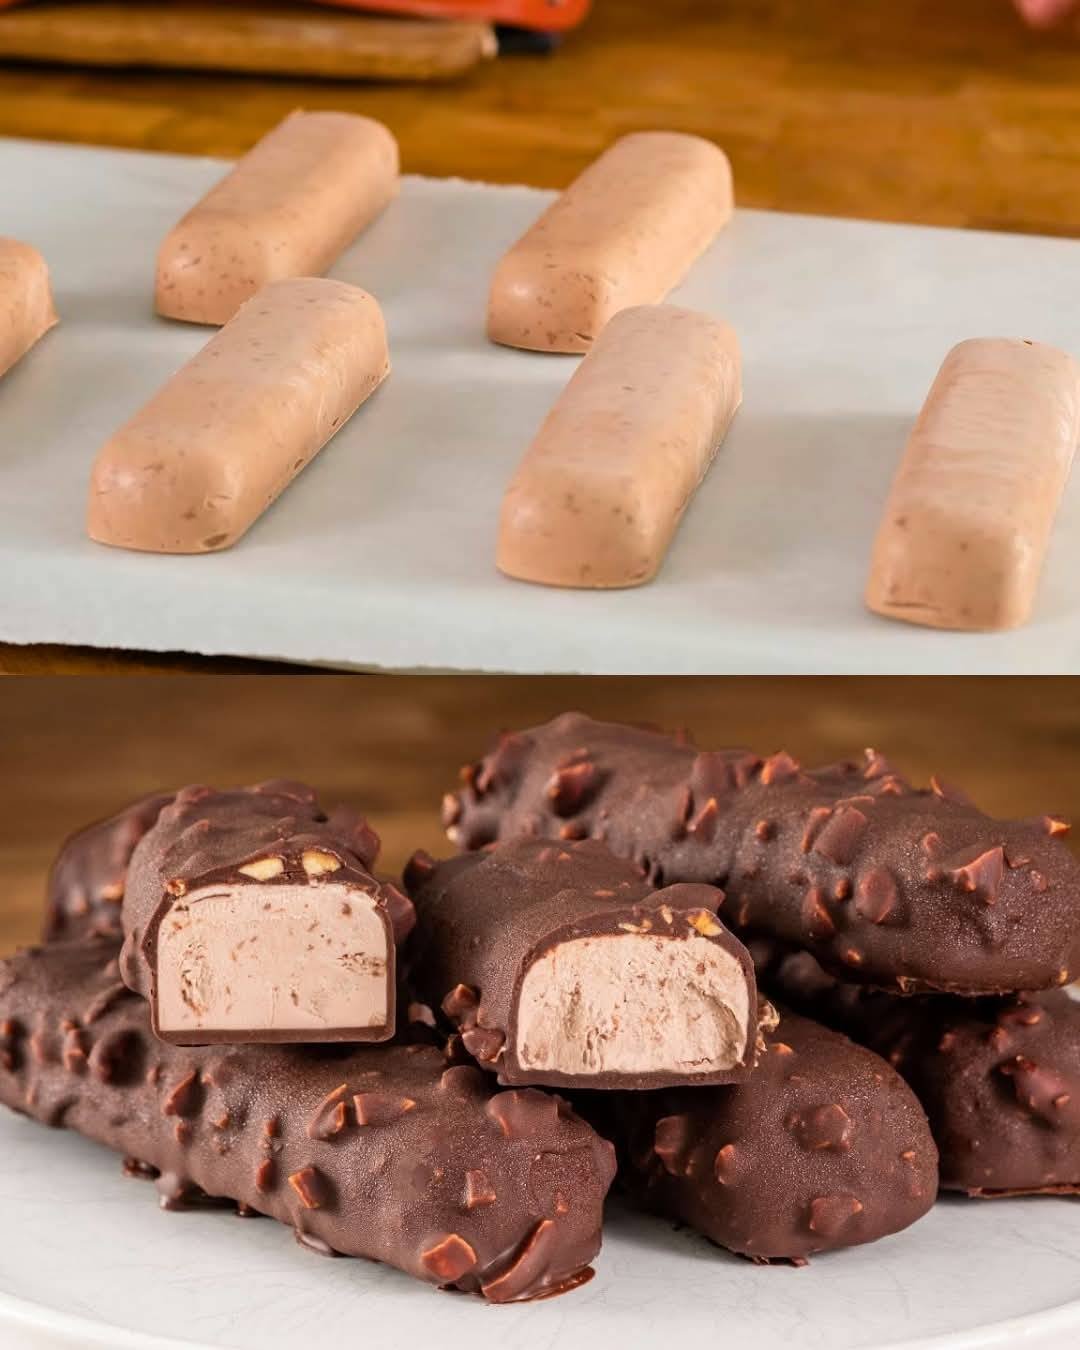
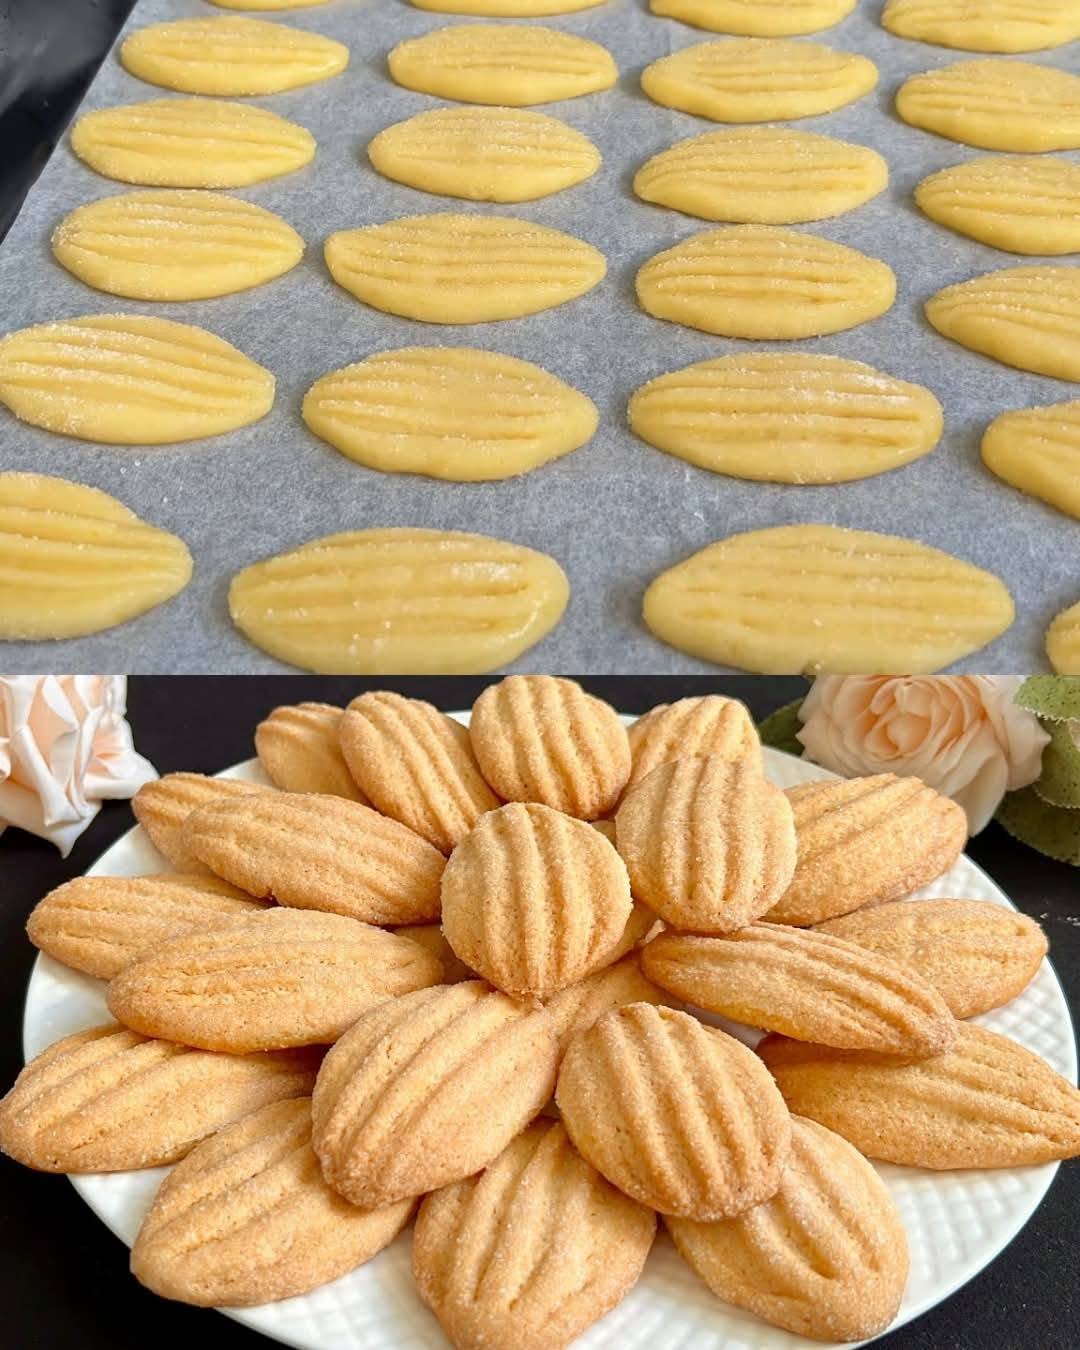
This creamy dessert is made entirely in a blender and set in the refrigerator. It has a smooth texture with small chocolate crunch pieces inside.
Ingredients
-
1 can sweetened condensed milk (395 g / 14 oz)
-
200 ml (¾ cup) heavy cream or table cream
-
100 ml (⅖ cup) cold milk
-
200 ml (¾ cup) whipped cream (cold)
-
1 packet passion fruit flavored powdered drink mix
-
90 g (about ¾ cup) chocolate sprinkles
Equipment
-
Blender
-
Mixing spoon or spatula
-
Measuring cup
-
Serving cups or small bowls
Instructions
-
Prepare the blender mixture
Add the following to the blender:-
Heavy cream
-
Sweetened condensed milk
-
Whipped cream
-
Milk
-
Passion fruit powdered drink mix
-
-
Blend
Blend on medium speed for about 4–5 minutes, until the mixture becomes:-
Smooth
-
Thick
-
Fully combined with no lumps
-
-
Add chocolate sprinkles
Pour the blended mixture into a bowl.
Add the chocolate sprinkles and gently mix with a spoon or spatula.
Do not stir hard, so the sprinkles keep their shape and texture. -
Portion the dessert
Divide the mixture into individual cups (about 250 ml / 8 oz each). -
Chill
Place the cups in the refrigerator for at least 1 hour (2 hours for a firmer texture). -
Serve
Once chilled and set, the dessert is ready to serve.
Optional Garnishes
-
Extra whipped cream on top
-
Chocolate shavings
-
Crushed biscuits
-
Fresh fruit slices
Flavor Variations
You can replace the passion fruit drink mix with:
-
Strawberry
-
Pineapple
-
Lemon
-
Mango
Use the same amount (1 packet).
Storage
-
Keep refrigerated
-
Best consumed within 2–3 days
-
Do not freeze (texture may change)


 Ingredients
 Instructions
 Servings
 Helpful Notes
 Serving Ideas
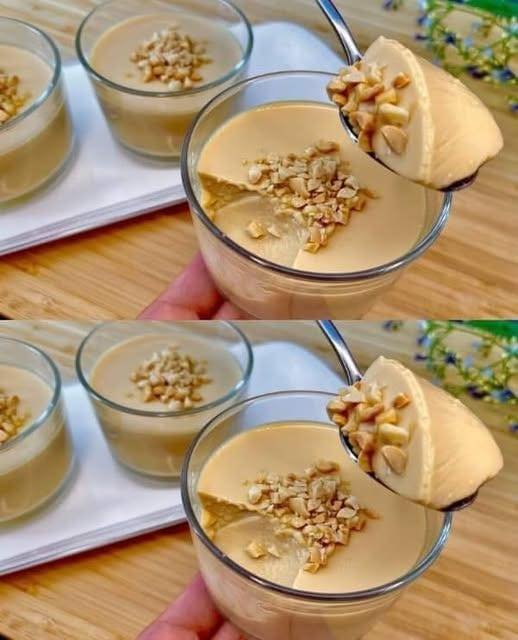
 Important: Keep the heat low. High heat can cause the eggs to cook unevenly.
 Ingredients
 Instructions