Ingredients:
For the pastry:
4 cups (500g) all-purpose flour
200g cold Butter, cubed
2 Eggs
1 teaspoon Salt
1 tablespoon sugar
1 teaspoon baking powder
1/4 cup (60ml) cold water
For the filling:
•3/4 pound (350g) Ground beef
1 Potato, peeled and diced into small cubes
1 Large Onion, chopped
1 Large Carrot, peeled and diced
1 cup (240ml) Water/beef broth
Salt to taste
Pepper to taste
1 teaspoon Thyme
2 tablespoons flour
2 tablespoons Oil
1 egg for brushing
How to prepare:
-Make the pastry: in a large bowl mix together flour, sugar, salt and baking powder.
-Add cubed butter and rub it with the flour until you get a crumbly texture.
-Beat 2 eggs with cold water and add it to the flour mixture, mix until dough is formed. Cover for 30mins.
-Make the filling: in a large pan heat oil. Add onion and sauté for 5-6 mins.
-Add diced carrots and potatoes and cook for 3-4 mins.
-Add the meat, breaking it apart, for 4-5 mins; Season with salt, pepper, thyme and flour.
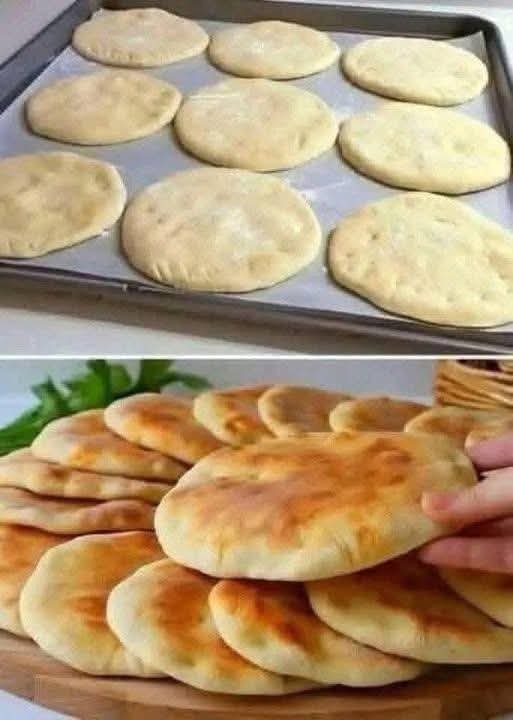
-Divide the dough into 4 pieces. Roll out the dough into 1/8-inch thickness. Cut out a round shape with your desired sized.
-8. Place about 1-2 tablespoons of the meat mixture in the center and fold over the dough. Seal it with your fingers or with a fork. Poke the pies with a fork to create a steam outlet.
-Bake for 25-30 minutes, until golden. Cool slightly before serving.

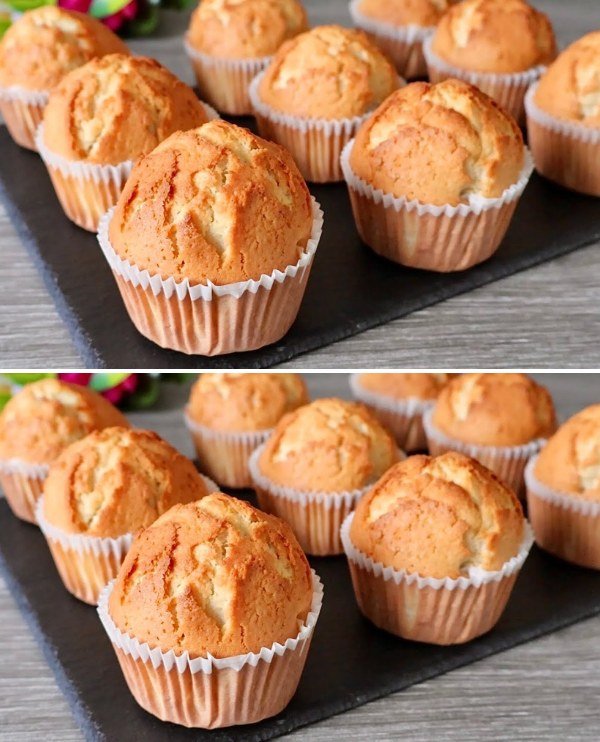
 Ingredients
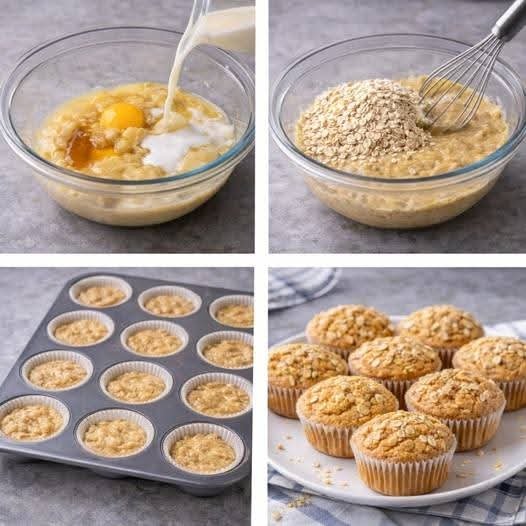
 Step-by-Step Instructions
 Step 1: Prepare Oven and Muffin Pan
 Step 2: Whisk Wet Ingredients
 Step 3: Combine with Dry Ingredients
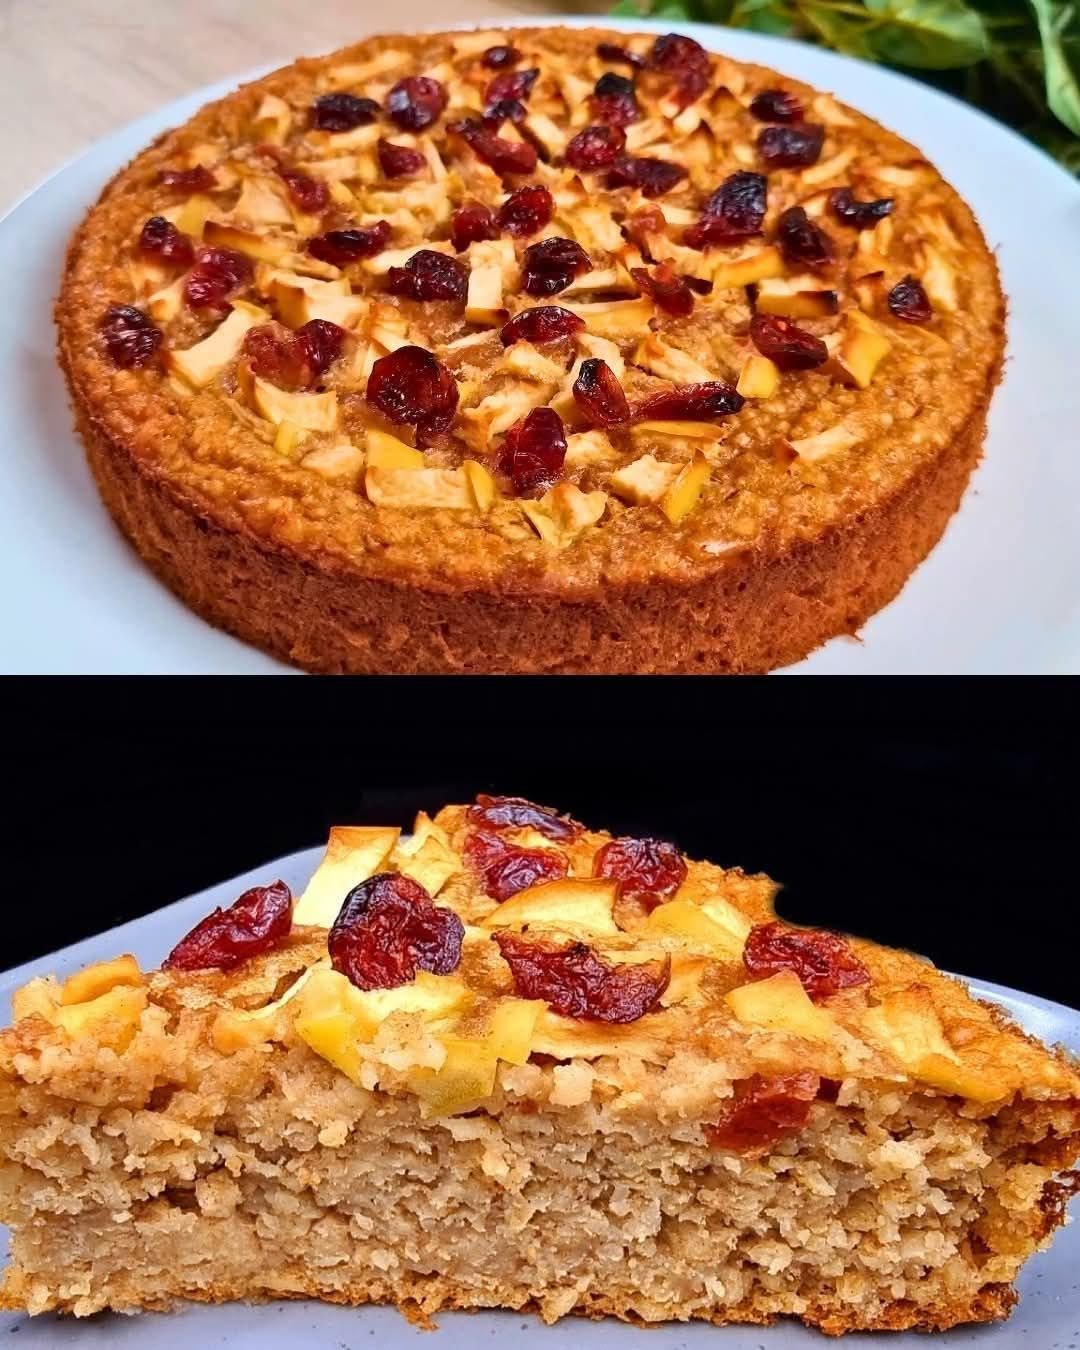
 Step 4: Add Mix-ins (Optional)
 Step 5: Fill Muffin Cups
 Step 7: Cool
 Pro-Tips for Success


 How to Prepare