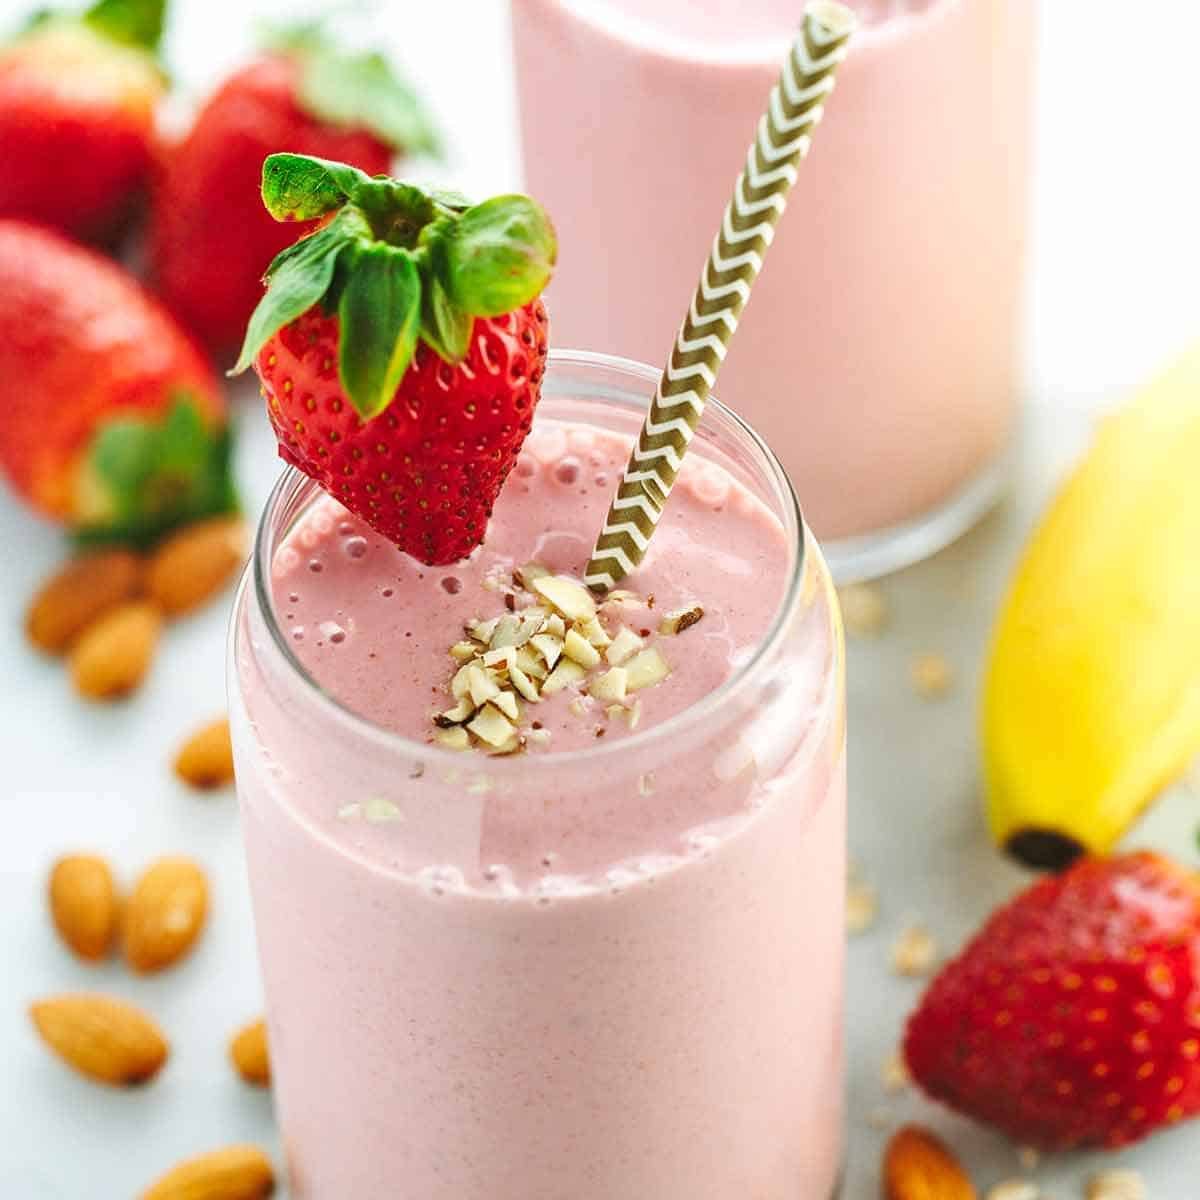
Strawberry Peach Smoothie
This recipe makes approximately two servings, perfect for the two mason jars shown in your photo.
Ingredients
Strawberries: 1 ½ cups frozen (for a thicker texture) or fresh.
Peaches: 1 ½ cups sliced (frozen or fresh/peeled).
Liquid Base: 1 cup orange juice (for brightness) or almond milk (for creaminess).
Yogurt: ½ cup Greek yogurt or vanilla yogurt (adds that smooth, velvety finish).
Sweetener (Optional): 1 tablespoon honey or maple syrup if your fruit isn’t quite sweet enough.
Garnish: Extra chopped strawberries and peach chunks.
Instructions
Prep the Fruit: If using fresh peaches, remove the skin and pits. If using fresh strawberries, remove the green stems.
Layer the Blender: Always add your liquid (juice or milk) and yogurt first. This helps the blades move freely and prevents the frozen fruit from getting stuck at the bottom.
Add Solids: Add the strawberries and peaches on top of the liquid.
Blend: Start on a low speed and gradually increase to high. Blend for about 45–60 seconds until the mixture is completely smooth and no fruit chunks remain.
Adjust Consistency: * Too thick? Add a splash more liquid.
Too thin? Add a few more frozen fruit slices or a handful of ice.
Serve: Pour into glasses. Top with small diced pieces of strawberry and peach, just like in the photo, and add a festive straw!
Quick Tips for the Best Results
Use Frozen Fruit: Using frozen fruit instead of ice ensures your smoothie stays flavorful and doesn’t get “watered down.”
Peaches: If you are using fresh peaches and want that ultra-smooth texture, it’s best to peel them first.