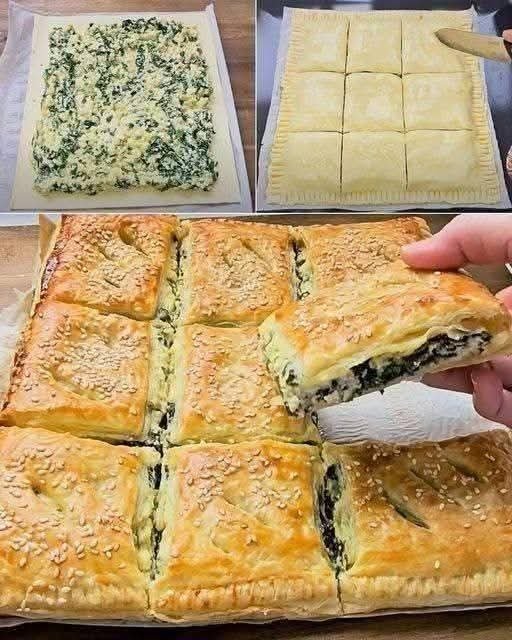
Crispy, golden layers of puff pastry filled with creamy spinach and cheese – your new go-to savory snack or light meal.
Servings: 9 squares | Prep Time: 15 mins | Bake Time: 30–35 mins | Total Time: 50 mins
Dietary Badges: ✅ Vegetarian ✅ Freezer-Friendly
🧾 Ingredients Checklist:
Puff pastry sheets (2, thawed)
Cooked spinach (squeezed dry)
Ricotta or cottage cheese
Feta cheese (crumbled)
Shredded mozzarella (optional)
Egg (for filling and brushing)
Onion (finely diced, optional)
Olive oil or butter
Salt & pepper
Sesame seeds (for topping)
📋 Instructions:
Preheat oven to 375°F (190°C).
Line a baking tray with parchment paper.
Make the filling:
In a pan, sauté onions in olive oil (if using). Add spinach to remove excess moisture. In a bowl, combine spinach, ricotta, feta, one egg, salt, pepper, and mozzarella.
Assemble base layer:
Place one puff pastry sheet on the baking tray. Spread the spinach filling evenly, leaving 1/2 inch around the edges.
Add top layer:
Place second puff pastry sheet on top. Seal edges with a fork. Score into 9 squares with a knife (don’t cut all the way through).
Brush and top:
Brush with beaten egg. Sprinkle sesame seeds on top.
Bake for 30–35 mins:
Bake until golden and puffed. Let rest 5 minutes before cutting through.
📝 Notes:
Best served warm but delicious at room temp.
Use frozen spinach, fully thawed and squeezed dry, for ease.
This dish is similar to Greek spanakopita but with a pastry twist.
✨ Introduction:
This Spinach and Cheese Puff Pastry Pie is the definition of cozy-meets-elegant. Think spanakopita vibes with the buttery crunch of puff pastry – ideal for brunch, lunchboxes, or a satisfying meatless dinner.
I made this the first time to impress guests and now it’s on constant rotation. It’s that good.
🍳 Step-by-Step Cooking Guide
🧅 Sauté the Spinach
Start by cooking out moisture from spinach and lightly sautéing onions for extra depth.
Tip: Frozen spinach works great – just squeeze it dry in a clean kitchen towel.
🧀 Mix the Filling
In a mixing bowl, combine ricotta, feta, spinach, and egg. Season well.
Optional: Add shredded mozzarella for extra gooey texture.
🥟 Assemble the Pie
Lay out one puff pastry sheet. Add filling evenly. Cover with second sheet. Seal edges with a fork.
🔪 Score Before Baking
Lightly score the top into 9 squares – this makes slicing easier post-bake and gives that signature puff pie look.
🥚 Brush and Top
Egg wash = golden finish. Sesame seeds = texture and visual appeal.
🔥 Bake Until Puff and Gold
Bake at 375°F (190°C) until deeply golden and puffed up.
🧾 Ingredient Details & Substitutions
🥬 Ingredient Highlights:
Spinach: Fresh or frozen. Must be dry.
Cheese Mix: Ricotta adds creaminess, feta gives salt and tang, mozzarella adds melt.
Puff Pastry: Store-bought is perfect. Thaw completely before use.
🔁 Substitutes:
No feta? Use goat cheese or just increase ricotta and salt slightly.
Vegan? Use dairy-free cheeses and egg replacer; brush with plant milk.
Gluten-Free? Use GF puff pastry (available in select stores).
🛠 Equipment Tips
Baking Tray & Parchment: Prevents sticking and ensures even browning.
Fork: To seal edges tight.
Sharp Knife: Scoring helps steam escape and makes cutting cleaner post-bake.
🍽 Recipe Variations & Serving Suggestions
🧄 Flavor Boosts:
Add minced garlic to the spinach.
Mix in a pinch of nutmeg for warmth.
Top with a drizzle of honey for sweet-savory contrast.
🍄 Other Add-Ins:
Mushrooms (sautéed first)
Caramelized onions
Chopped sun-dried tomatoes
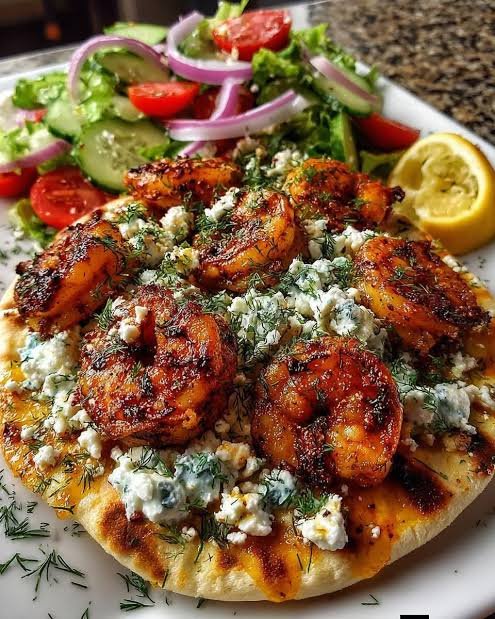
🍽 Serve With:
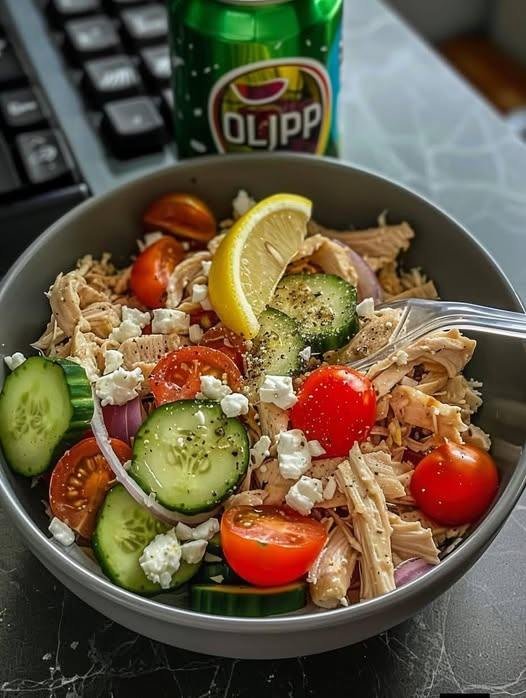
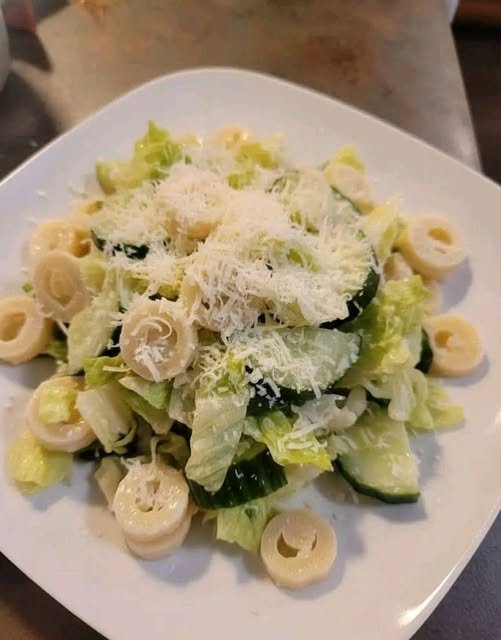
Greek salad or tomato cucumber salad
Yogurt or tzatziki dip
A glass of crisp white wine or sparkling water with lemon
❄️ Storage & Make-Ahead Tips
🧊 Storage:
Keeps in fridge up to 4 days in airtight container.
Reheat in oven at 350°F (175°C) for 10 mins to revive crispiness.
❄️ Freezing:
Freeze slices individually. Reheat directly from frozen in oven for 20 mins.
🕒 Make-Ahead:
Assemble the pie and refrigerate covered for up to 24 hours before baking.
🍴 Nutrition Facts (Estimated per square)
Calories: 220 | Carbs: 18g | Protein: 7g | Fat: 14g
Allergens: Dairy, Gluten, Egg
Diet Highlights:
✅ High in calcium from cheese
✅ Vegetarian
✅ Contains iron from spinach
❓ FAQs
Q: Can I use phyllo instead of puff pastry?
A: Yes! Use 6–8 layers, brushing each with olive oil or butter.
Q: Can I make this crustless?
A: Not with the same results – puff pastry is essential to this version’s texture.
Q: How do I keep the pastry from getting soggy?
A: Squeeze all water out of the spinach and don’t overfill the pie.
💬 Story Behind the Recipe
This recipe reminds me of Sunday brunches at my aunt’s house – her spanakopita was legendary. I wanted to recreate that same flavor with a shortcut: puff pastry. After a few iterations, this version became a staple. It’s nostalgic, comforting, and always a hit with guests – even spinach skeptics.
💛 Reader Interaction
Have you tried this with a twist? Maybe added mushrooms or a spicy version? Let me know in the comments – I love hearing how you make it your own!
📢 Call-to-Action
Bake this savory spinach pie for your next gathering – or just treat yourself to a flaky, cheesy square of comfort.
Tag your photos with #ZestSpinachPie and show me how yours turned out!

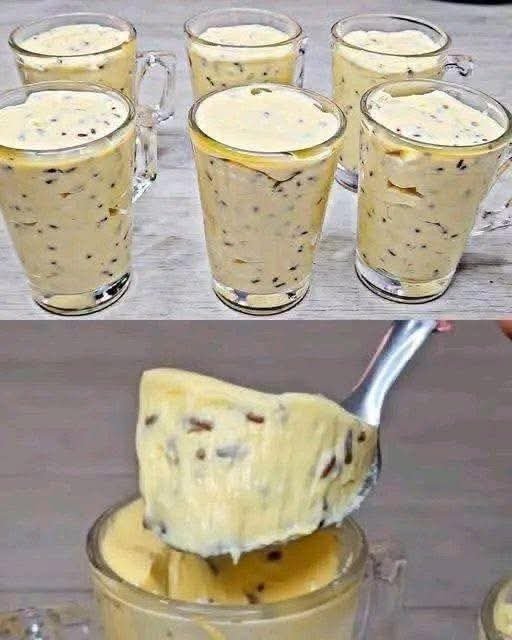


 “Diabetic-friendly” means lower in sugar and carbs — always monitor blood glucose and consult your healthcare provider for personal guidance.
 Lower sugar than traditional cream rolls
 Add sugar-free strawberry puree swirl
 Mix in 1 tbsp unsweetened cocoa powder
 Add 1 tbsp coconut cream for tropical flavor
 Add ½ tsp instant espresso for mocha twist

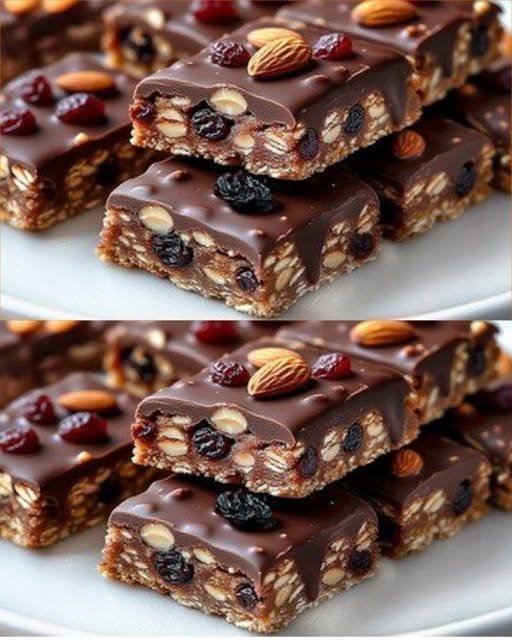
 Tips for Best Results
 Keeps You Full Longer
 Supports Digestion
 Helps Control Blood Sugar
 Boosts Metabolism
 Heart Healthy