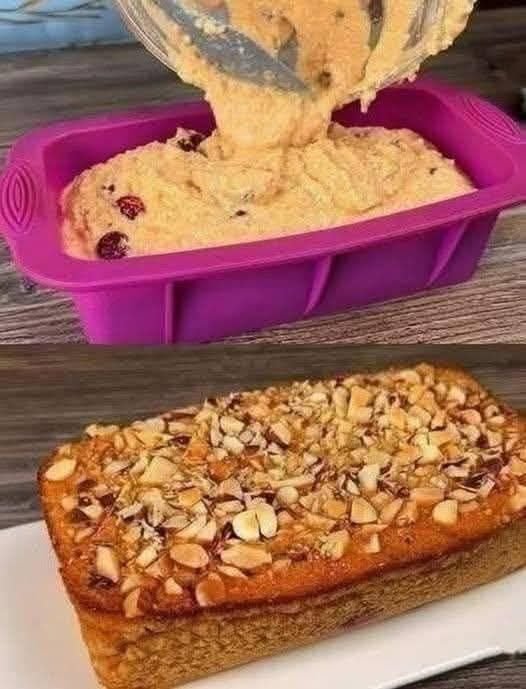
Layered Sweet Potato, Squash & Carrot Bake with Cranberry-Honey Drizzle
Description
This vibrant layered vegetable bake combines thinly sliced sweet potatoes, butternut squash, and carrots, baked until tender and caramelized. The natural sweetness of the roasted vegetables is balanced by savory herbs and finished with a bright cranberry-honey drizzle that adds a tangy, glossy finish.
It’s perfect as a holiday side dish, vegetarian main, or colorful addition to a fall or winter table.
Servings
Time Required
Ingredients
For the Vegetable Bake
-
2 large sweet potatoes, peeled and thinly sliced (⅛–¼ inch)
-
2 cups butternut squash, peeled and thinly sliced
-
3 large carrots, thinly sliced
-
1 small red onion, thinly sliced
-
2 tablespoons olive oil
-
1 teaspoon fresh thyme (or ½ tsp dried)
-
½ teaspoon chopped rosemary
-
½ teaspoon garlic powder
-
½ teaspoon salt
-
¼ teaspoon black pepper
-
½ cup vegetable broth
Optional
For the Cranberry-Honey Drizzle
Instructions
Step 1: Preheat
Preheat oven to 375°F (190°C). Grease a 9×13-inch baking dish.
Step 2: Season Vegetables
In a large bowl, toss sliced vegetables with olive oil, herbs, garlic powder, salt, and pepper until evenly coated.
Step 3: Layer
Arrange vegetables in alternating layers (sweet potato → squash → carrot → onion).
Repeat until dish is filled.
Pour vegetable broth around edges.
Cover tightly with foil.
Step 4: Bake
-
Bake covered for 35 minutes.
-
Remove foil and bake 10–20 minutes more until fork-tender and lightly caramelized.
-
Add cheese during the final 10 minutes if using.
Step 5: Make the Drizzle
In a saucepan, combine cranberries, honey, orange juice, zest, and salt.
Simmer 8–10 minutes until cranberries burst and sauce thickens.
Mash or blend as desired. Cool slightly.
Step 6: Finish
Spoon drizzle over warm bake before serving. Garnish with fresh herbs or toasted nuts if desired.
Recipe Notes
-
Slice vegetables evenly for uniform cooking.
-
Use a mandoline slicer for thin, consistent layers.
-
If vegetables brown too quickly, tent loosely with foil.
-
Sauce thickens as it cools.
Tips for Best Results
 Roast uncovered at the end for caramelization.
Let bake rest 5–10 minutes before serving for cleaner slices.
Add chopped pecans or walnuts for crunch.
For extra creaminess, add ¼ cup light cream to the broth before baking.
Nutritional Information (Approximate Per Serving, Without Cheese)
-
Calories: 210–240
-
Carbohydrates: 38g
-
Fiber: 6–8g
-
Natural Sugars: 14g
-
Protein: 3–4g
-
Fat: 6–8g
-
Vitamin A: Over 200% Daily Value
-
Vitamin C: ~35% Daily Value
-
Potassium: ~15% Daily Value
(Values vary based on portion size and ingredients used.)
Health Benefits
 Rich in Beta-Carotene
Sweet potatoes, squash, and carrots are high in vitamin A, supporting eye and immune health.
 Antioxidant Boost
Cranberries provide powerful antioxidants that support heart and urinary tract health.
 Fiber-Rich
Supports digestion and promotes fullness.
 Natural Sweetness
Uses honey and vegetable sweetness instead of refined sugar.
Q & A
Q: Can I make this ahead of time?
Yes. Assemble up to 24 hours ahead and refrigerate. Bake before serving.
Q: Can I make it vegan?
Yes. Replace honey with maple syrup and omit cheese.
Q: Can I freeze it?
Yes, but texture may soften slightly upon reheating. Freeze without the drizzle for best results.
Q: What protein pairs well with this?
Grilled chicken, baked salmon, roasted turkey, or lentil loaf pair beautifully.
Q: Can I use different vegetables?
Yes. Parsnips, Yukon gold potatoes, or zucchini can be substituted.


 Note: No single food “immediately” drops blood sugar, but balanced meals like this can help stabilize it.
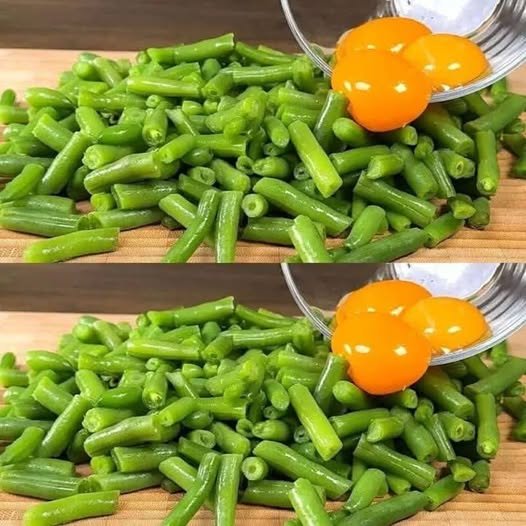
 Eggs
Eggs


 Ingredients
 How to Prepare
 Benefits (Realistic & Safe)