Protein-Packed Red Lentil and Spinach Wraps
These wraps are wholesome, flavorful, and high in plant-based protein thanks to red lentils and chickpeas. Fresh spinach adds nutrition and color, while a creamy lemon-tahini dressing ties everything together. They’re great for lunch, meal prep, or a healthy on-the-go meal.
 Time
Time
Prep time: 15 minutes
Cook time: 20 minutes
Total time: 35 minutes
Ingredients
For the lentil filling:
1 cup red lentils, rinsed
2 cups vegetable broth (or water)
1 tbsp olive oil
1 small onion, finely chopped
2 cloves garlic, minced
1 tsp cumin powder
½ tsp paprika (optional, mild)
½ tsp turmeric
Salt & black pepper, to taste
For the wrap:
4 large whole wheat tortillas (or spinach wraps)
2 cups fresh spinach leaves
1 cup cooked chickpeas (optional, for extra protein & texture)
½ cup shredded carrots or cucumber (optional, for crunch)
For the lemon-tahini sauce:
3 tbsp tahini
2 tbsp lemon juice
1 tbsp olive oil
1–2 tbsp water (to thin)
½ tsp garlic powder
Pinch of salt
Instructions
1. Cook red lentils:
In a pot, bring red lentils and broth to a boil. Reduce heat and simmer 12–15 minutes until soft and creamy. Drain excess liquid if needed.
2. Prepare filling base:
In a pan, heat olive oil, add onion and garlic, sauté until golden. Stir in cumin, paprika, and turmeric. Add cooked lentils and mash slightly. Season with salt and pepper.
3. Make lemon-tahini sauce:
Whisk tahini, lemon juice, olive oil, garlic powder, salt, and water until smooth and pourable.
4. Assemble wraps:
Warm tortillas. Spread lentil mixture in the center, top with spinach, chickpeas, carrots/cucumber, and drizzle with lemon-tahini sauce.
5. Roll & serve:
Fold sides, roll tightly into wraps, and slice in half. Serve immediately or wrap in foil for later.
Notes & Tips
Add avocado slices for creaminess.
Swap spinach with kale or arugula.
These wraps can be meal-prepped—just store filling and sauce separately to avoid soggy tortillas.
For a heartier version, add crumbled feta or grilled chicken if not strictly vegan.
 frequently asked questions FAQ
Q: Can I use green or brown lentils instead of red?
A: Red lentils cook fastest and turn creamy, but green/brown work too (they’ll be firmer).
Q: Are these wraps freezer-friendly?
A: The lentil filling freezes well, but it’s best to assemble fresh wraps.
Q: How can I make them spicier?
A: Add chili flakes, cayenne, or harissa paste to the lentil filling.
Nutritional Information
Calories: ~370
Protein: 17 g
Carbs: 48 g
Fat: 11 g
Fiber: 11 g
Sodium: ~320 mg


 Ingredients


 No. This tea is a supportive habit, not a treatment replacement.
 Preheat
 Slice the Bread
 Make the Herb Butter
 Fill the Bread
 Bake
Bake Serve
Serve Use day-old bread for better structure.

 Why Good for Diabetics
 Flavor Ideas
 Another 2-Ingredient Option
 Ingredients (Serves 4–5)
 Instructions
 Approx Nutrition (per serving)
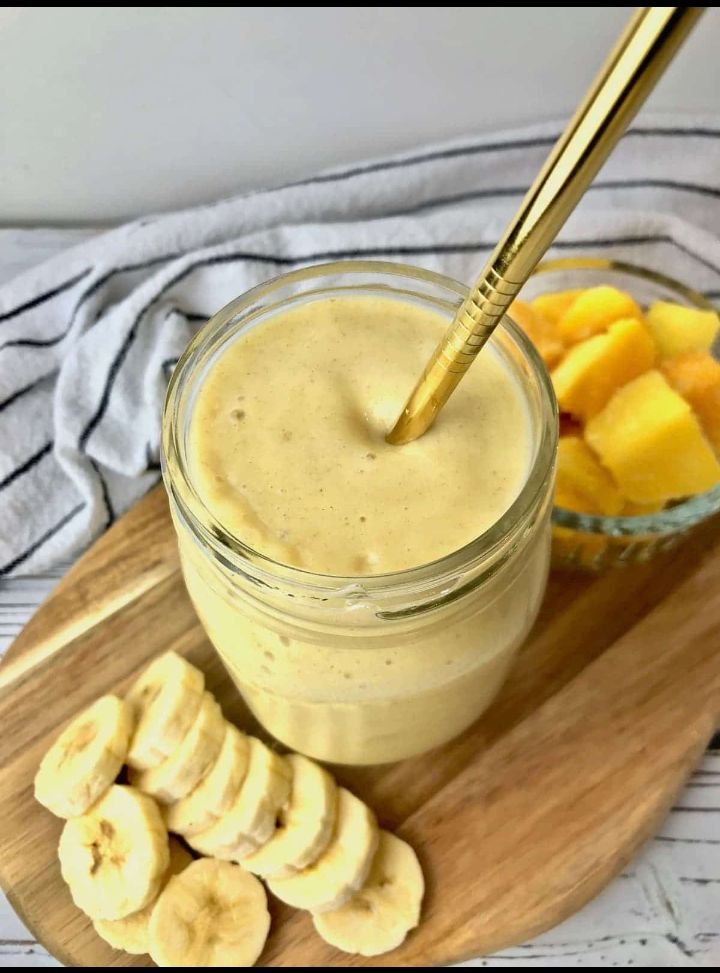
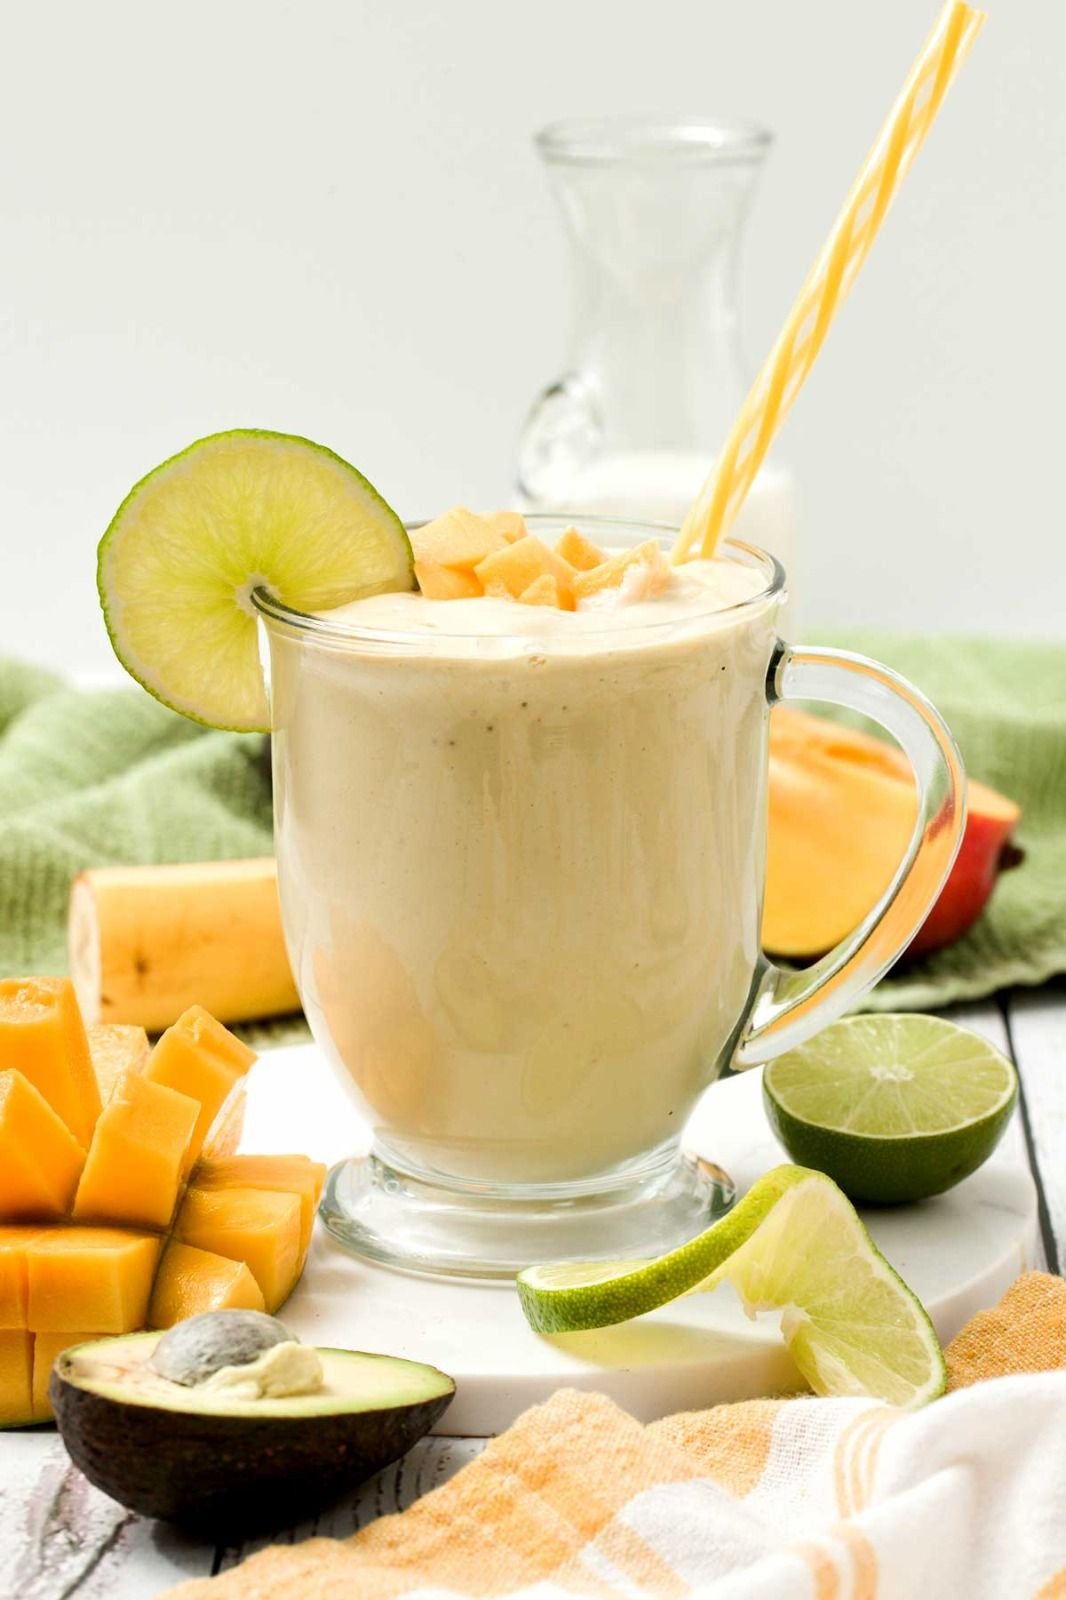
 Mango Banana Smoothie Recipe
 Ingredients
 Instructions
 Pro-Tip for Texture
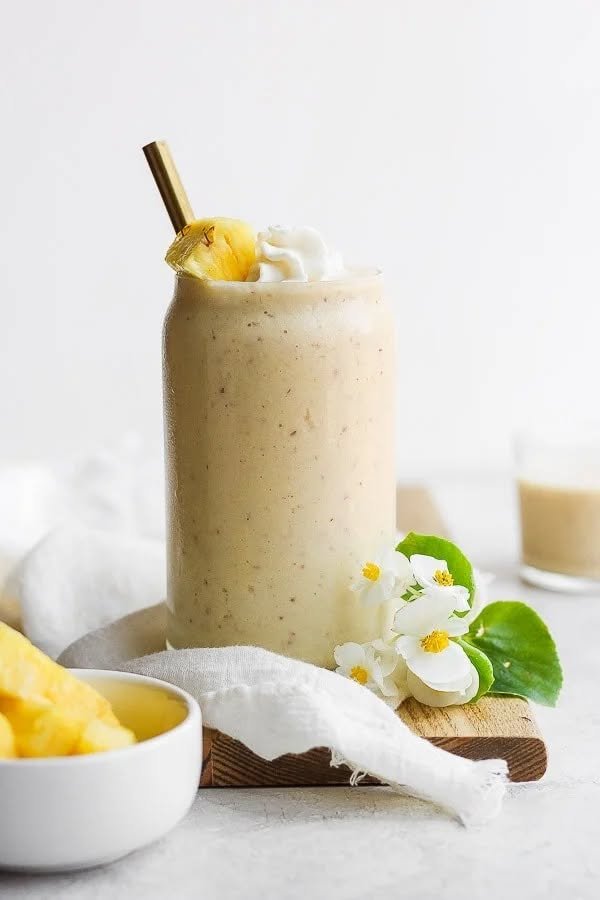
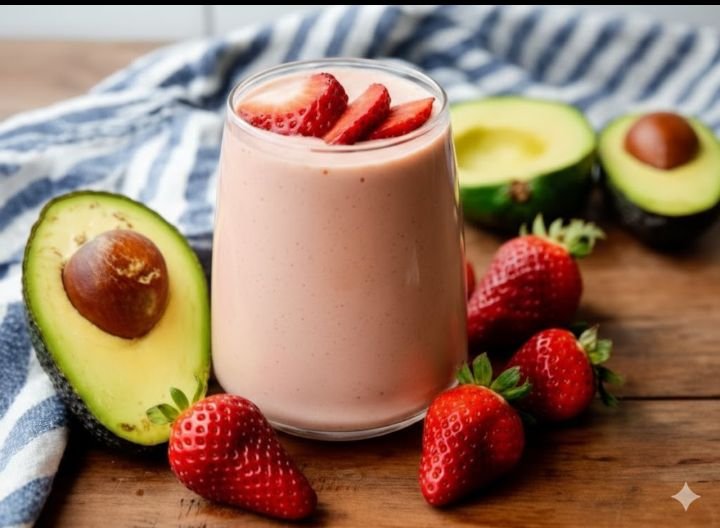
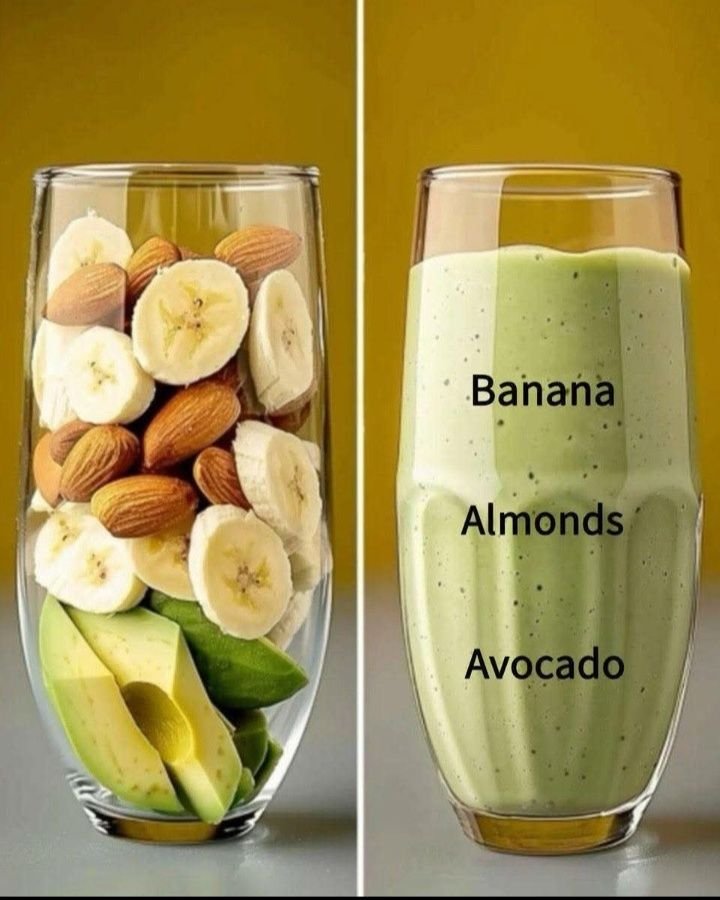
 Creamy Strawberry Avocado Smoothie