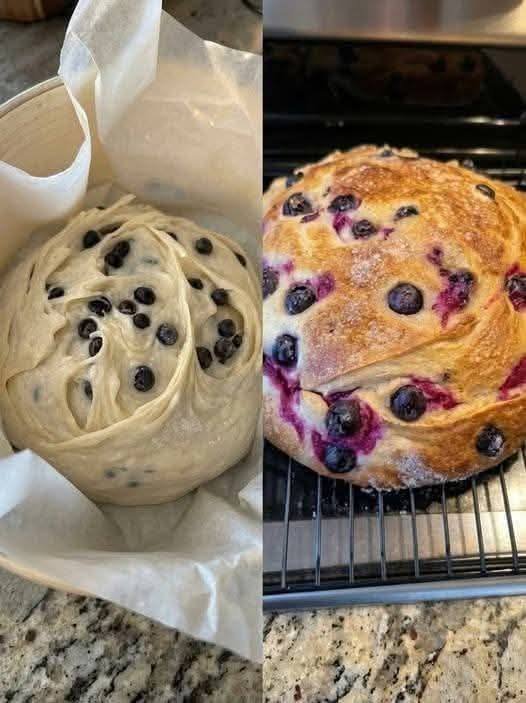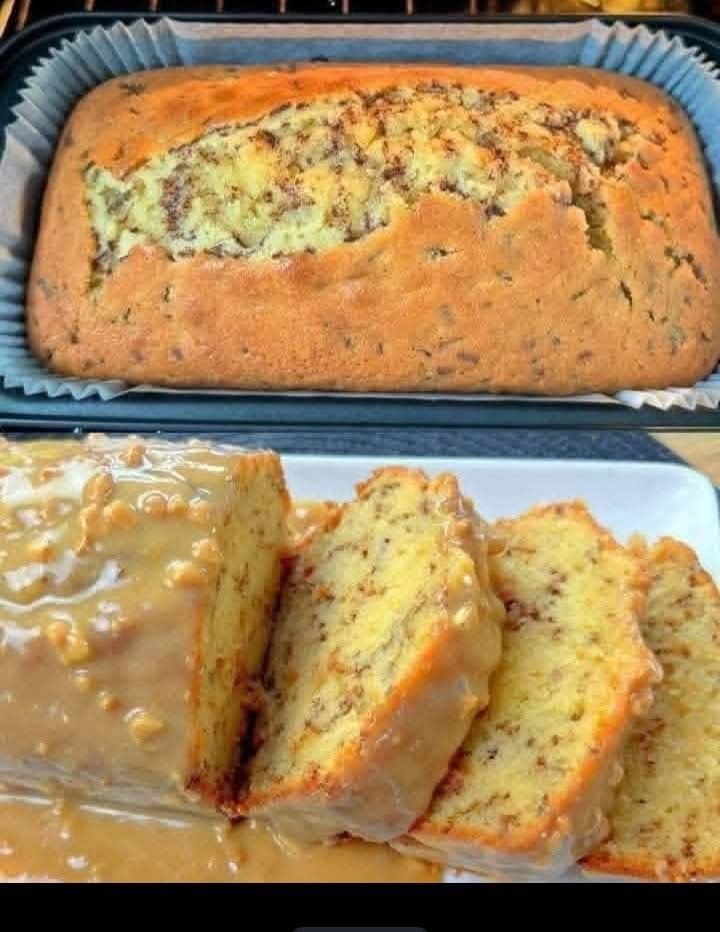
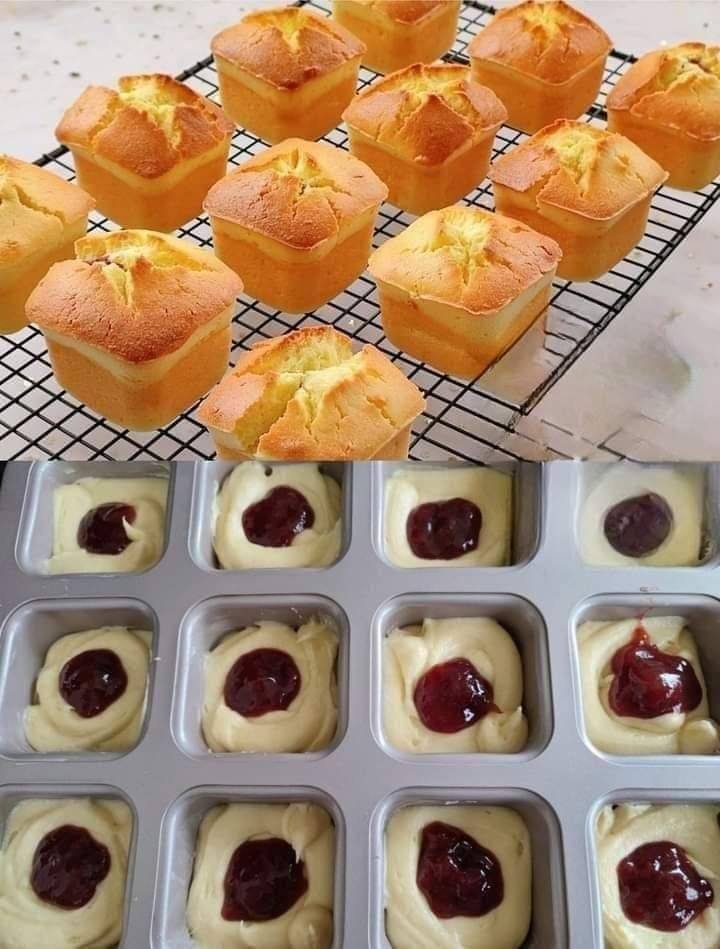
 Melt-in-Your-Mouth Banana Bread
 Ingredients
1 ¾ cups all-purpose flour
1 teaspoon baking soda
½ teaspoon salt
1 teaspoon ground cinnamon
¼ teaspoon ground nutmeg
1 cup (2 sticks) unsalted butter, softened
¾ cup granulated sugar
2 large eggs, beaten
1 teaspoon vanilla extract
3 ripe bananas, mashed
½ cup chopped walnuts (optional)
 Instructions
Preheat oven: Preheat your oven to 350°F (175°C). Grease and flour a 9×5 inch loaf pan.
Combine dry ingredients: In a medium bowl, whisk together the flour, baking soda, salt, cinnamon, and nutmeg.
Cream wet ingredients: In a large bowl, cream together the butter and sugar until light and fluffy. Beat in the eggs one at a time, then stir in the vanilla extract.
Combine wet and dry ingredients: Gradually add the dry ingredients to the wet ingredients, alternating with the mashed bananas. Mix until just combined, being careful not to overmix.
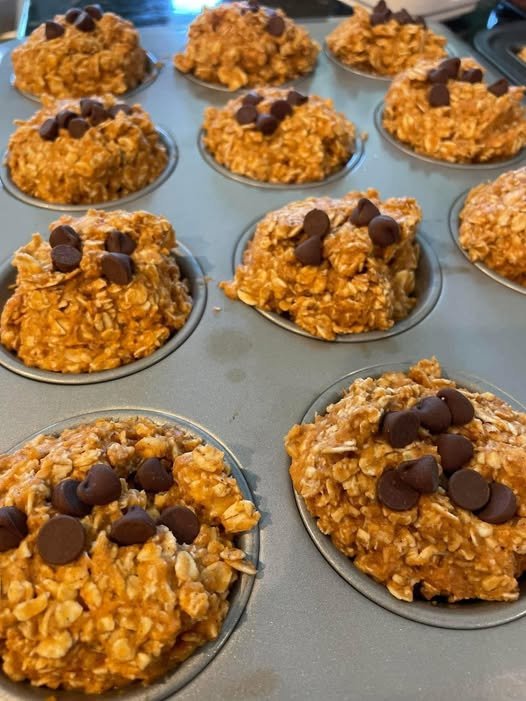
Add nuts (optional): If using, gently fold in the chopped walnuts.
Bake: Pour the batter into the prepared loaf pan. Bake for 50-60 minutes, or until a toothpick inserted into the center comes out clean.
Cool: Let the bread cool in the pan for 10 minutes before transferring it to a wire rack to cool completely.
 Optional Glaze
For a sweet glaze, you can mix together powdered sugar, milk, and a touch of vanilla extract. Drizzle over the cooled loaf.


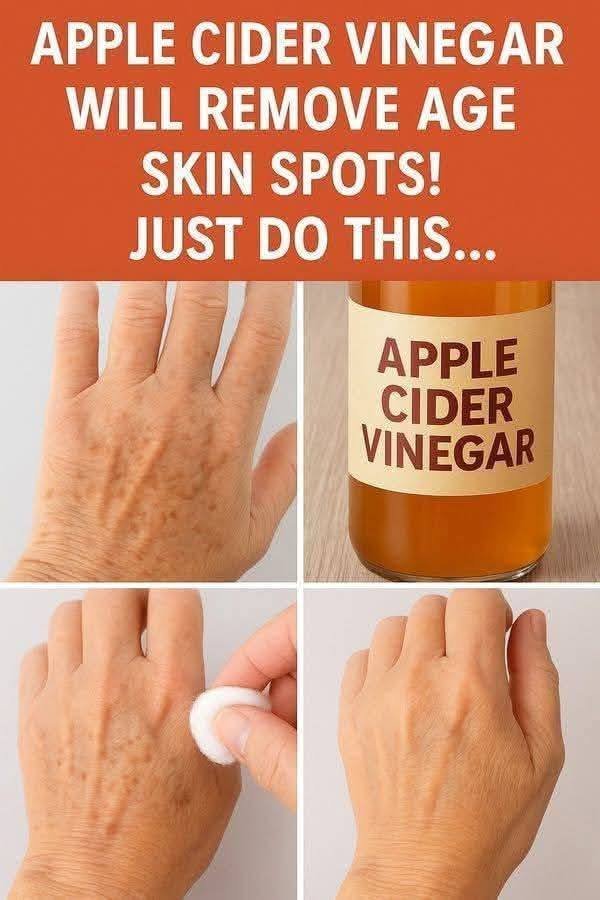
 Use 1–2 times per week only
 Never use undiluted ACV
 Does ACV permanently remove age spots?
 Support heart health
 It does NOT cure cancer, diabetes, or hypertension.
 Typically 2–6 weeks with consistent use and proper diet.
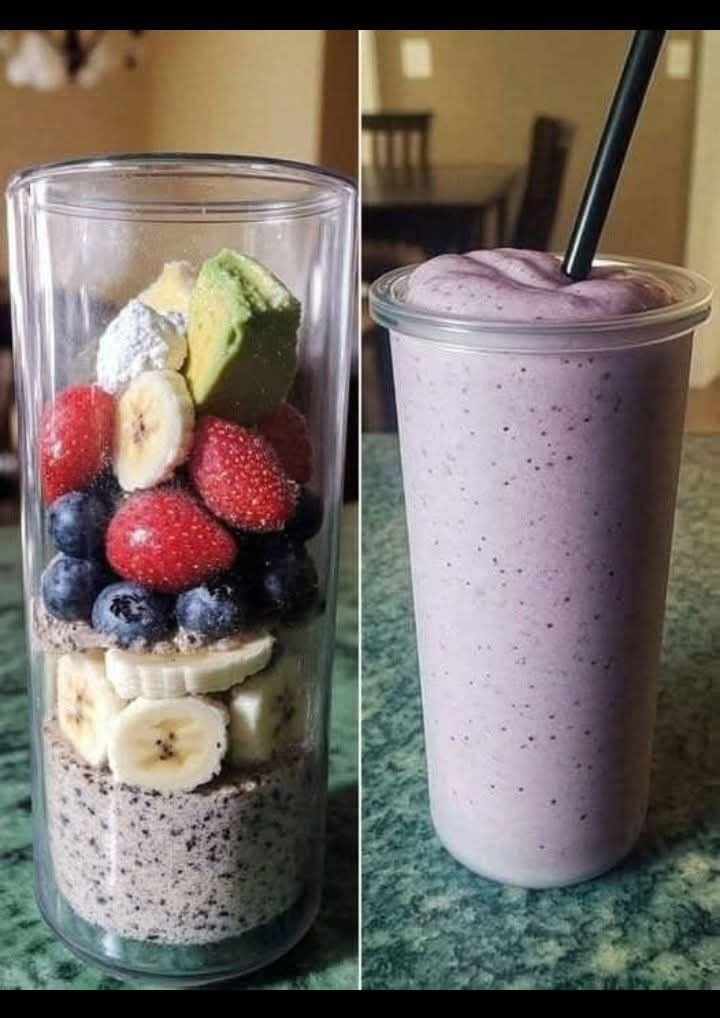
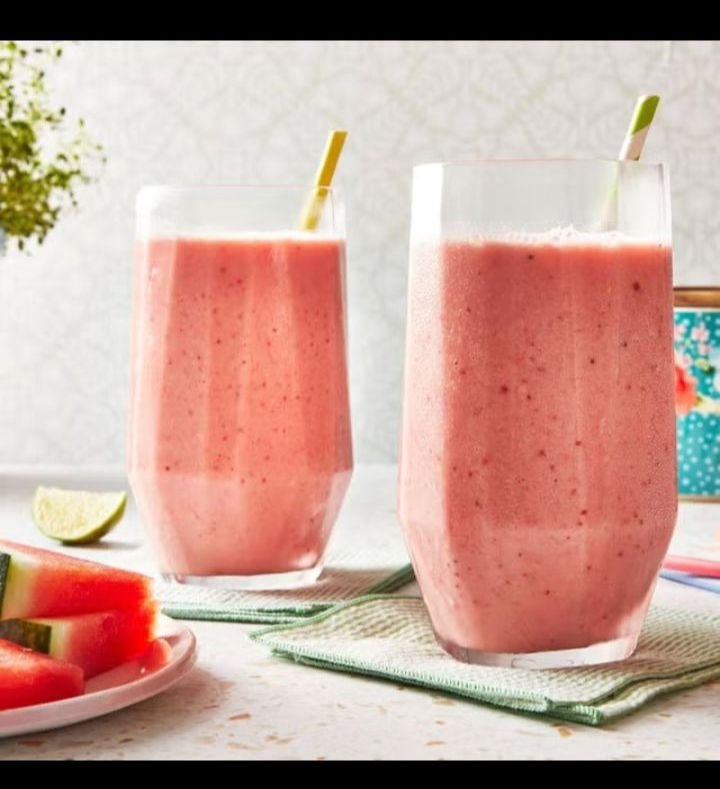
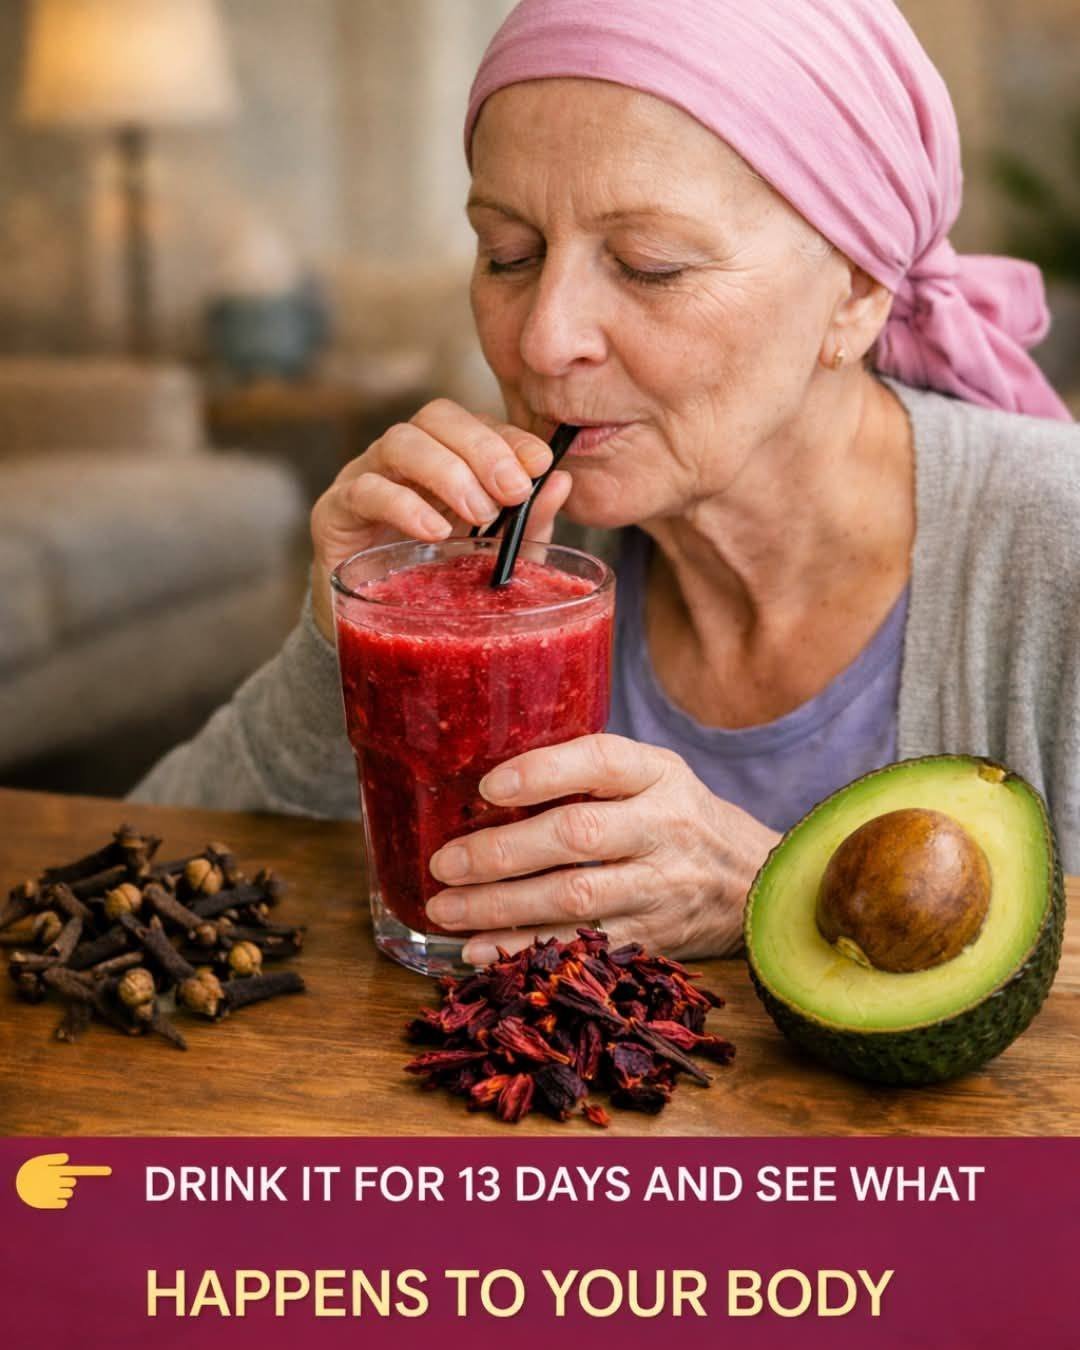
 Mixed Berry Banana Super Smoothie – Full Recipe
 Instructions
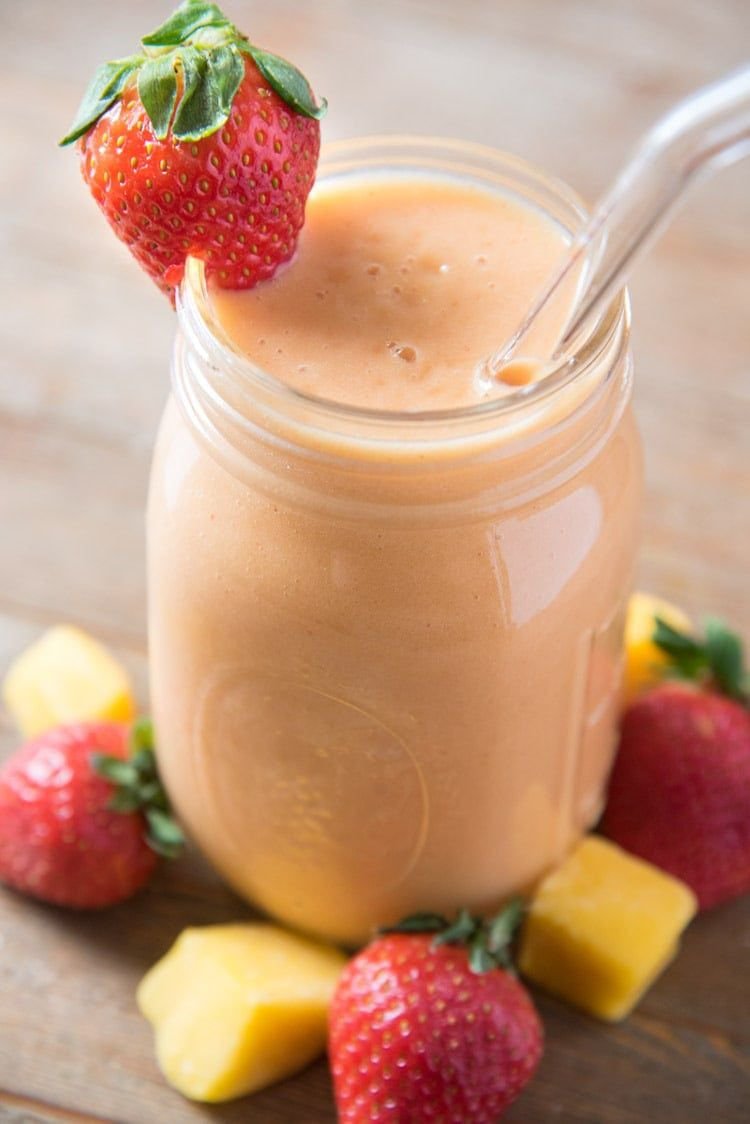
 Tropical Strawberry Mango Smoothie
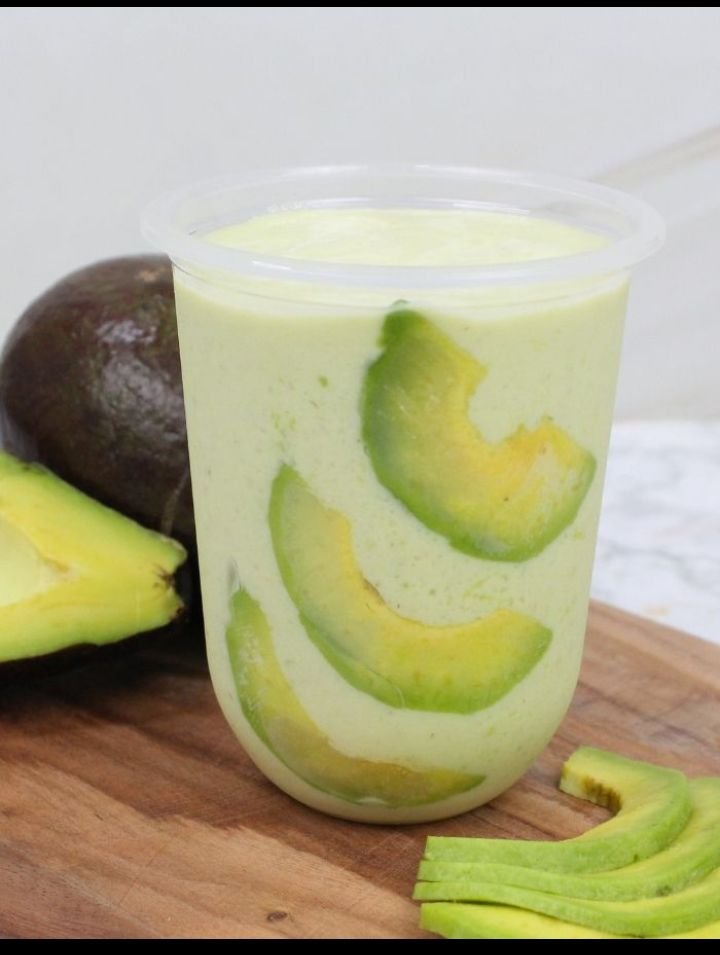
 Creamy Avocado Shake Recipe