Cheesy Baked Tortilla Wraps with Ground Beef
Table of Contents
These tortilla wraps are stuffed with savory ground beef, creamy sauce, and gooey melted cheese, then baked until golden and irresistible. They’re perfect for busy weeknights or lazy weekends — comforting, filling, and guaranteed crowd-pleasers!
🧀 Ingredients (Serves 4–6)
-
8 medium flour tortillas
-
500g (1 lb) ground beef
-
1 small onion, finely chopped
-
2 cloves garlic, minced
-
1 tbsp olive oil
-
1 tsp paprika
-
1 tsp cumin
-
½ tsp chili powder (optional)
-
Salt & black pepper to taste
-
1 cup tomato sauce or crushed tomatoes
-
1 cup shredded cheese (cheddar, mozzarella, or blend)
-
1 cup cream cheese or sour cream
-
½ cup heavy cream or milk
-
2 tbsp butter
-
Fresh parsley or cilantro for garnish
Optional add-ins:
corn, bell peppers, jalapeños, black beans — anything you love!
👩🍳 Instructions
1️⃣ Cook the Beef Filling
Heat the olive oil in a skillet over medium heat. Add the chopped onion and cook for 3–4 minutes until soft and fragrant. Stir in the garlic and cook for another minute. Add the ground beef, breaking it up with a spoon as it browns. Cook until no longer pink.
Season the beef with paprika, cumin, chili powder, salt, and pepper. Stir in the tomato sauce and let it simmer gently for 5–7 minutes until slightly thickened. If you want extra richness, stir in a spoonful of cream cheese. Turn off the heat and set aside.
2️⃣ Prepare the Creamy Sauce
In a small saucepan, melt the butter over low heat. Add the cream cheese and whisk gently until smooth. Slowly pour in the cream or milk, whisking to create a silky sauce. Season lightly with salt and pepper. This creamy layer is what makes the wraps extra luxurious and cheesy!
3️⃣ Assemble the Wraps
Preheat your oven to 180°C / 350°F.
Lay a tortilla flat and spoon some of the beef mixture into the center. Add a drizzle of the creamy sauce and a sprinkle of shredded cheese. Fold the sides inward like a little parcel or envelope.
Place each wrapped tortilla seam-side down into a greased baking dish. Repeat until all tortillas are filled and arranged neatly.
Pour the remaining creamy sauce over the tops of the wraps and finish with a generous handful of shredded cheese.
4️⃣ Bake
Bake uncovered for 20–25 minutes, until the cheese is melted, bubbly, and lightly golden on top. For an extra toasty finish, switch on the broiler for 2–3 minutes — just keep an eye on them!
🌿 Serve & Enjoy
Sprinkle with chopped parsley or cilantro for a fresh pop of color. Serve hot with:
-
salad
-
salsa
-
sour cream
-
or guacamole
These wraps are cheesy, saucy, and deeply satisfying — true comfort food!
💡 Tips & Variations
-
Use chicken or turkey instead of beef
-
Make it spicy with jalapeños
-
Add veggies for extra texture
-
Swap flour tortillas for whole-wheat
Great for meal prep and reheating too!
Enjoy every bite 😋


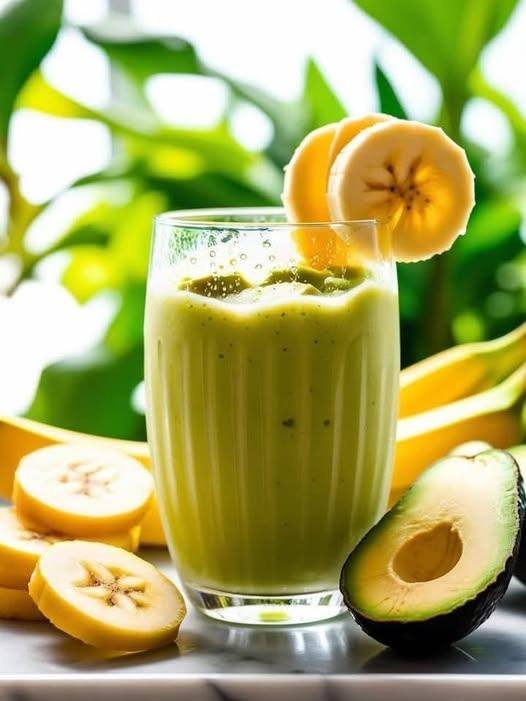
 Creamy Avocado Banana Smoothie

 The Ultimate Strawberry Cheesecake Freakshake
 Ingredients
 Preparation Steps
 Pro-Tips for Success
 Recipe Overview
 Instructions
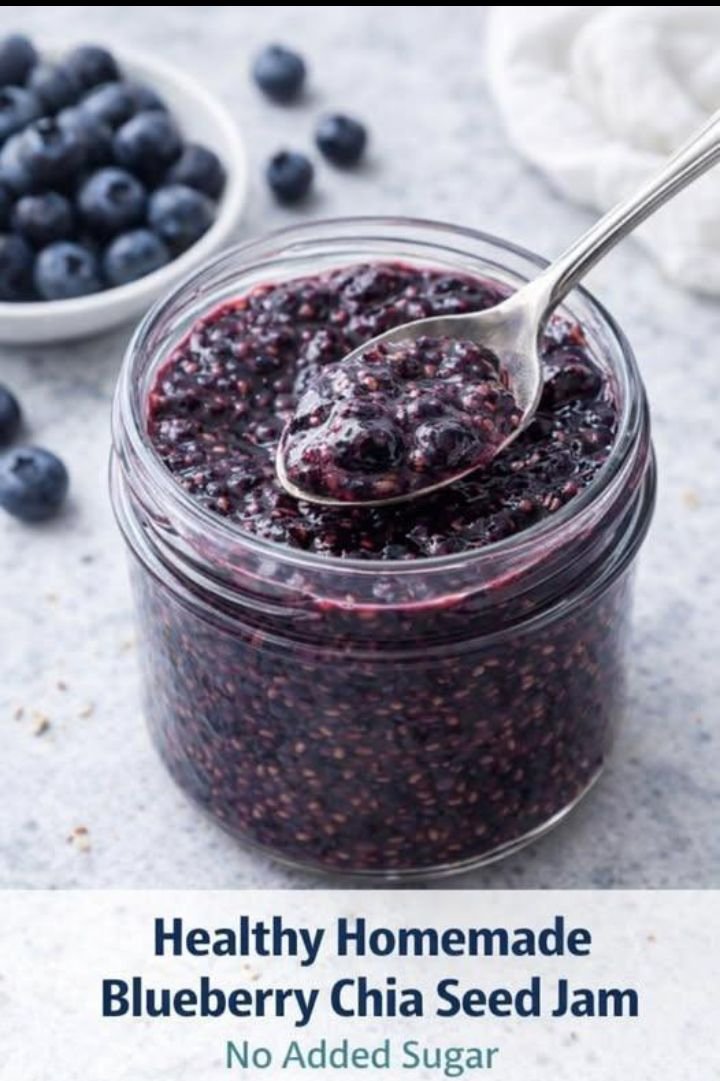
 Nutritional Info (Per 2-tablespoon serving)
 Benefits of This Jam
 Q&A
Q&A