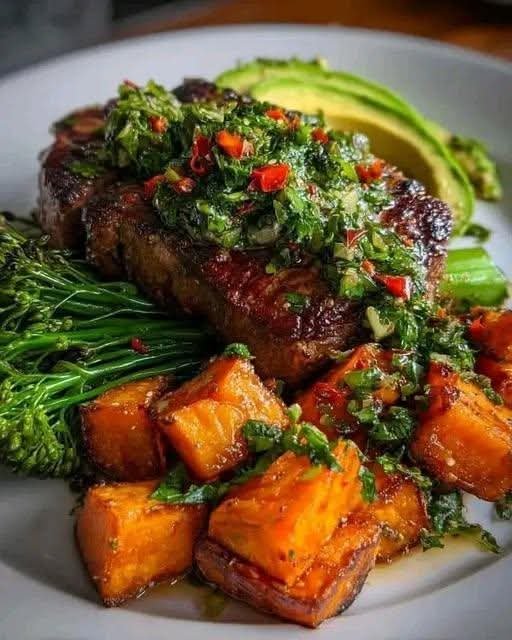
Steak with Chimichurri & Sweet Potato Bites
A bold steakhouse-style dinner and flavor-packed comfort plate!
Ingredients :
1 large steak (ribeye or sirloin) – juicy seared steak
2 cups sweet potatoes, cubed – crispy sweet potato bites
1 cup broccolini – fresh green veggie side
1 ripe avocado, sliced – creamy healthy topping
2 tbsp olive oil – perfect cooking base
Salt & black pepper to taste – classic steak seasoning
1 tbsp grated parmesan (optional) – savory roasted finish
For the Chimichurri Sauce:
½ cup fresh parsley, finely chopped – bright herb flavor
2 cloves garlic, minced – bold savory kick
2 tbsp olive oil – smooth herb sauce base
1 tbsp red wine vinegar – tangy balance
½ small red chili, finely chopped – spicy flavor boost
Salt & pepper to taste – classic chimichurri seasoning
** How to Make It :**
Prepare the Sweet Potatoes – Crispy Comfort Base
Toss sweet potato cubes with olive oil, salt, and pepper, then roast at 400°F (200°C) for about 25 minutes. This creates crispy sweet potato bites, a healthy comfort side, and an easy roasted veggie favorite.
Make the Chimichurri – Fresh Herb Magic
Mix parsley, garlic, olive oil, red wine vinegar, chili, salt, and pepper. This builds classic chimichurri sauce, a bold steak topping, and a fresh herb flavor explosion.
Cook the Steak – Juicy & Perfectly Seared
Season steak generously with salt and pepper, then sear in a hot skillet with olive oil for 3–4 minutes per side. This creates perfect pan-seared steak, crispy steakhouse crust, and a restaurant-quality dinner.
Sauté the Broccolini – Healthy Green Side
Quickly sauté broccolini in olive oil with a pinch of salt until tender. This delivers garlic sautéed greens, a healthy dinner side, and a perfect steak pairing.
Plate the Ultimate Bowl – Gourmet Dinner Ready
Slice the steak and serve with sweet potato bites, broccolini, and avocado slices. Spoon chimichurri over the steak for ultimate steakhouse plating, a balanced comfort meal, and gourmet dinner vibes.
Prep Time: 10 minutes | Cook Time: 20 minutes | Total Time: 30 minutes | serving : 2 person
Calories: ~590 per serving | Protein: ~40g per serving
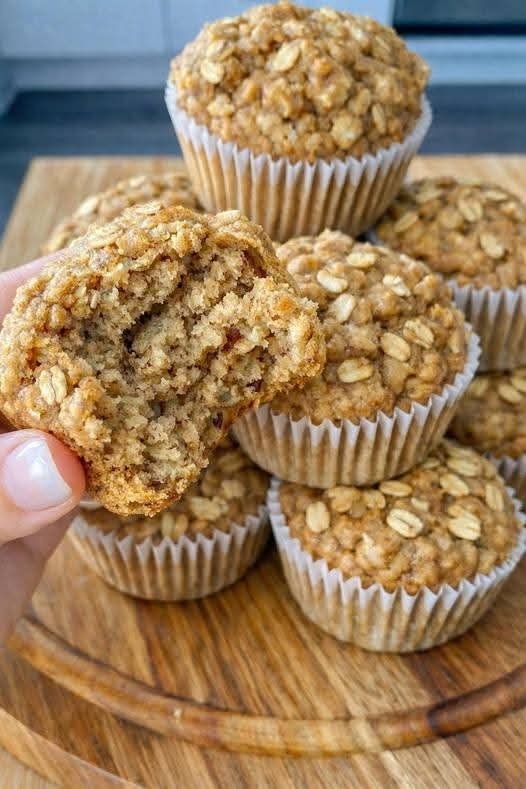


 Banana Oat Pancakes – Healthy & Fluffy Breakfast Recipe
 Description
 Ingredients (Serves 2–3)
 How to Make Banana Oat Pancakes (Step-by-Step)
 Tips for Perfect Pancakes
 Serving Suggestions
 Servings
 Nutritional Information (Per Serving Approx.)
 Health Benefits
 Good for weight loss & digestion
 Q & A – Frequently Asked Questions
 Bonus Variations

 Meat & Cheese Börek Rolls
 Description
 Instructions
 Nutritional Information (Per Roll – Approx.)
 Notes
Notes