
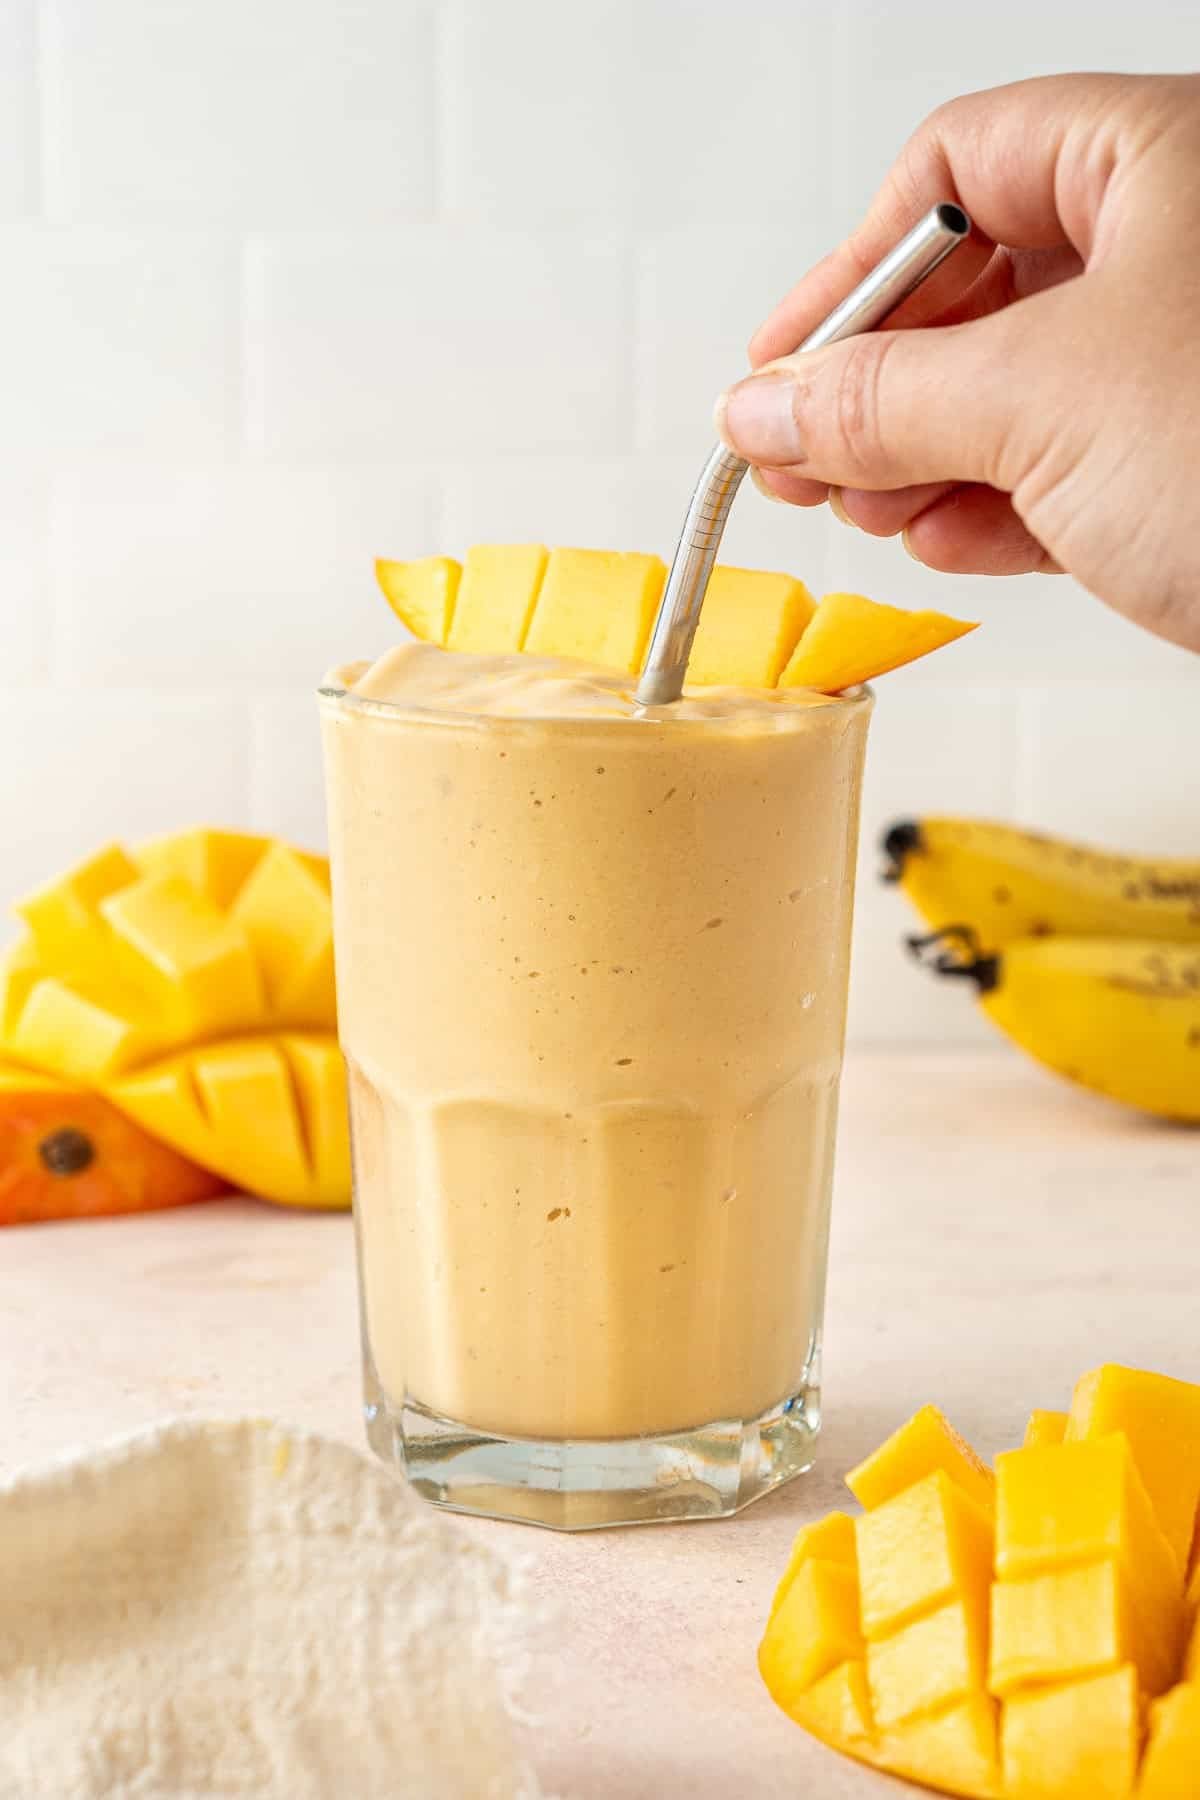
🍏 Apple Cinnamon Oatmeal Smoothie
Prep time: 5 minutes | Servings: 1
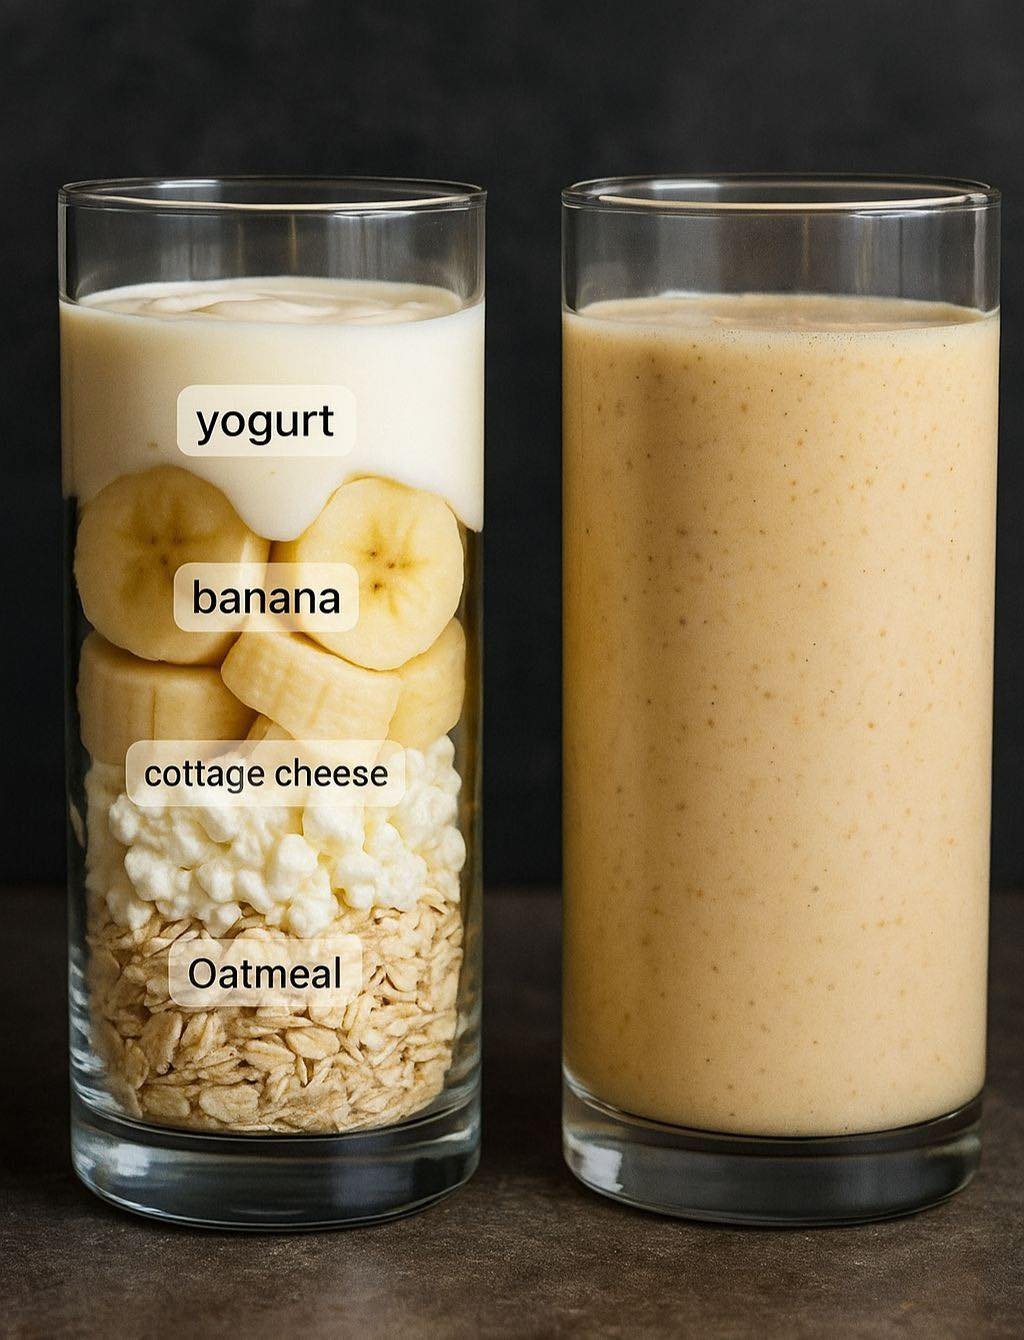
Ingredients
-
1 medium Green Apple: (Granny Smith works best for tartness), cored and chopped.
-
1/4 cup Rolled Oats: Provides a creamy texture and keeps you full.
-
1 cup Milk of choice: (Dairy, Almond, or Oat milk all work great).
-
1/4 cup Greek Yogurt: For extra creaminess and protein.
-
1/2 tsp Ground Cinnamon: For that classic warm flavor.
-
1 tsp Honey or Maple Syrup: (Optional) Adjust based on your preferred sweetness.
-
A handful of Ice cubes: To keep it chilled and thick.
Instructions
-
Prepare the Apple: Wash the apple thoroughly. You can leave the skin on for extra fiber (as seen in the garnish) or peel it for a smoother consistency.
-
Combine: Place the chopped apple, oats, milk, yogurt, cinnamon, and sweetener into a high-speed blender.
-
Blend: Start on a low speed and gradually increase to high. Blend for about 45–60 seconds until the oats are completely pulverized and the mixture is silky smooth.
-
Check Consistency: If it’s too thick, add a splash more milk. If you want it colder, add a few more ice cubes and pulse again.
-
Serve: Pour into a glass. Garnish with a sprinkle of dry oats, a thin apple slice, and a sprig of fresh mint as shown in your photo.
Pro Tips for the Best Result
-
Soak the Oats: If you don’t have a high-powered blender, soak the oats in your milk for 5–10 minutes before blending to ensure there’s no “gritty” texture.
-
Add Protein: You can easily add a scoop of vanilla protein powder to make this a complete meal replacement.
-
Healthy Fats: Toss in a tablespoon of chia seeds or almond butter for added nutrients.
 Ingredients
 Instructions
 Chef’s Tips


 Comforting Chicken Soup with Potatoes
 Ingredients
 Instructions
 Q & A
Q & A
 Spinach & Feta Egg Muffins
 Ingredients (Makes 10–12 muffins)
 Tips
Tips
 Preparation Time
 Ingredients
 Instructions
 Servings
 Nutritional Information (per serving, approx.)
 Health Benefits
 Oats: High in soluble fiber (beta-glucan) which helps lower cholesterol, supports digestion, and keeps you full longer.
 Apples: Rich in antioxidants, pectin fiber, and natural sweetness that stabilizes blood sugar levels.
 Eggs: Great source of protein and healthy fats, helping maintain lean muscle during weight loss.
 Butter (or coconut oil): Adds healthy fats for sustained energy and better nutrient absorption.
 Vanilla: Enhances sweetness naturally without added sugar.
 Yes! Replace each egg with 1 tablespoon ground flaxseed + 3 tablespoons warm water (let sit for 10 minutes).
 Serving Suggestion
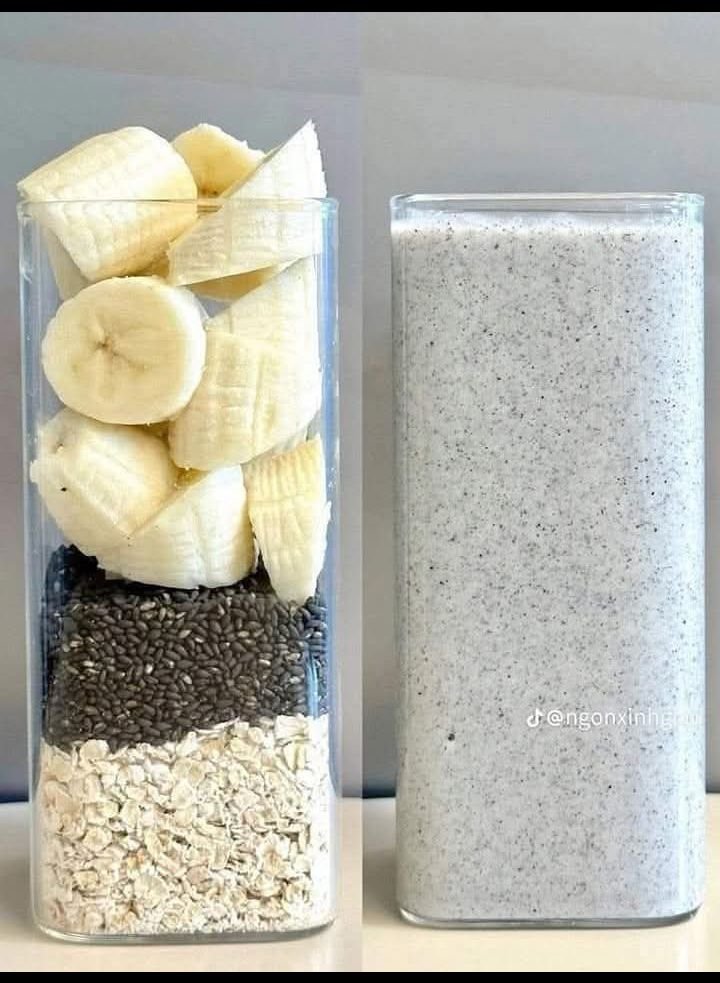
 Rich in fiber for digestion
 Savory Puff Pastry with Minced Meat & Cheese
 Instructions
 Tips for Best Results