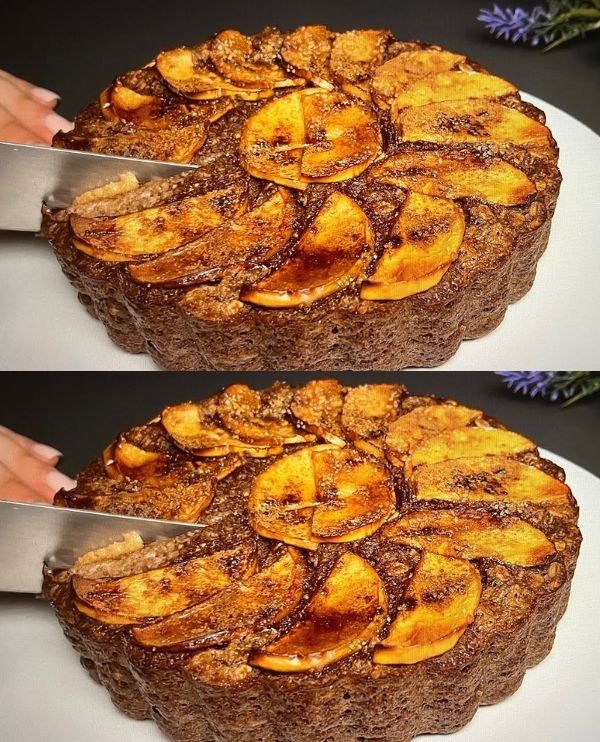
Sugar-Free Apple Cocoa Cake
Just Apples & Cocoa!
If you’ve been searching for a guilt-free dessert that’s naturally sweet, rich in flavor, and supports your health goals, this recipe is a game-changer. With only a few wholesome ingredients — apples, eggs, and cocoa — you can make a moist, chocolaty cake without a single grain of sugar. Perfect for breakfast, snacks, or dessert!
Ingredients
-
4 medium sweet apples (Fuji, Honeycrisp, Gala) – naturally sweet and juicy.
-
4 large eggs – for structure and protein.
-
5 tablespoons unsweetened cocoa powder – deep chocolate flavor without sugar.
-
1 teaspoon baking powder – for a light rise.
-
Olive oil – for greasing the baking mold.
Instructions
-
Prepare the apples
Wash, peel, and core the apples. Cut them into chunks and blend into a smooth purée. -
Make the batter
In a large mixing bowl, combine the apple purée, eggs, cocoa powder, and baking powder. Whisk or blend until the mixture is lump-free and silky. -
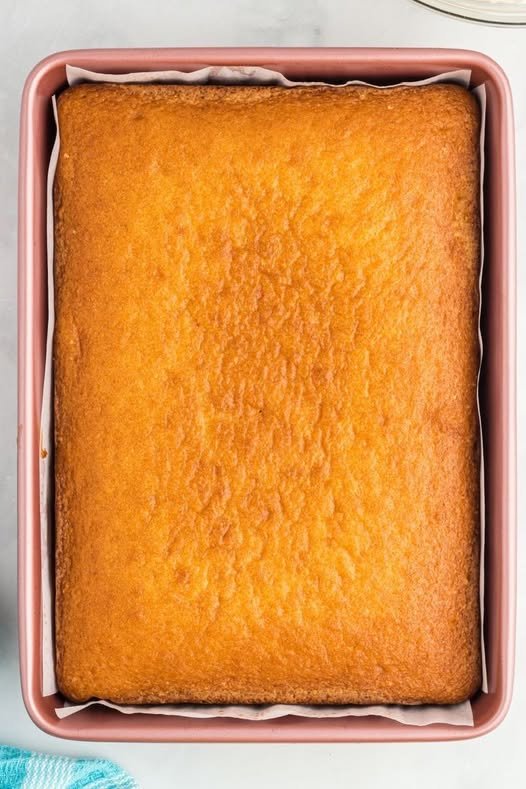
Get the pan ready
Lightly grease a baking pan with olive oil. Pour in the batter and smooth the top. -
Bake
Preheat the oven to 180°C (350°F). Bake for 35–40 minutes, or until a toothpick inserted in the center comes out clean. -
Cool & enjoy
Let the cake cool completely before slicing. Serve plain, or with a sprinkle of extra cocoa powder.
Why it’s great for weight loss
This cake is naturally sweet from apples, high in fiber, rich in protein, and low in calories. Cocoa adds flavor and antioxidants without sugar.
Q&A
Q: Can I use green apples?
A: Yes, but they’re tart — the cake will be less sweet.
Q: How long does it keep?
A: Store in an airtight container in the fridge for up to 4 days, or freeze for 1 month.
Q: Can I make it vegan?
A: Replace each egg with 1 tbsp ground flaxseed + 3 tbsp water.
Q: Is it sweet like regular cake?
A: No, it’s mildly sweet — think of it as a healthy chocolate loaf.