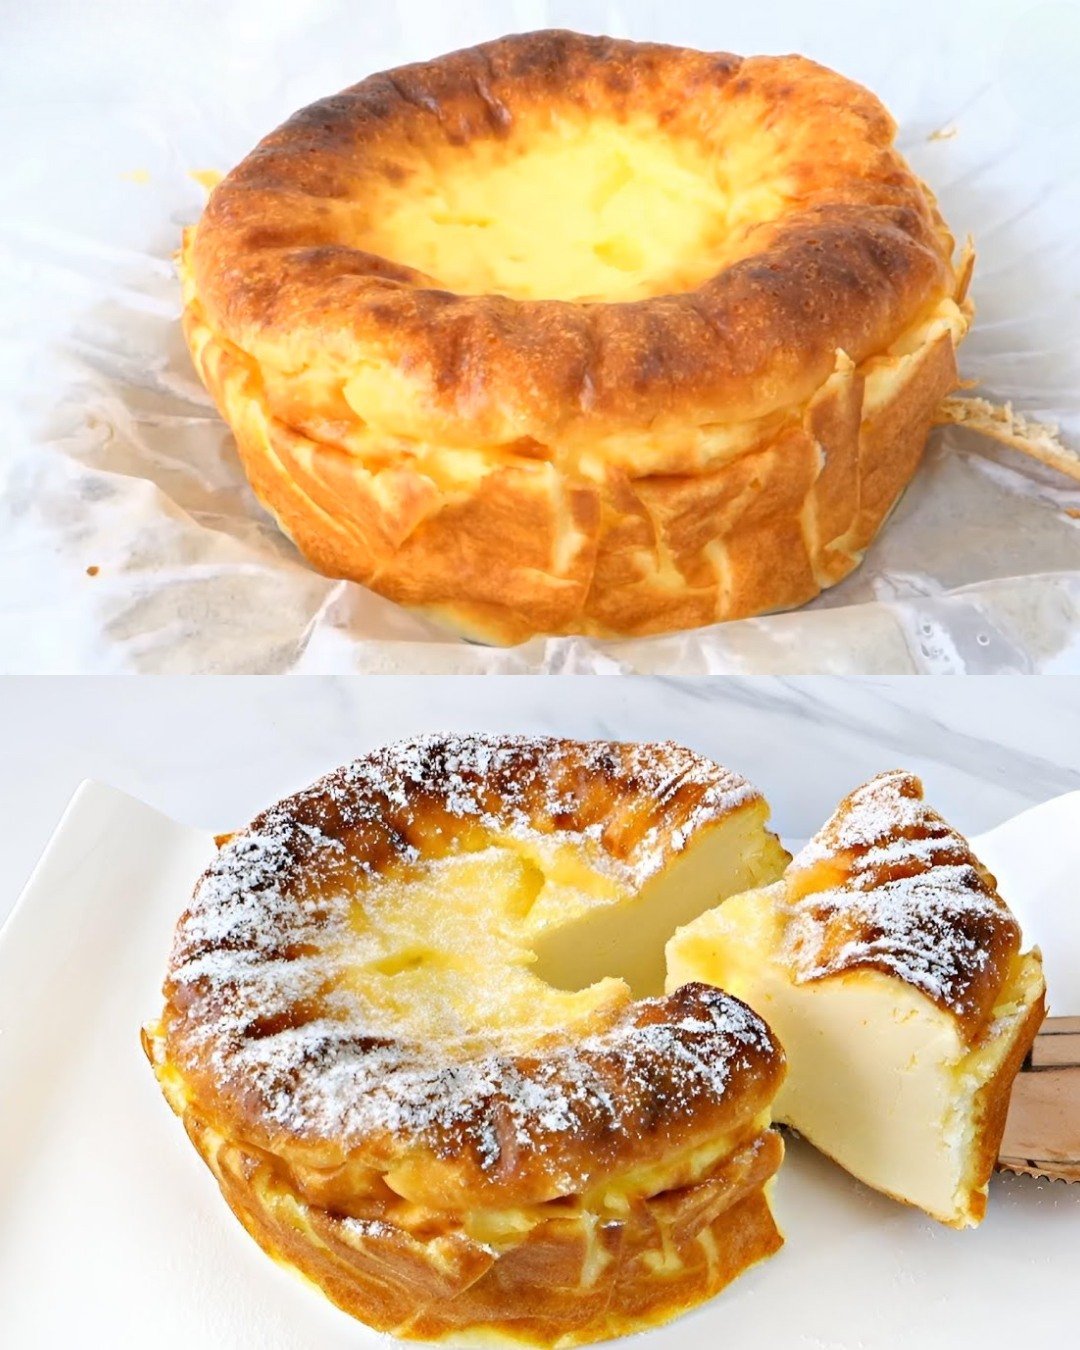
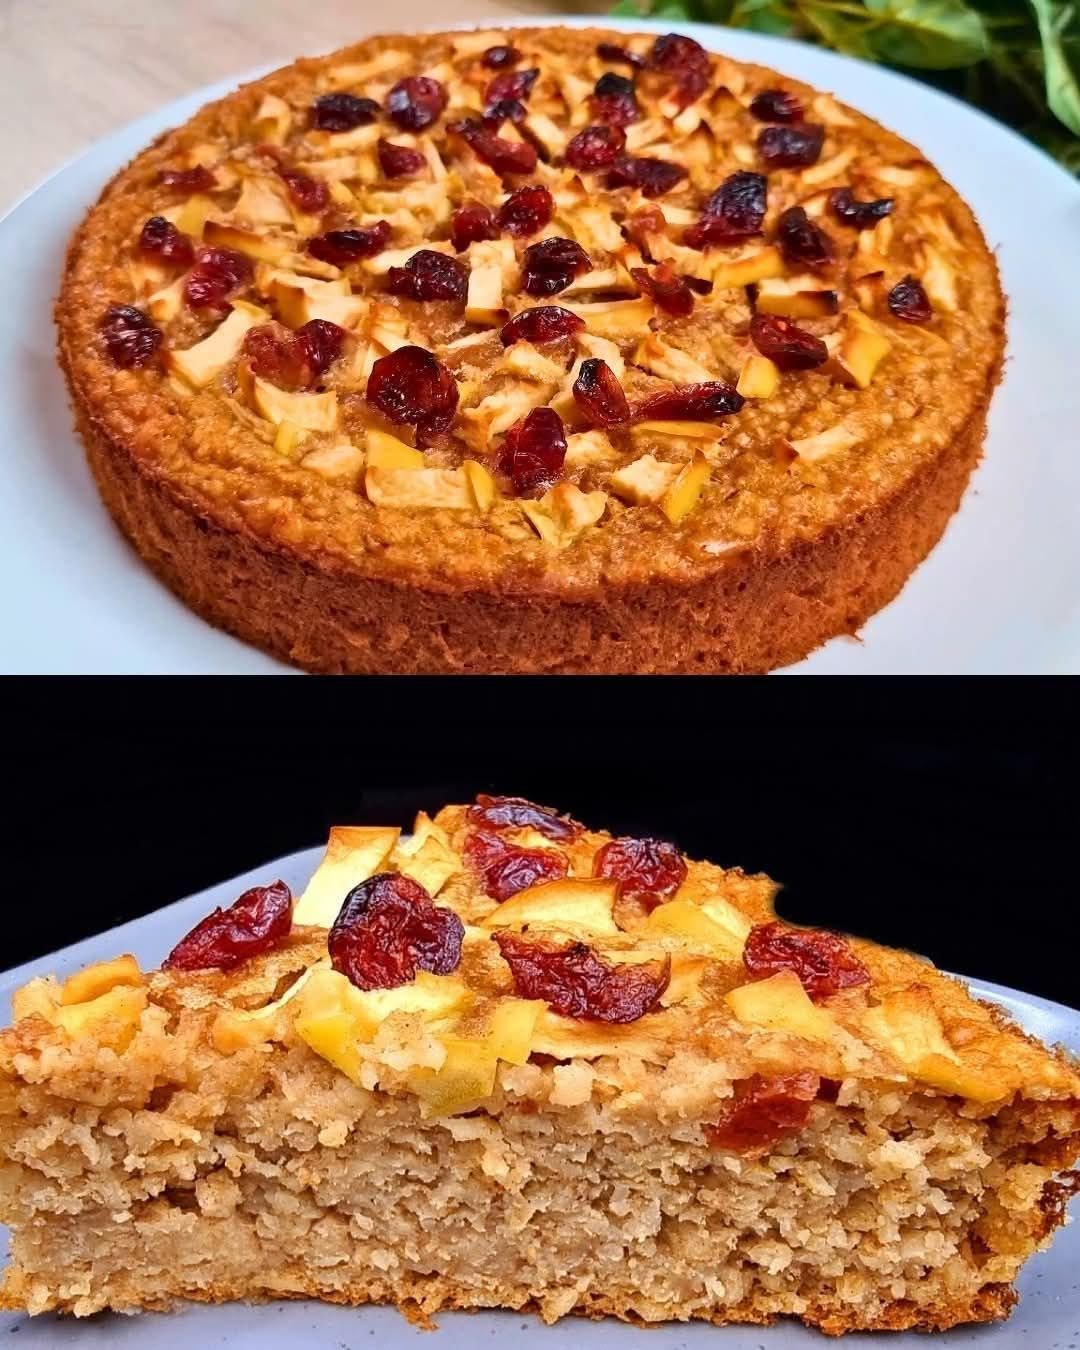
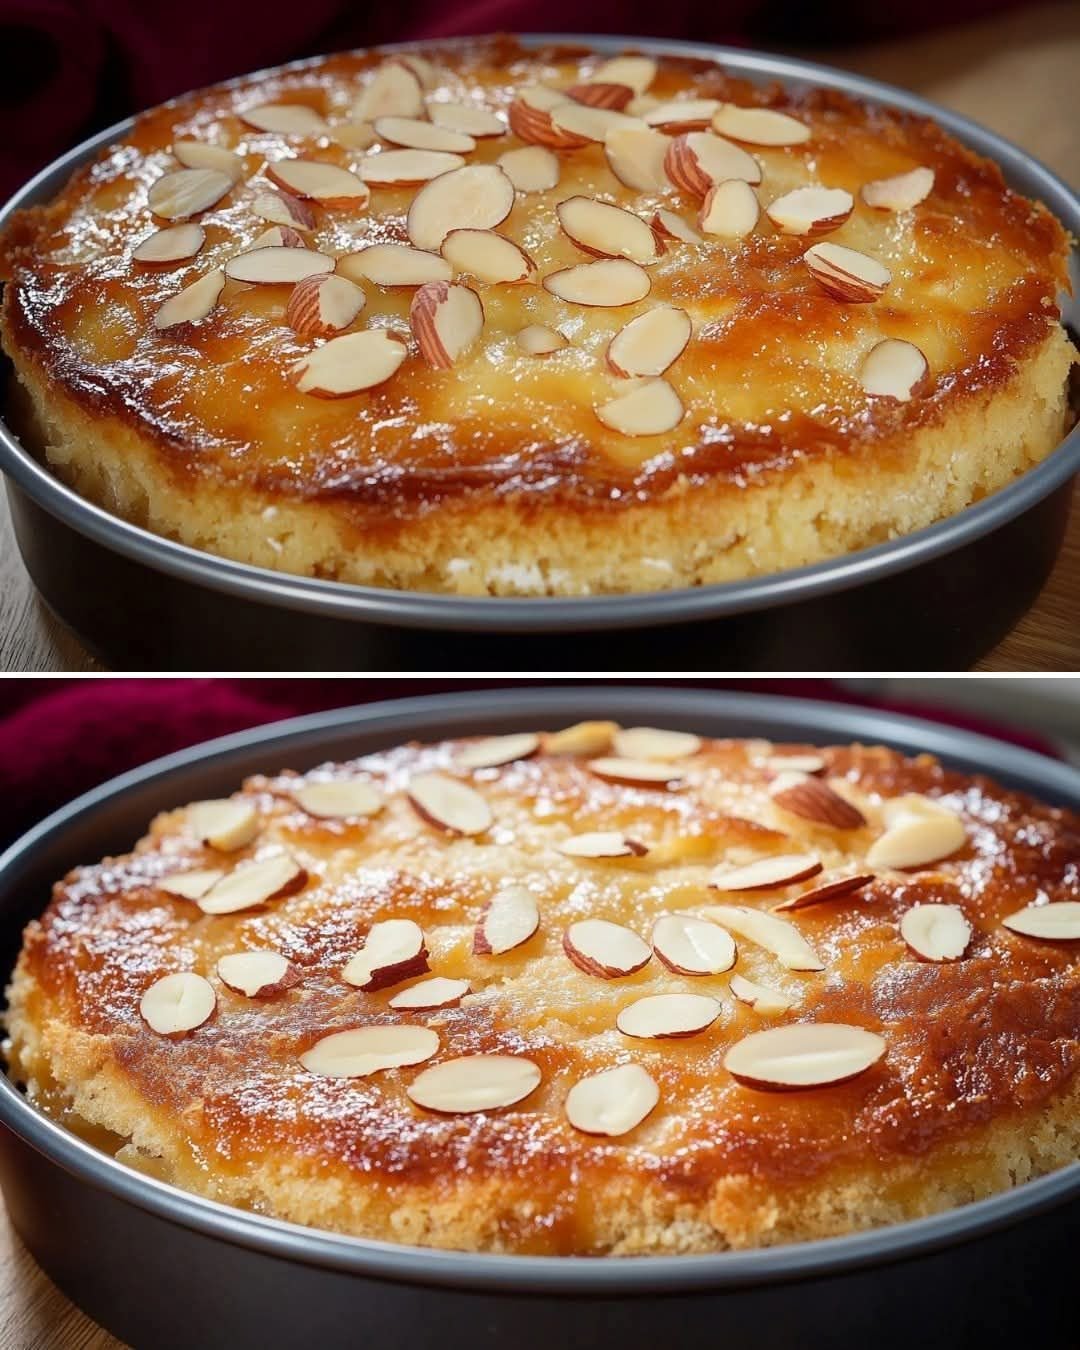
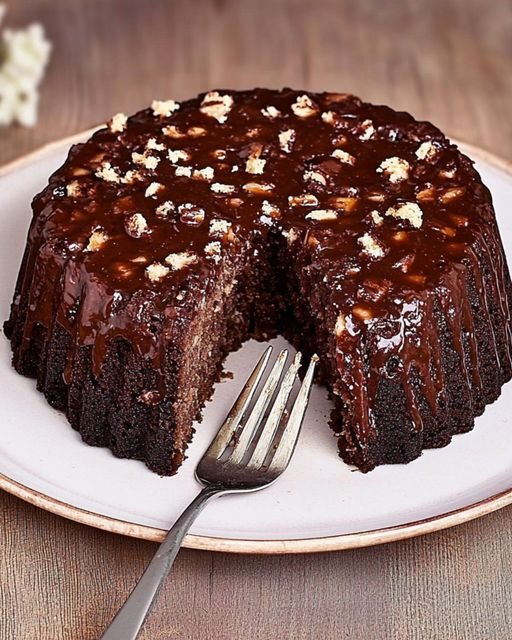
Easy Moist Date Cake
A rich, tender cake naturally sweetened by dates with a warm hint of spice.
-
Prep time: 20 minutes
-
Bake time: 35–45 minutes
-
Servings: 8–10
Ingredients
The Date Base:
-
1 cup (150g) Pitted dates, chopped
-
1 cup (250ml) Hot water (boiling)
-
1 tsp Baking soda
The Batter:
-
½ cup (115g) Unsalted butter, softened to room temperature
-
¾ cup (150g) Granulated sugar (or brown sugar for a deeper caramel flavor)
-
2 Large eggs
-
1 tsp Vanilla extract
-
1 ½ cups (190g) All-purpose flour
-
1 tsp Baking powder
-
½ tsp Ground cinnamon
-
¼ tsp Ground nutmeg (optional)
-
Pinch of salt
Detailed Instructions
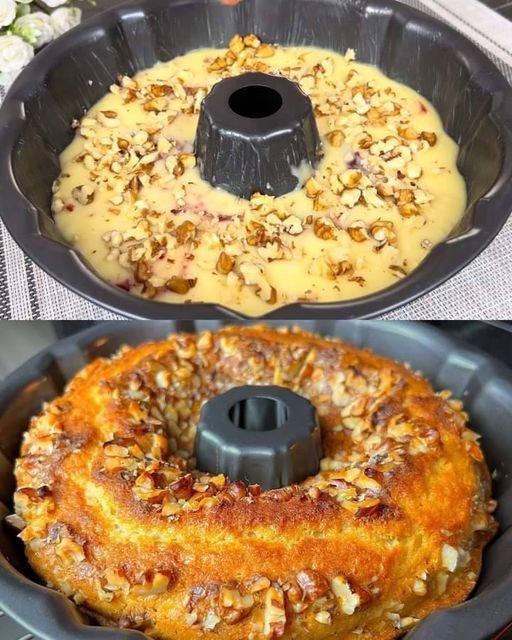
1. Prepare the Dates
In a heat-proof bowl, combine the chopped dates and the baking soda. Pour the boiling hot water over them. Stir gently and let the mixture sit for about 15 minutes. The baking soda will soften the date skins and break them down, creating a thick, jam-like consistency that ensures the cake is incredibly moist.
2. Prep the Oven and Pan
Preheat your oven to 350°F (175°C). Grease an 8-inch or 9-inch round cake pan (or a square pan) with butter and lightly dust with flour, or line the bottom with parchment paper for easy removal.
3. Cream the Butter and Sugar
In a large mixing bowl, beat the softened butter and sugar together using a hand mixer or stand mixer until the mixture is pale, light, and fluffy (about 3 minutes).
4. Add Wet Ingredients
Add the eggs one at a time, beating well after each addition. Stir in the vanilla extract. If the mixture looks slightly curdled at this stage, don’t worry; it will smooth out once the flour is added.
5. Sift Dry Ingredients
In a separate bowl, whisk together the flour, baking powder, cinnamon, nutmeg, and salt.
6. Combine
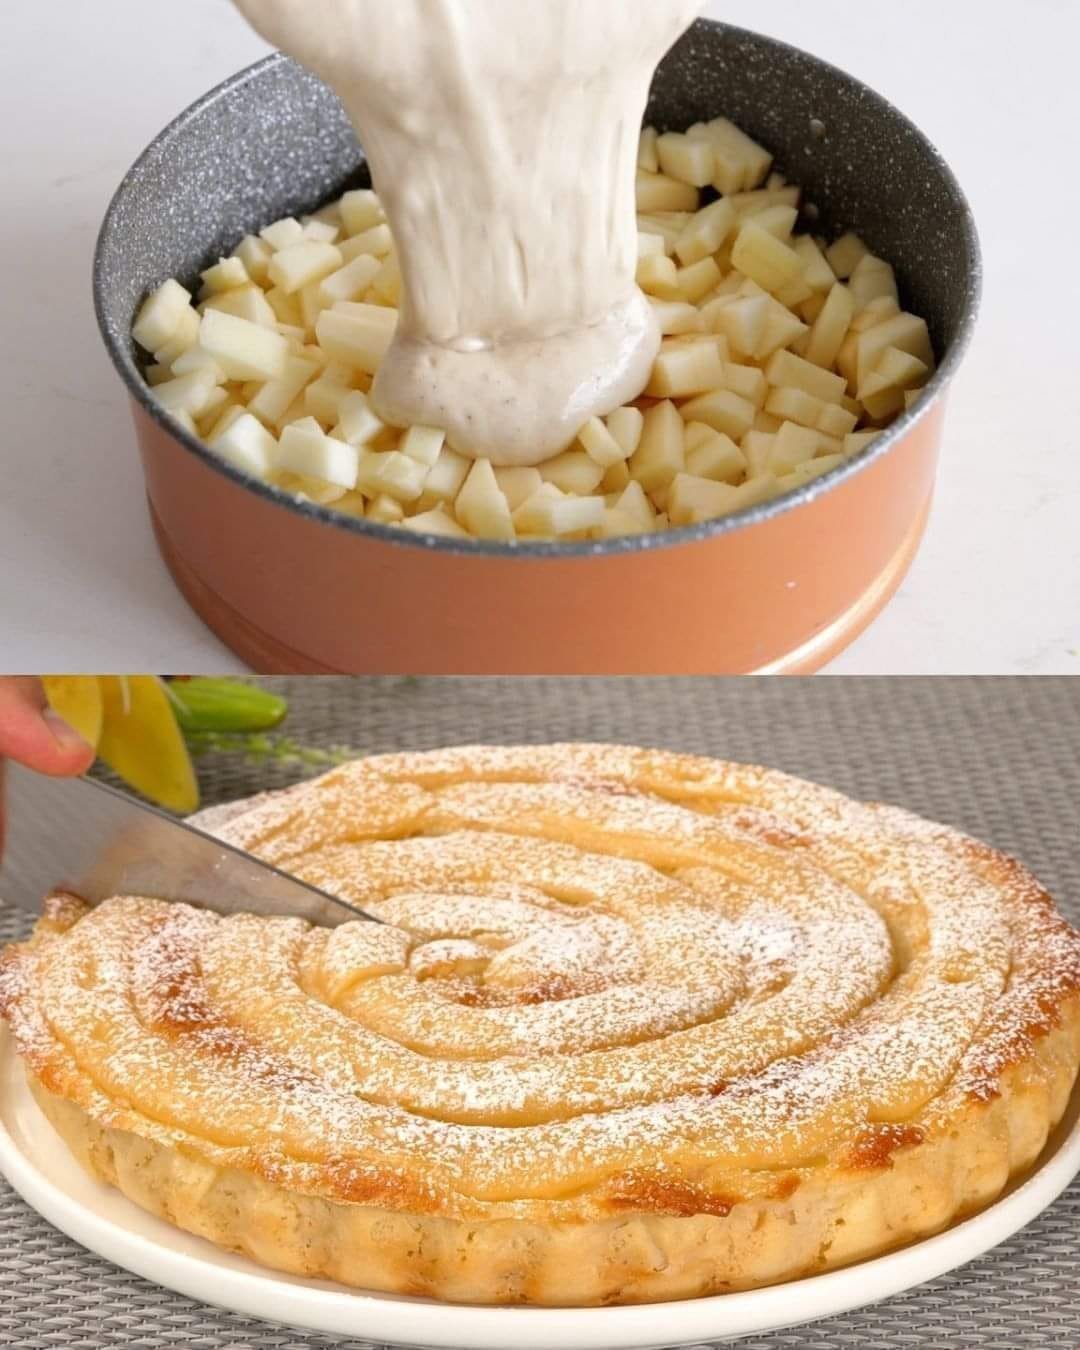
Gradually add the dry ingredients to the butter mixture, alternating with the date mixture (including the liquid). Stir with a spatula or use the mixer on low speed just until combined. Avoid overmixing, as this can make the cake tough rather than tender.
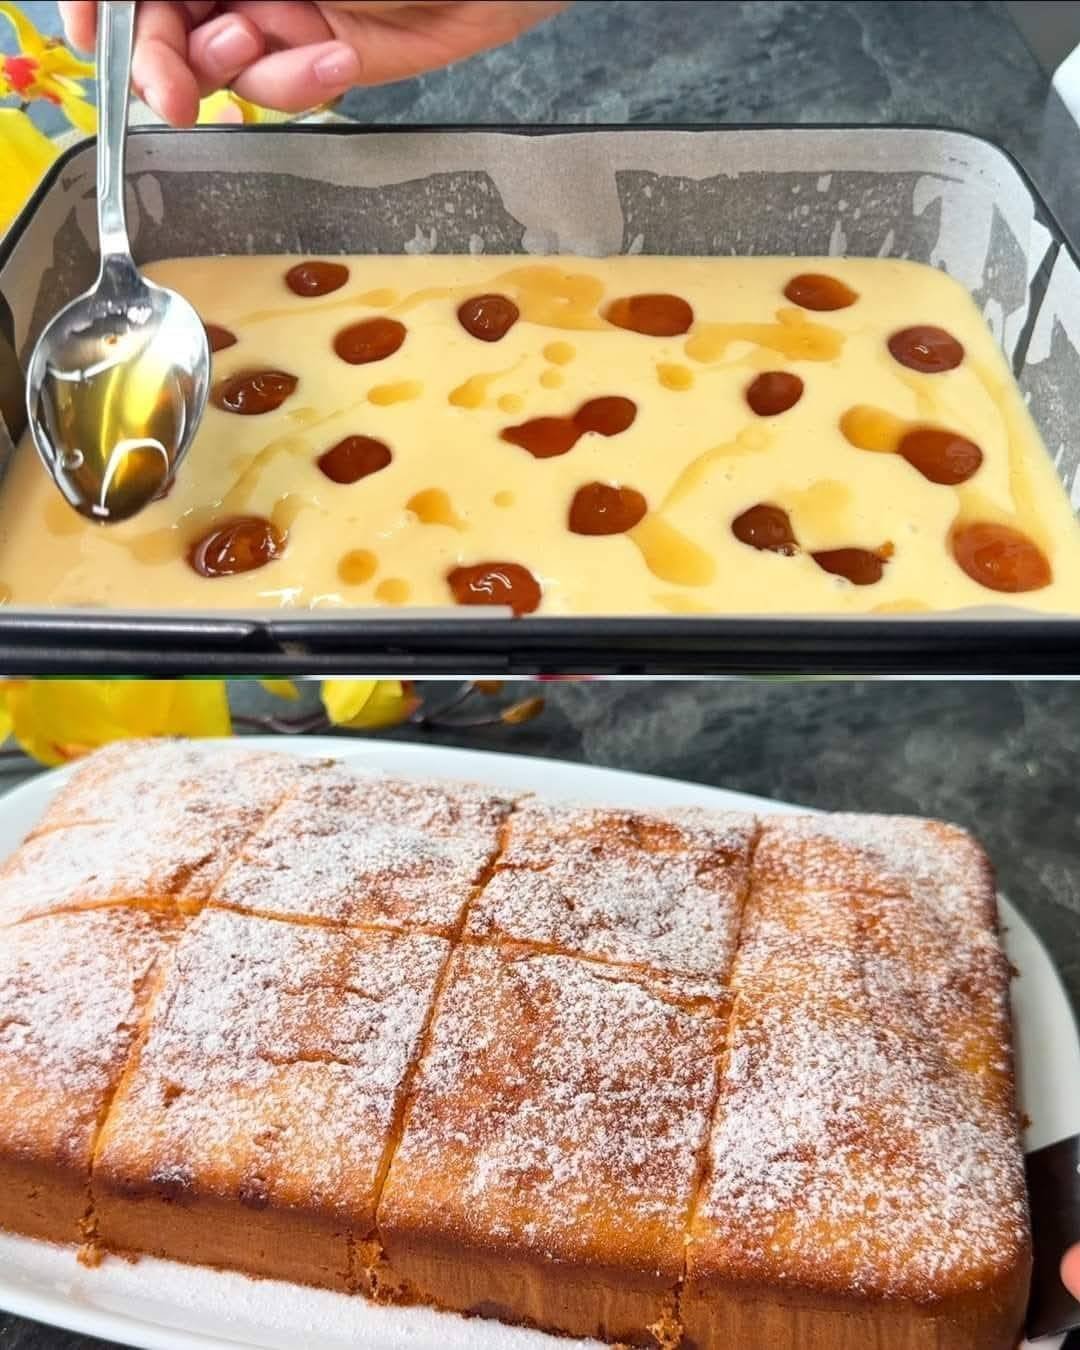
7. Bake
Pour the batter into your prepared pan and smooth the top. Bake for 35 to 45 minutes. To check for doneness, insert a wooden skewer or toothpick into the center—it should come out clean or with just a few moist crumbs attached.
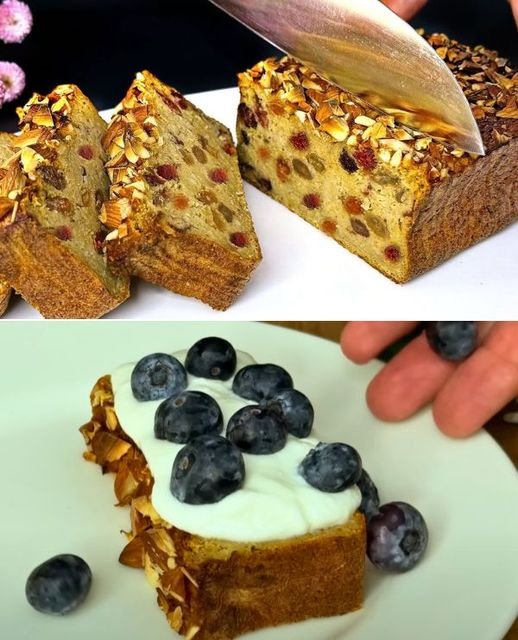
8. Cool and Serve
Let the cake cool in the pan for about 10 minutes before transferring it to a wire rack. Serve warm or at room temperature.
Serving Suggestions
-
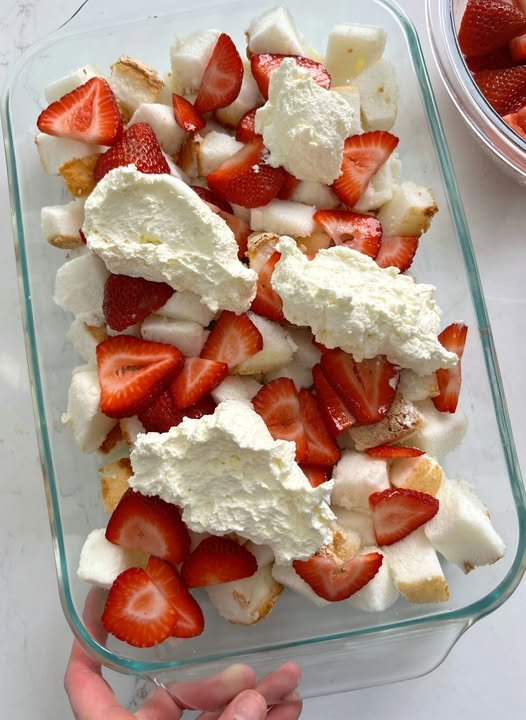
Classic: Serve with a dollop of whipped cream or a scoop of vanilla bean ice cream.
-
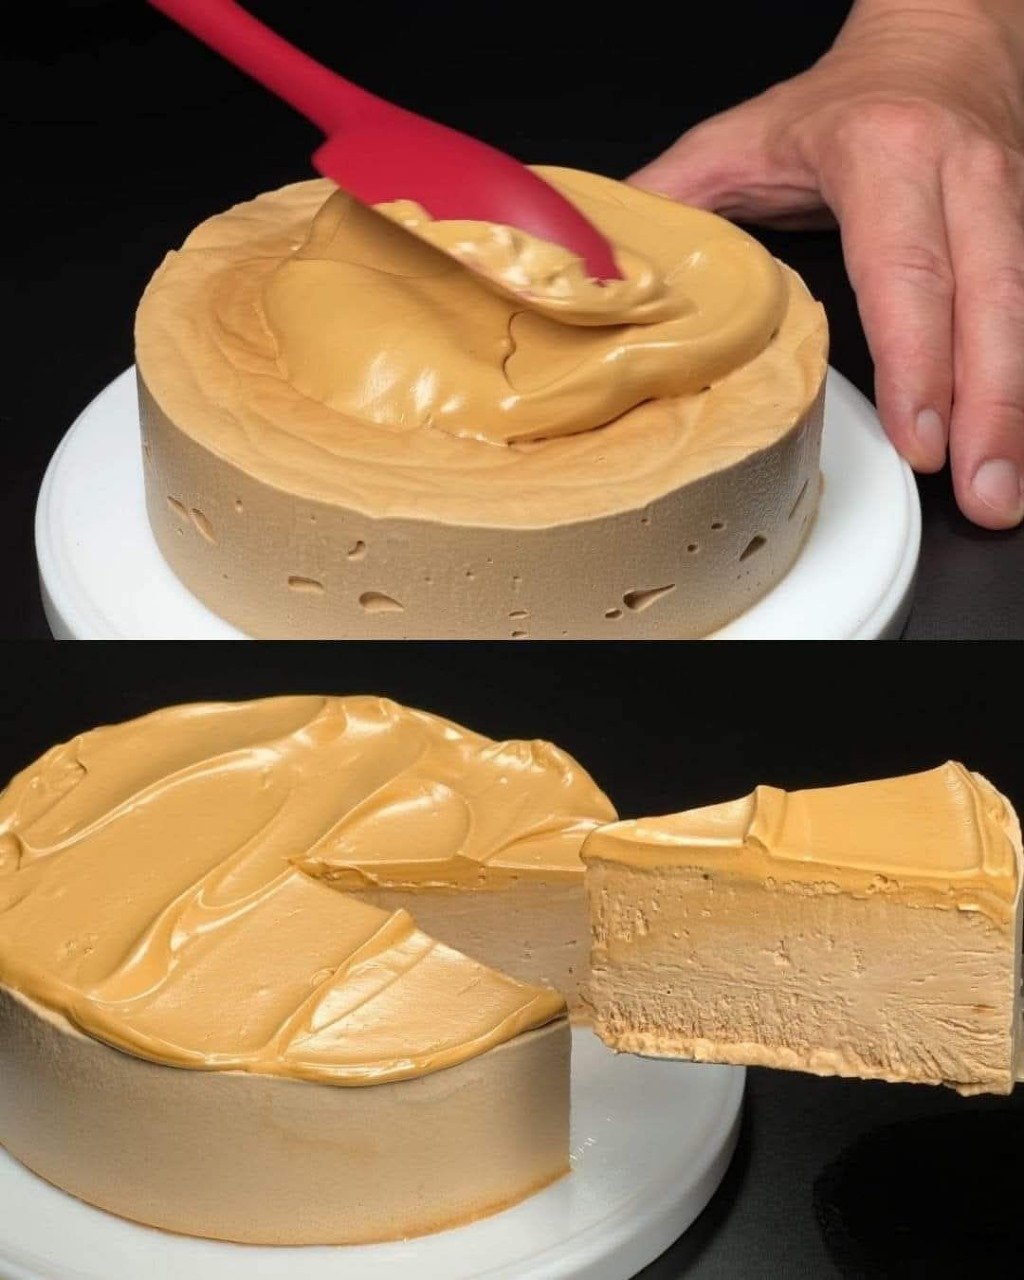
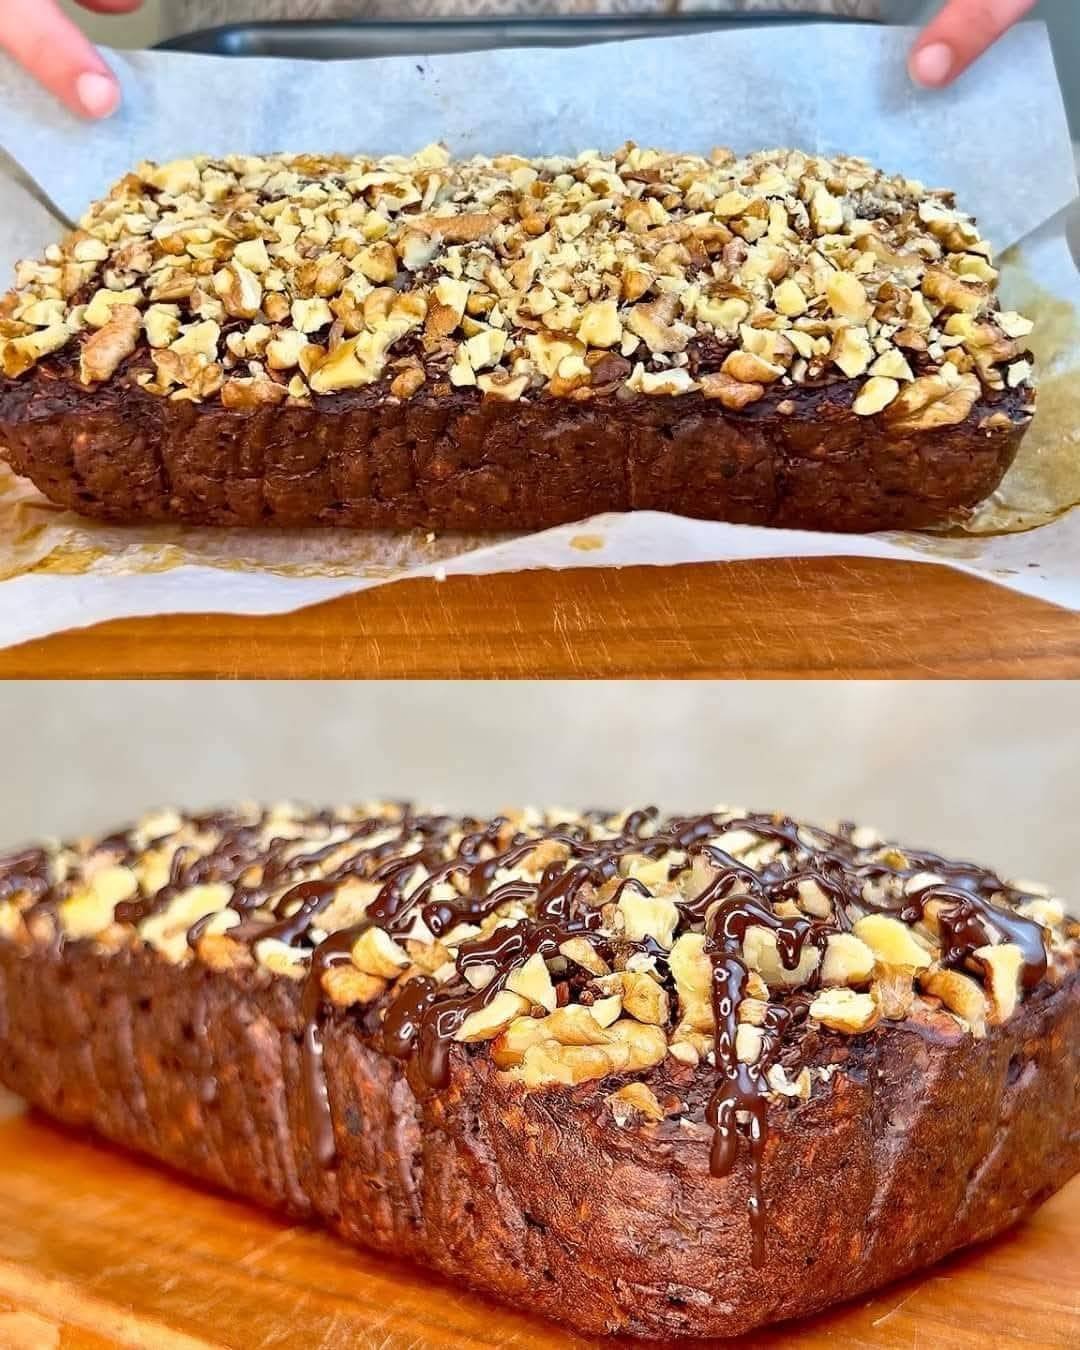
Toffee Style: Drizzle with a warm caramel sauce while the cake is still slightly warm.
-
Tea Time: This cake pairs beautifully with a strong cup of black tea or coffee.
 Ingredients
 Instructions
 Serving Suggestions
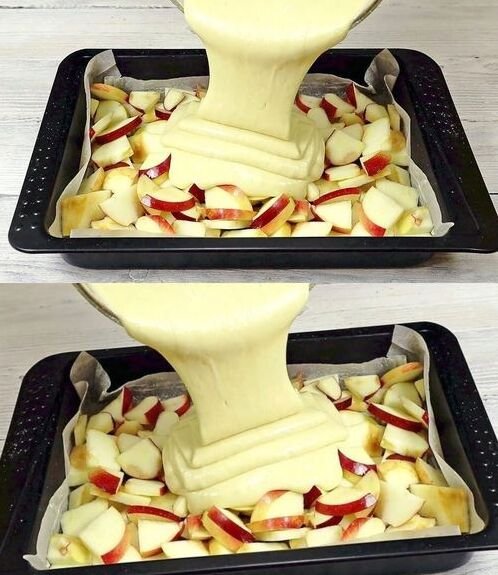

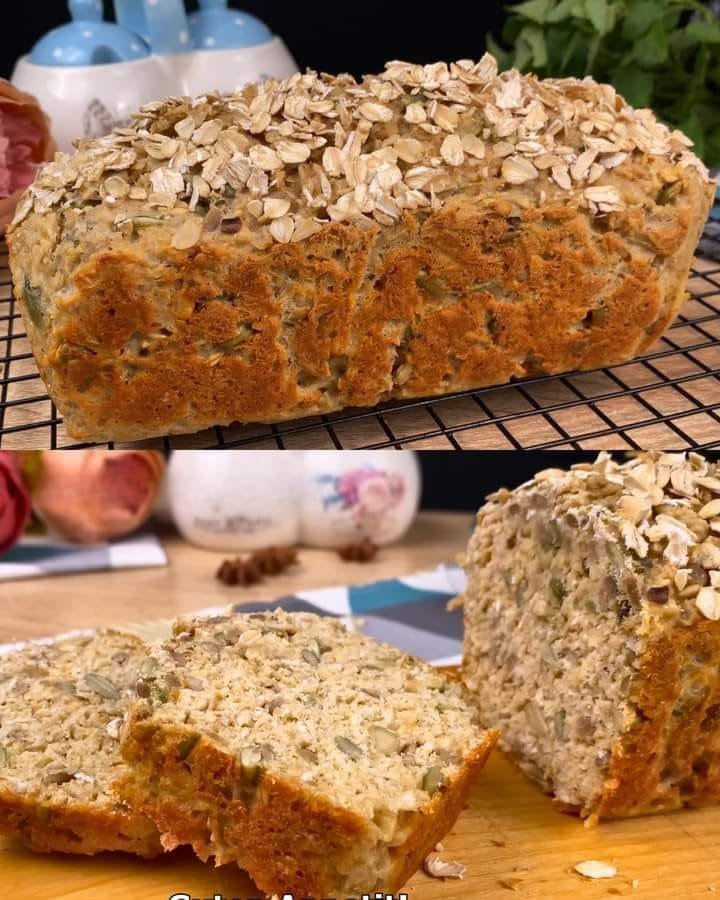
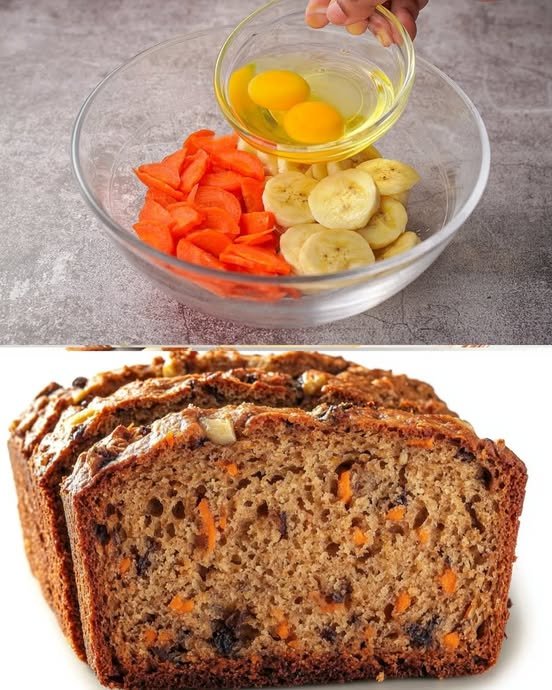


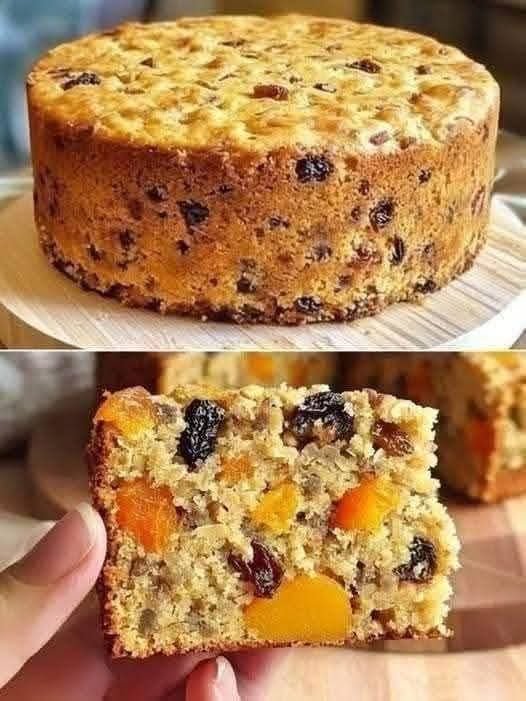
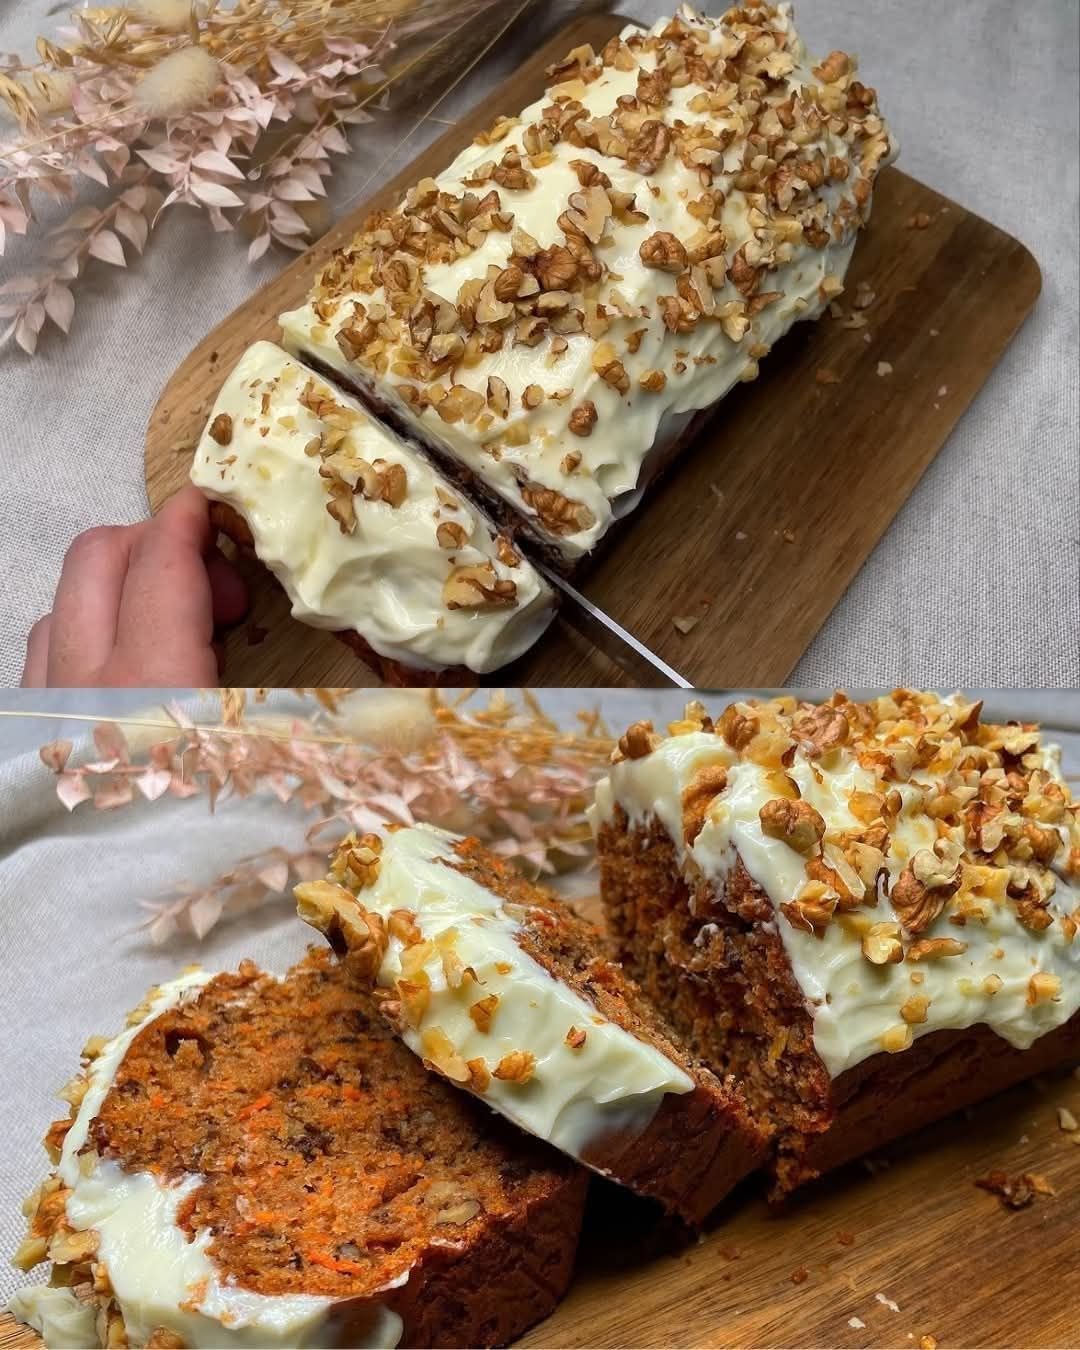
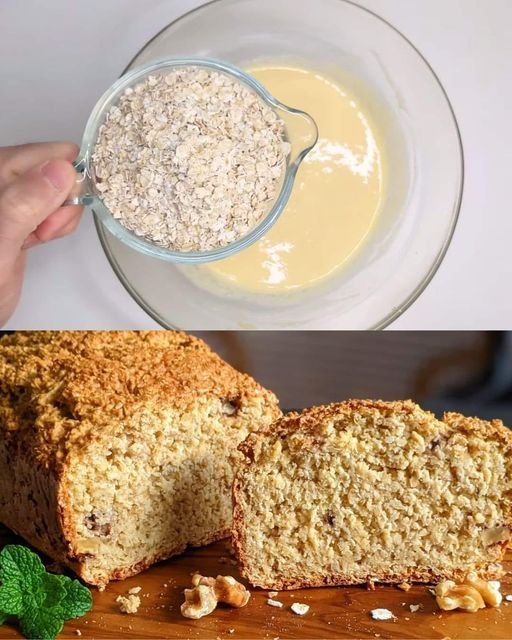
 Whole oats support digestion and heart health
 Carrots & apples provide vitamins and antioxidants
 Dried fruit offers natural energy and sweetness
 No added sugar or flour—clean and balanced