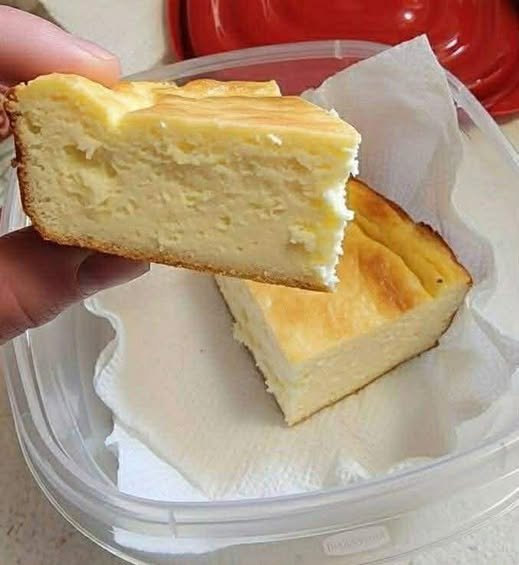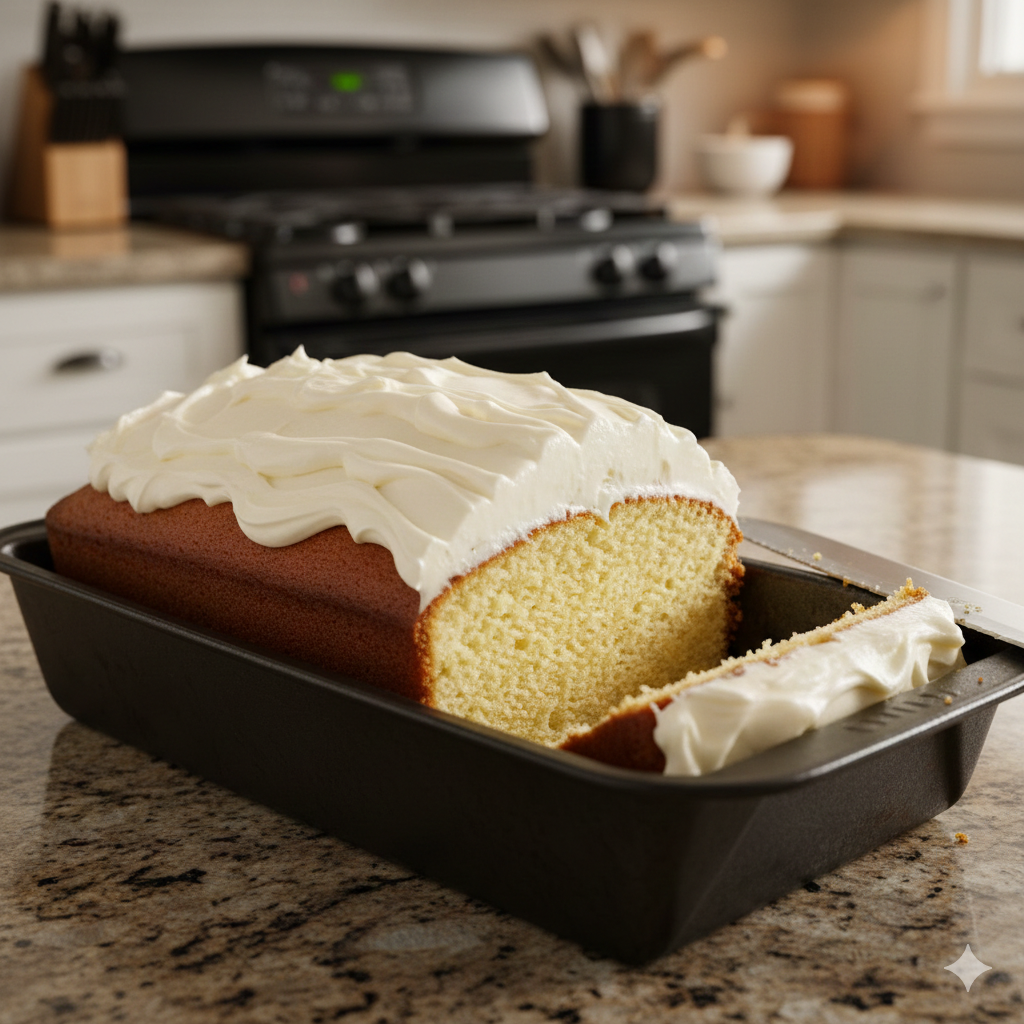
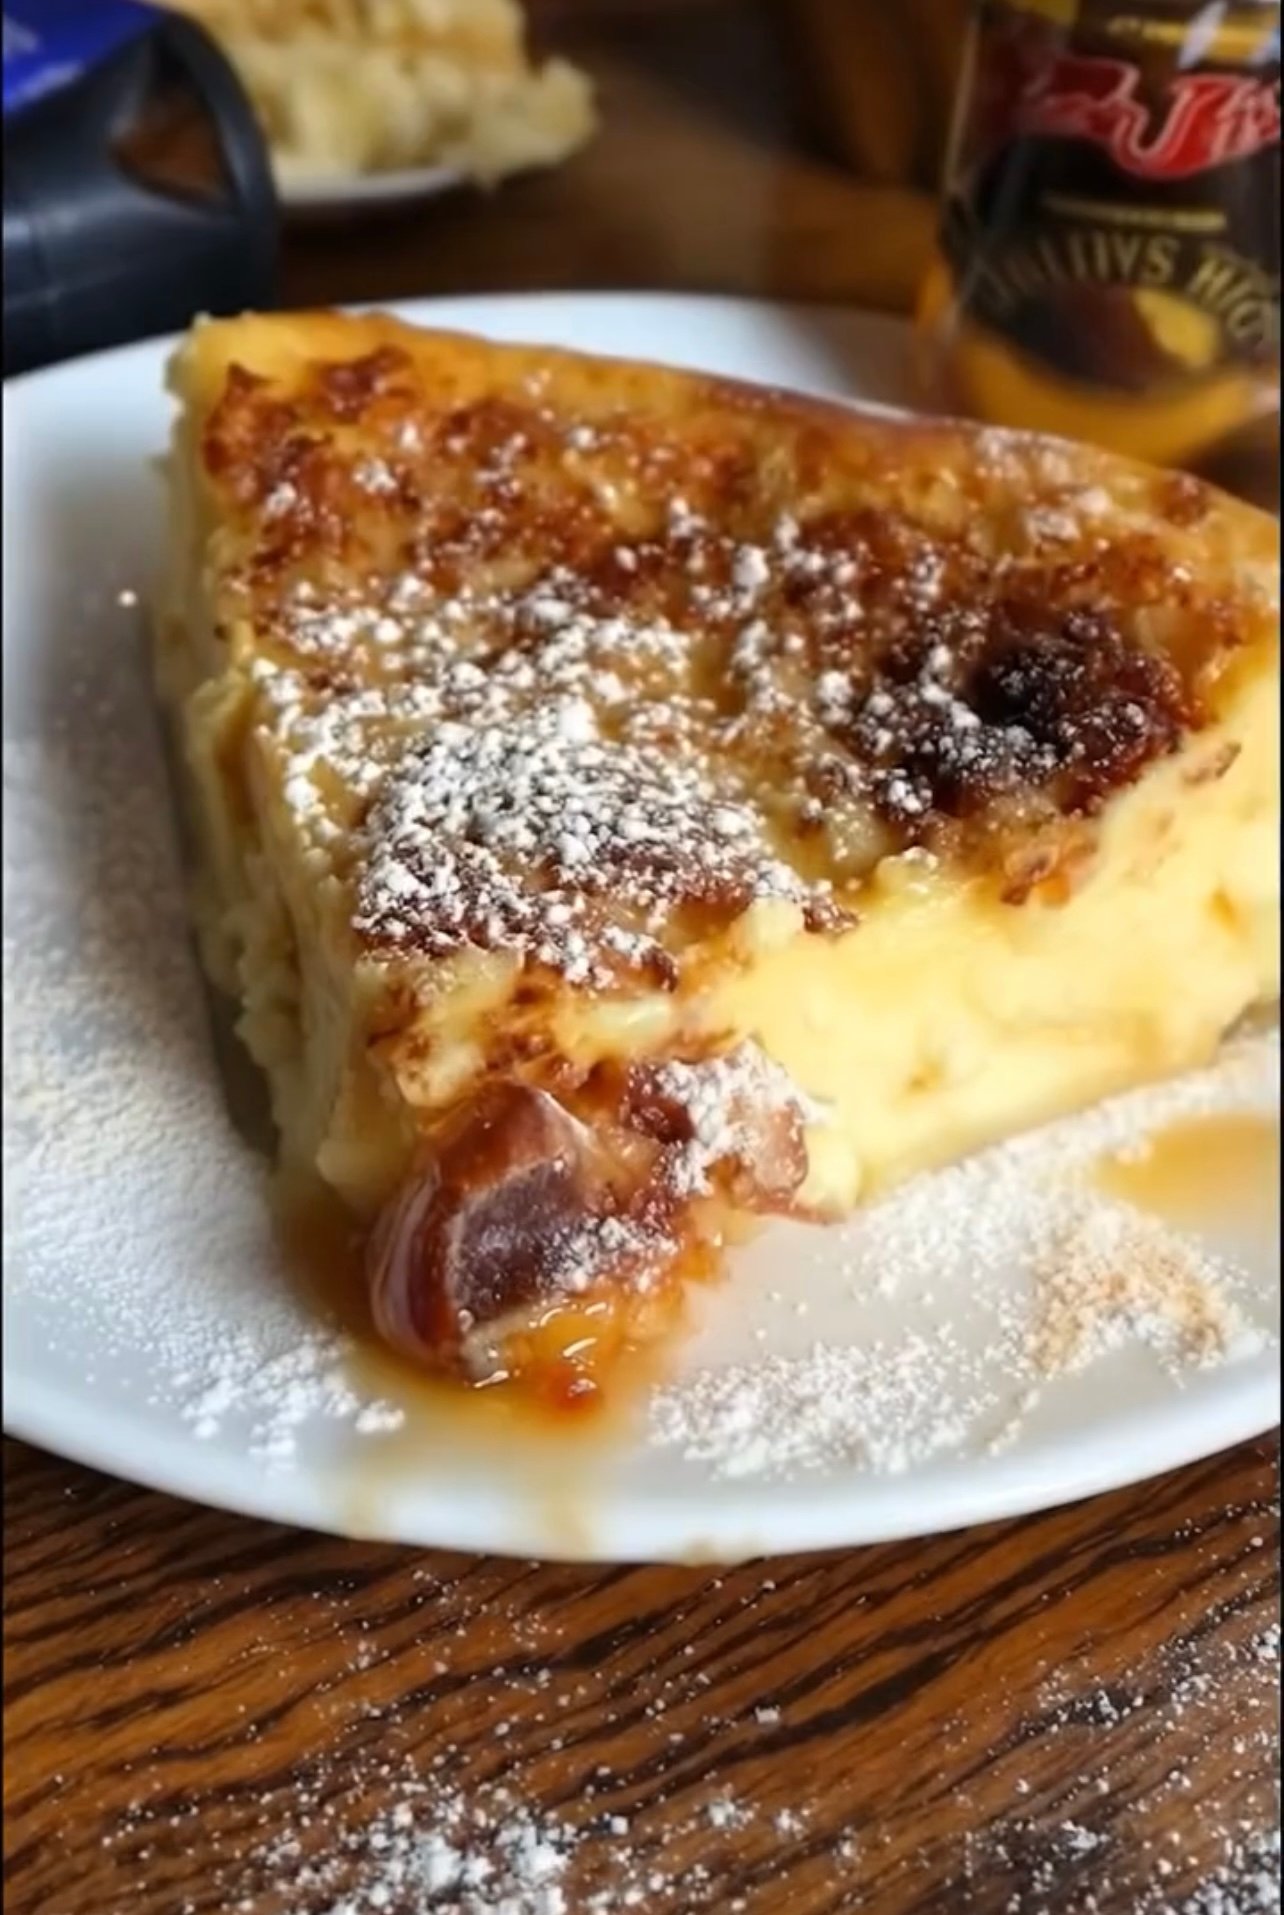
The 90-Calorie Creamy Yogurt Cake
Prep time: 5 mins | Bake time: 35–45 mins | Serves: 6–8
Ingredients
-
2 cups (500g) Greek yogurt (plain or vanilla)
-
4 large Eggs
-
4 tbsp (40g) Cornstarch (this provides the structure)
-
Optional Sweetener: 3–4 tbsp of honey, maple syrup, or your preferred granulated sweetener (if using plain unsweetened yogurt).
-
Optional Flavor: 1 tsp vanilla extract or a squeeze of lemon juice.
Instructions
-
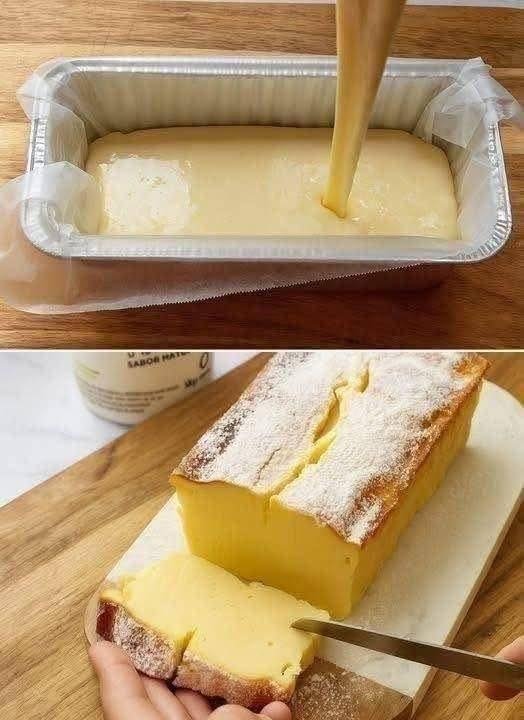
Preparation: Preheat your oven to 340°F (170°C). Line a 6-inch or 7-inch round cake pan with parchment paper. To make the paper fit better, scrunch it into a ball first, then flatten it out—it will mold to the pan much easier!
-
Mix the Base: In a large mixing bowl, whisk the Greek yogurt and eggs together until the mixture is completely smooth and there are no streaks of yellow.
-
Incorporate the Starch: Sift in the cornstarch. Add your sweetener and vanilla extract if you are using them. Whisk gently until the batter is silky and lump-free.
-
Bake: Pour the batter into your prepared pan. Bake for 35 to 45 minutes. The cake should be set on the edges but still have a slight “jiggle” in the very center.
-
The Secret Step (Chilling): Once baked, let the cake cool to room temperature in the pan. Do not skip this: Place the cake in the refrigerator for at least 2 hours (or overnight). This allows the proteins to set, transforming the texture into a creamy, cheesecake-like consistency.
-
Serve: Gently lift the cake out using the parchment paper. Slice and enjoy as is, or top with fresh berries.
Why this works for a nightly treat:
-
High Protein: Using Greek yogurt makes this much more satisfying than a traditional flour-based cake.
-
Simplicity: With only a few minutes of active work, it fits easily into a busy evening routine.
-
Customizable: You can experiment by adding cocoa powder for a chocolate version or folding in blueberries before baking.

 “Diabetic-friendly” means lower in sugar and carbs — always monitor blood glucose and consult your healthcare provider for personal guidance.
 Lower sugar than traditional cream rolls
 Add sugar-free strawberry puree swirl
 Mix in 1 tbsp unsweetened cocoa powder
 Add 1 tbsp coconut cream for tropical flavor
 Add ½ tsp instant espresso for mocha twist

 Ingredients
 Step-by-Step Instructions
 Tips & Notes
 Variations