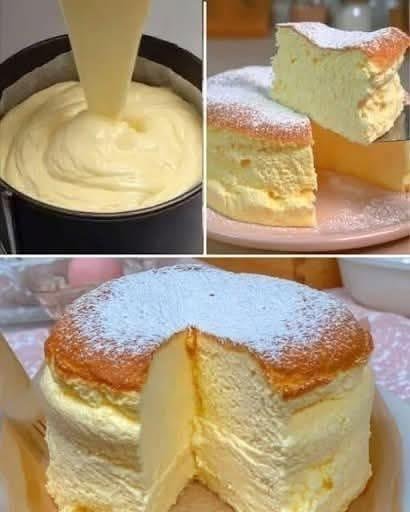
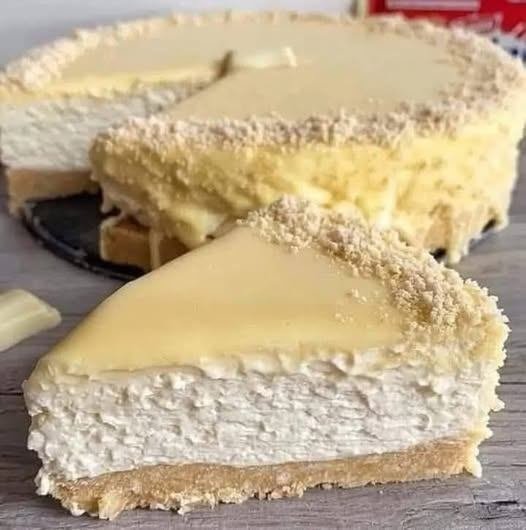
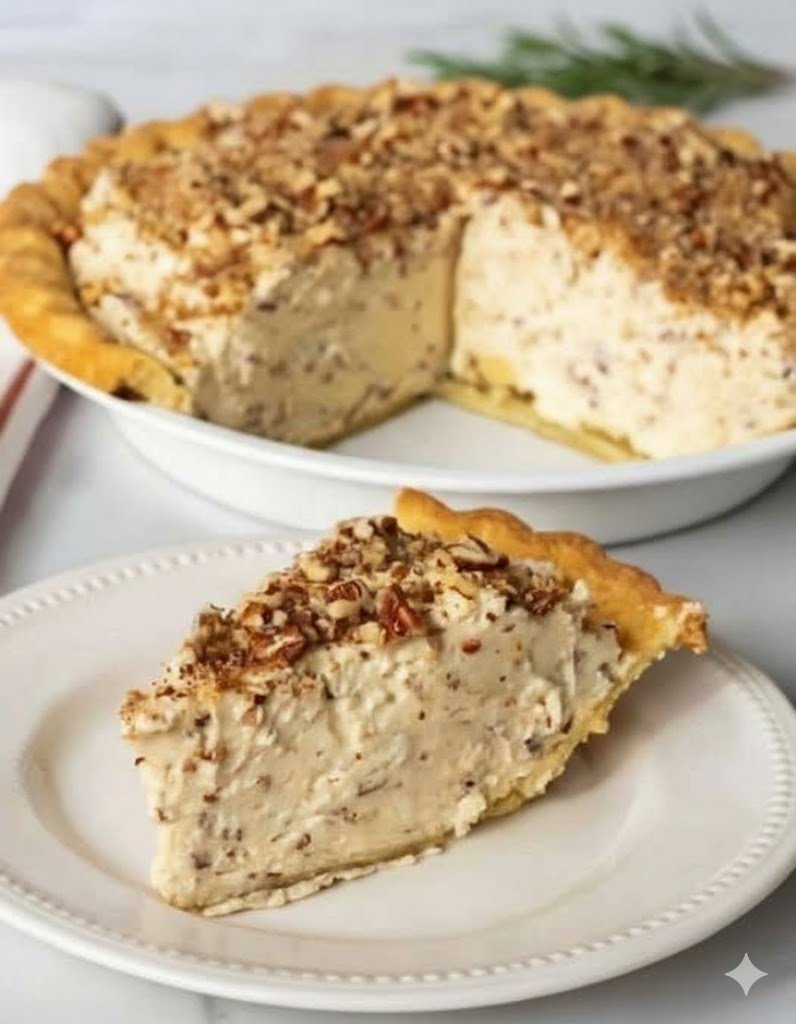
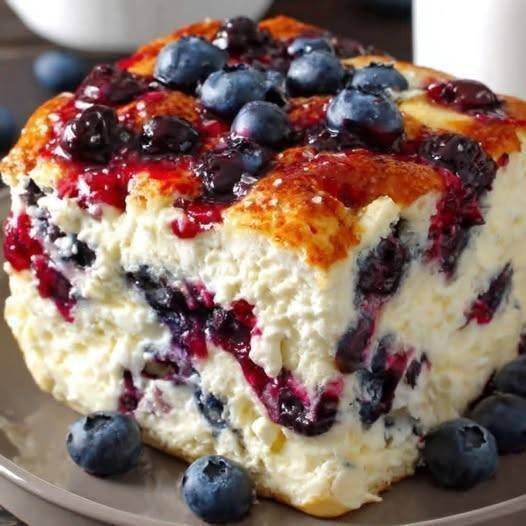
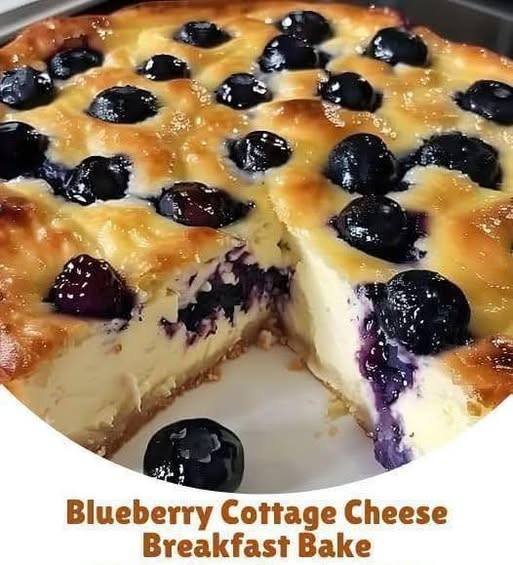
If you’re looking for an irresistibly creamy and easy dessert, this No-Bake Biscuit Pudding is the answer. With its smooth layers of velvety custard and the crunch of biscuit crumbs, this dessert offers a beautiful balance between textures. It’s an ideal sweet treat for any occasion—especially when you’re short on time but still want something impressive.
Let’s walk through how you can create this mouthwatering dessert at home!
This no-bake dessert requires minimal ingredients and effort, but it packs a punch in flavor. The combination of creamy, custard-like layers with the subtle sweetness and crunch of biscuits makes it a satisfying treat for everyone. Plus, it doesn’t require an oven, making it the perfect go-to recipe for hot summer days or any time you want a quick dessert fix.
Ingredients You’ll Need:
3 cups (700ml) whole milk
1 can (14 oz) sweetened condensed milk
4 tablespoons cornstarch
1 teaspoon vanilla extract
2 packets of digestive or graham crackers (or any plain biscuits you prefer)
1/4 cup butter (optional, for extra richness)
Crushed biscuits or graham crackers (for topping)
INSTRUCTIONS:
Instructions:
Step 1: Prepare the Creamy Custard Base
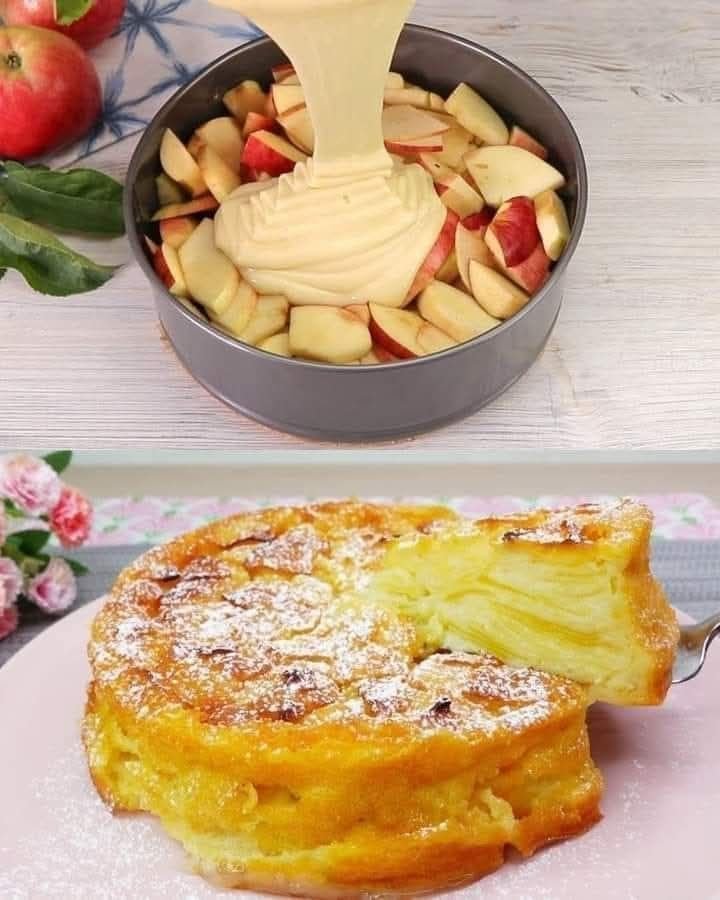
In a medium saucepan, combine the whole milk, sweetened condensed milk, and cornstarch. Whisk them together until the cornstarch is fully dissolved, ensuring no lumps remain. This mixture will form the base of the pudding.
Turn on the heat to medium and stir the mixture continuously. As it heats up, the mixture will thicken. This usually takes about 5 to 7 minutes. Once the pudding thickens to a creamy, custard-like consistency, remove it from the heat. Stir in the vanilla extract for a touch of flavor and richness. If you prefer a slightly richer custard, add the butter at this point and stir until melted.
Step 2: Layer the Biscuits
While the custard is cooling slightly, crush half of your biscuits or graham crackers into fine crumbs. You can do this by placing them in a ziplock bag and gently crushing them with a rolling pin, or by pulsing them in a food processor.
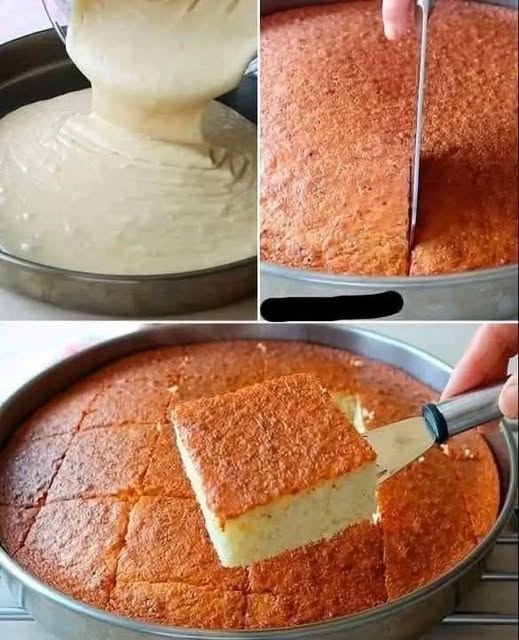
Take a deep dish or baking dish (preferably glass for presenation), and spread a thin layer of crushed biscuits on the bottom. This forms the crispy foundation for the pudding layers.
Step 3: Layer the Custard
Once your biscuits are in place, pour half of the custard mixture over the biscuit layer. Spread it evenly using a spatula or the back of a spoon. The smooth, creamy custard contrasts beautifully with the crunch of the biscuits.
Step 4: Add Another Biscuit Layer
Now, crush more biscuits and sprinkle a second layer over the custard. Be generous—this adds extra texture and flavor!
Step 5: Top with the Remaining Custard
Pour the remaining custard over the top biscuit layer. Gently spread it out, ensuring that the biscuit layer is fully covered and sealed in by the rich custard.
Step 6: Finish with Crushed Biscuits
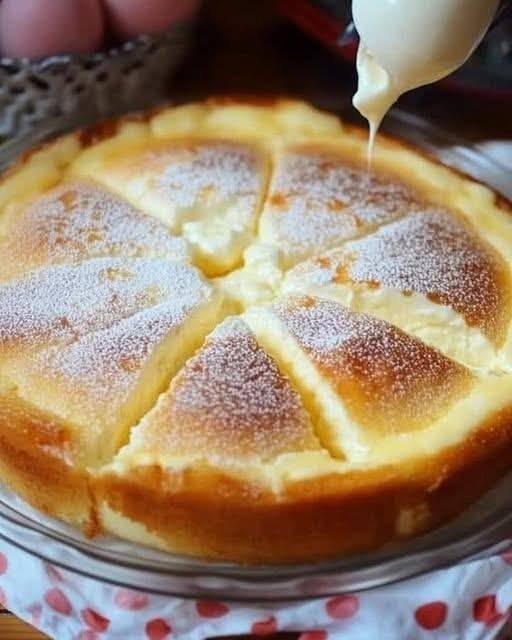
To add the finishing touch, sprinkle the top with more crushed biscuits. This gives the dessert a lovely crunchy texture that complements the creamy filling.
Step 7: Chill and Serve
Place the dish in the refrigerator for at least 2 hours, or until fully set. Chilling allows the flavors to meld together and gives the pudding a more cohesive texture. For best results, you can even leave it to chill overnight.
Tips for Success:
Cornstarch consistency: Make sure to whisk constantly while heating the milk mixture to avoid lumps.
Layer variation: You can add more layers of biscuits and custard if desired for extra height and texture.
Flavored twist: Feel free to add a dash of cinnamon or cocoa powder to the biscuit layers for an extra flavor boost.
Serving Suggestions:
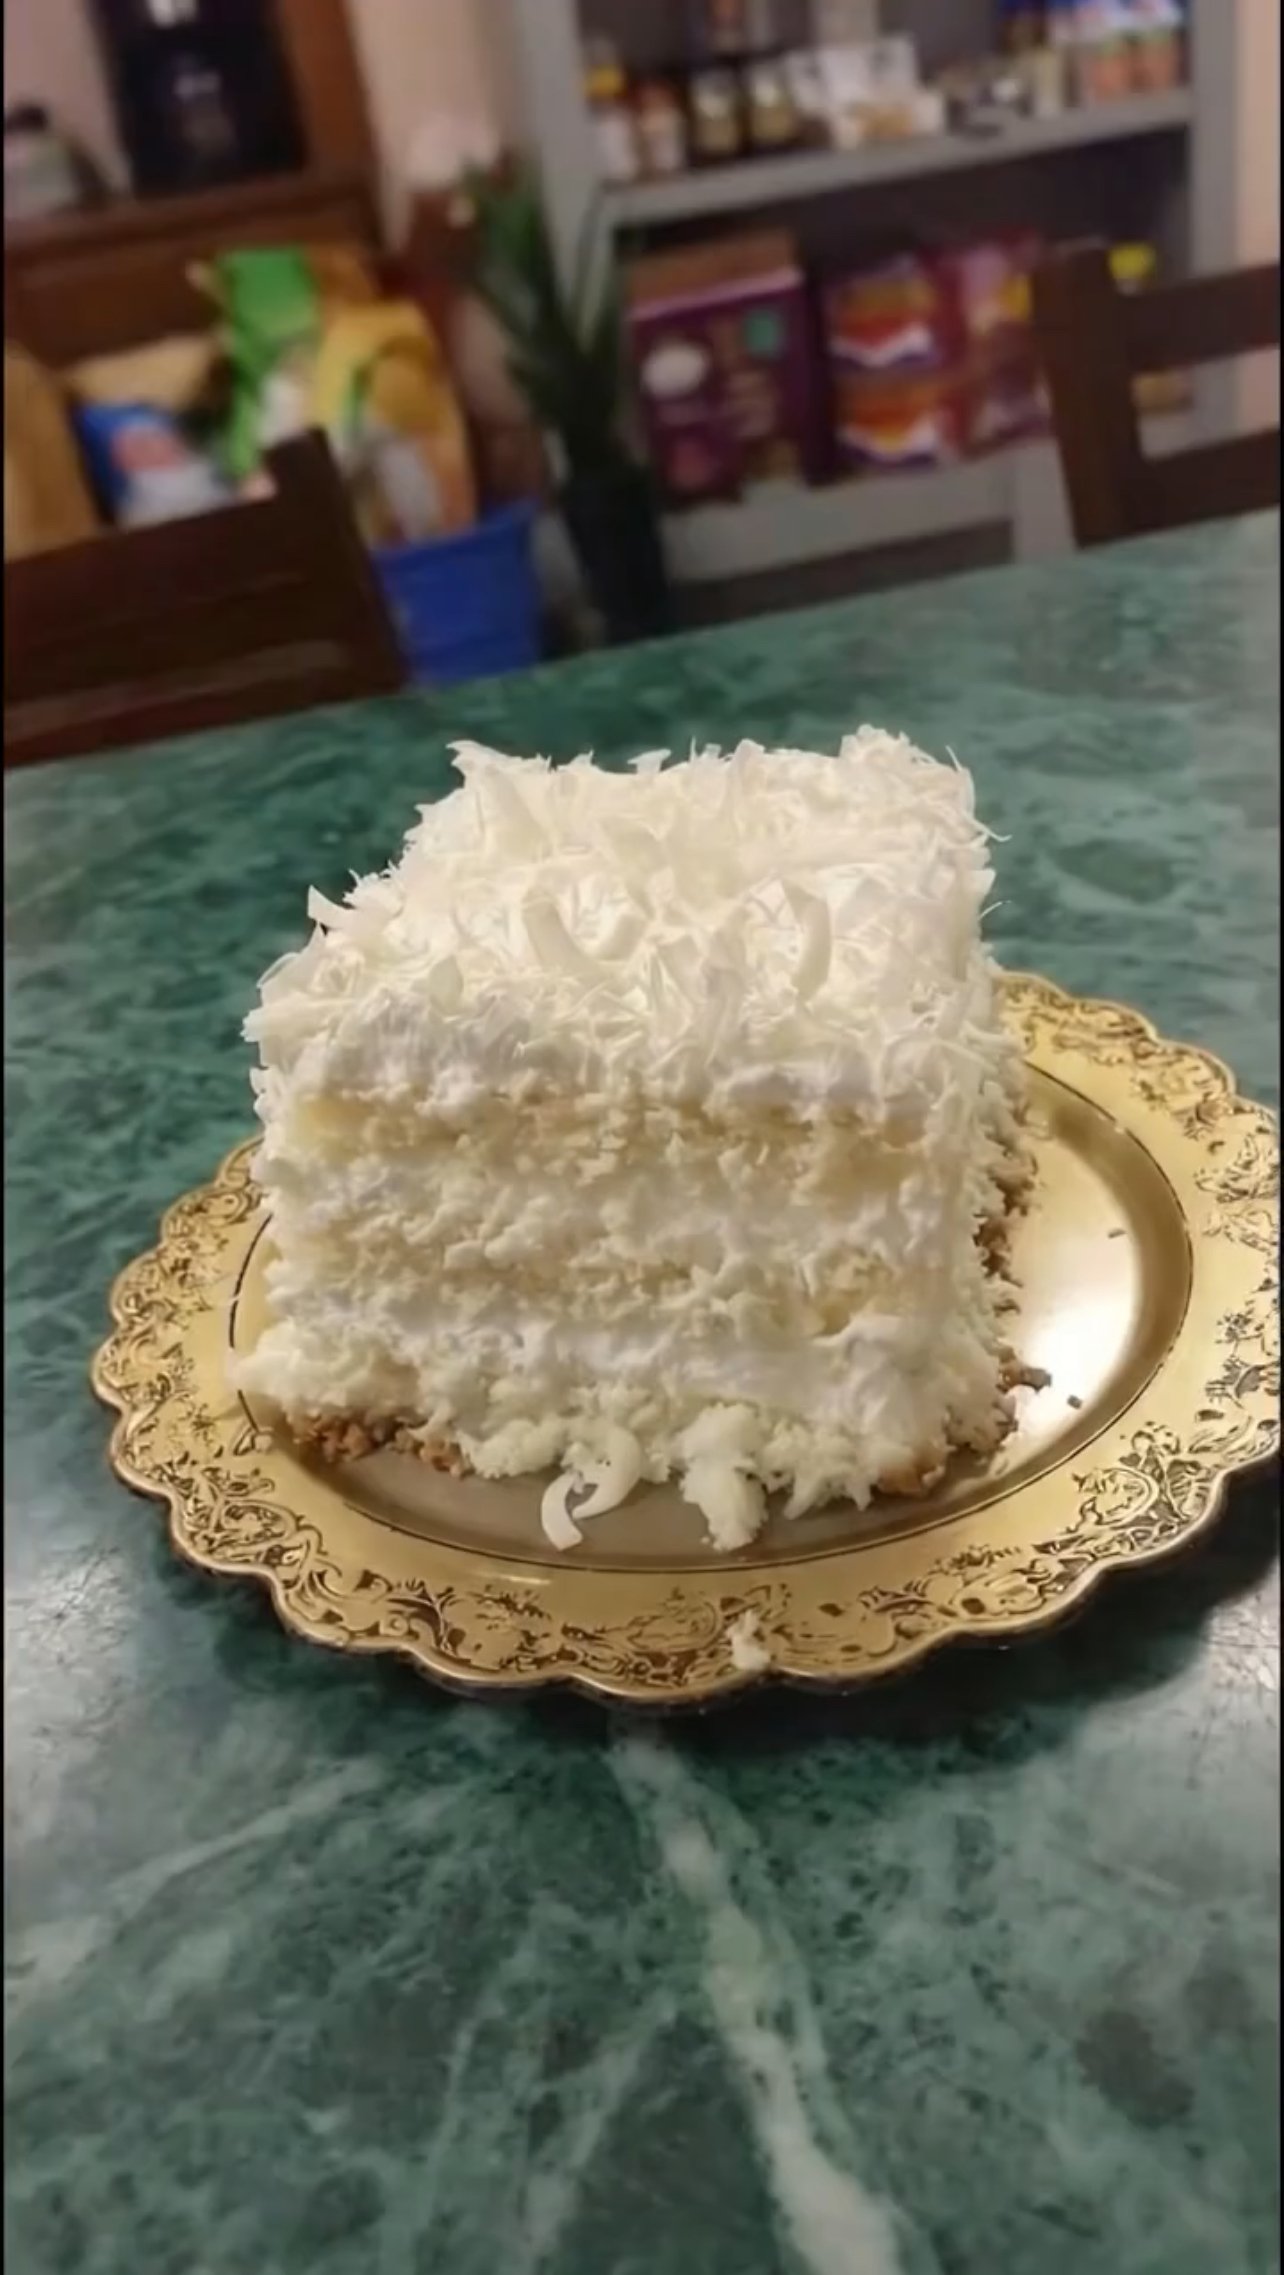
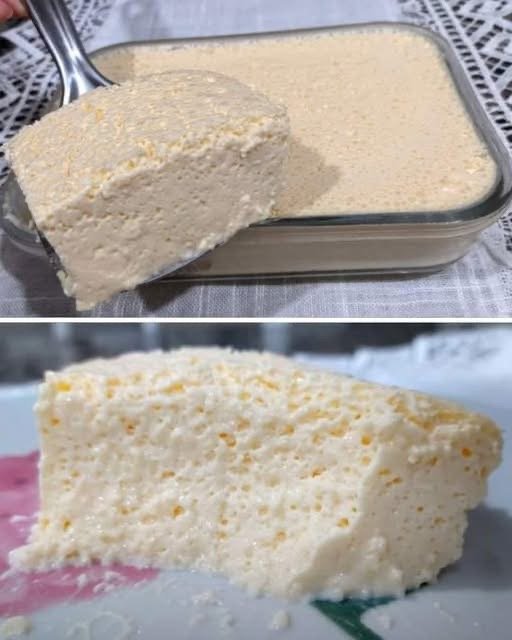
Once the pudding has set, it’s ready to be served! You can cut it into slices for a neat presentation or scoop it out with a large spoon for a more rustic look. The combination of the cool, creamy custard and the crumbly biscuit layers is sure to be a hit with anyone who tries it.
Why You’ll Love This Recipe:
No-bake: This is a perfect dessert when you don’t want to use the oven.
Minimal ingredients: With only a few pantry staples, you can whip this up in no time.
Customizable: You can experiment with different biscuits, toppings, or even flavors in the custard.
Make-ahead: This pudding can be made the night before, making it ideal for parties or gatherings.


 Do not overmix after adding egg whites