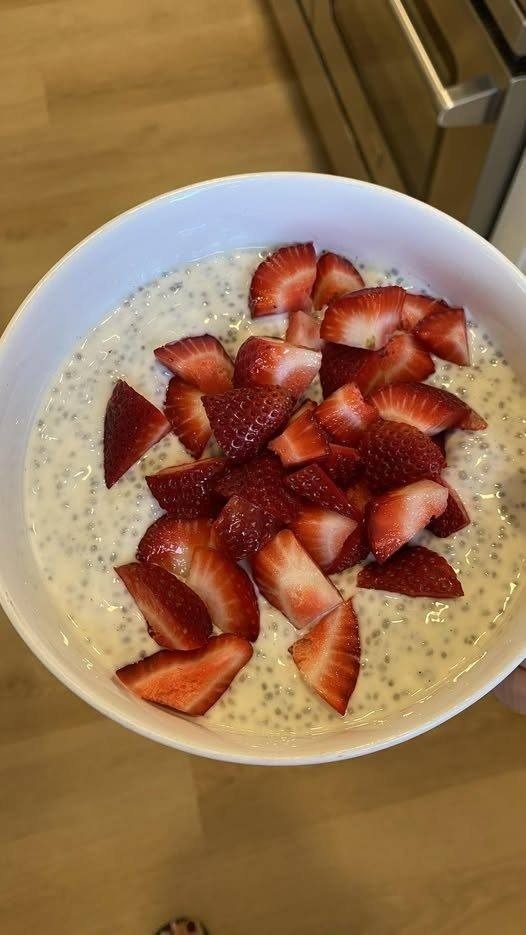
🍮 Sugar-Free Chia Seed Pudding (Low-Point & High-Fiber)
A creamy, naturally filling pudding made with chia seeds and unsweetened almond milk. Perfect for breakfast, snack, or light dessert.
🧺 Ingredients
-
½ cup chia seeds (black or white)
-
2 cups unsweetened almond milk (or other unsweetened plant-based milk)
-
1–2 tbsp sugar-free sweetener (monk fruit, erythritol, or stevia, adjust to taste)
Optional Flavor Add-Ins (no extra points)
-
½ tsp vanilla extract
-
Pinch of cinnamon or nutmeg
Optional Toppings (add separately)
-
Fresh berries (strawberries, blueberries)
-
Unsweetened coconut flakes
-
Chopped nuts (measure carefully)
-
Sugar-free syrup
👩🍳 Step-by-Step Instructions
Step 1: Mix the Liquid Base
In a large bowl or jar, stir together:
-
Almond milk
-
Sugar-free sweetener
-
Vanilla or spices (if using)
Mix until fully blended.
Step 2: Add Chia Seeds
Whisk in the chia seeds slowly while stirring to prevent clumps.
Step 3: Rest and Re-Mix
Let mixture sit for 10–15 minutes, then whisk again to break up any clumps.
Step 4: Refrigerate
Cover and refrigerate for at least 4 hours or overnight until thick and pudding-like.
Step 5: Serve
Spoon into bowls or jars.
Add toppings if desired and enjoy chilled.
🌿 Why This Recipe Works
-
Chia seeds absorb liquid and keep you full longer
-
Unsweetened almond milk keeps calories and points low
-
Sugar-free sweeteners allow sweetness without added sugar
-
Fully plant-based and vegan-friendly
🔁 Substitutions & Variations
-
Milk: Use any unsweetened plant-based milk (soy, oat, coconut almond blend)
-
Sweetener: Monk fruit, stevia, or erythritol all work
-
Natural option: Small amount of mashed banana or unsweetened applesauce (adds sweetness but increases points)
-
Flavor ideas: Cocoa powder, cinnamon, nutmeg, or lemon zest
🥄 Equipment Alternatives
-
No jar? Use a bowl and cover tightly
-
No whisk? A fork works well
🍓 Serving Ideas
-
Breakfast: Top with berries and a few chopped nuts
-
Snack: Add sugar-free chocolate or caramel syrup
-
Dessert: Layer with yogurt or fruit for a parfait
-
Drink pairing: Coffee or unsweetened tea
❄ Storage Tips
-
Store in airtight container up to 5 days in fridge
-
Best texture within 3–4 days
-
Freezing is not recommended (texture changes)
-
Serve chilled (no reheating needed)
📊 Nutrition (per ¾ cup serving – approximate)
-
Calories: ~120 kcal
-
Carbohydrates: 8 g
-
Protein: 4 g
-
Fat: 7 g
-
Fiber: 6 g
-
WW Points: ~3–4 per serving
Diet: Low-carb, high-fiber, vegan-friendly
Allergens: Contains seeds; check milk for nut allergens
❓ FAQs
Q: Can I use dairy milk?
Yes, but calories and points will increase depending on milk type.
Q: My pudding is too thin. What should I do?
Add 1–2 tbsp more chia seeds and refrigerate 1 more hour.
Q: Can I make single servings?
Yes. Divide mixture into small jars for grab-and-go portions.
Q: Can I add fruit before chilling?
It’s better to add fruit when serving so it doesn’t release extra liquid.


 Supports weight loss
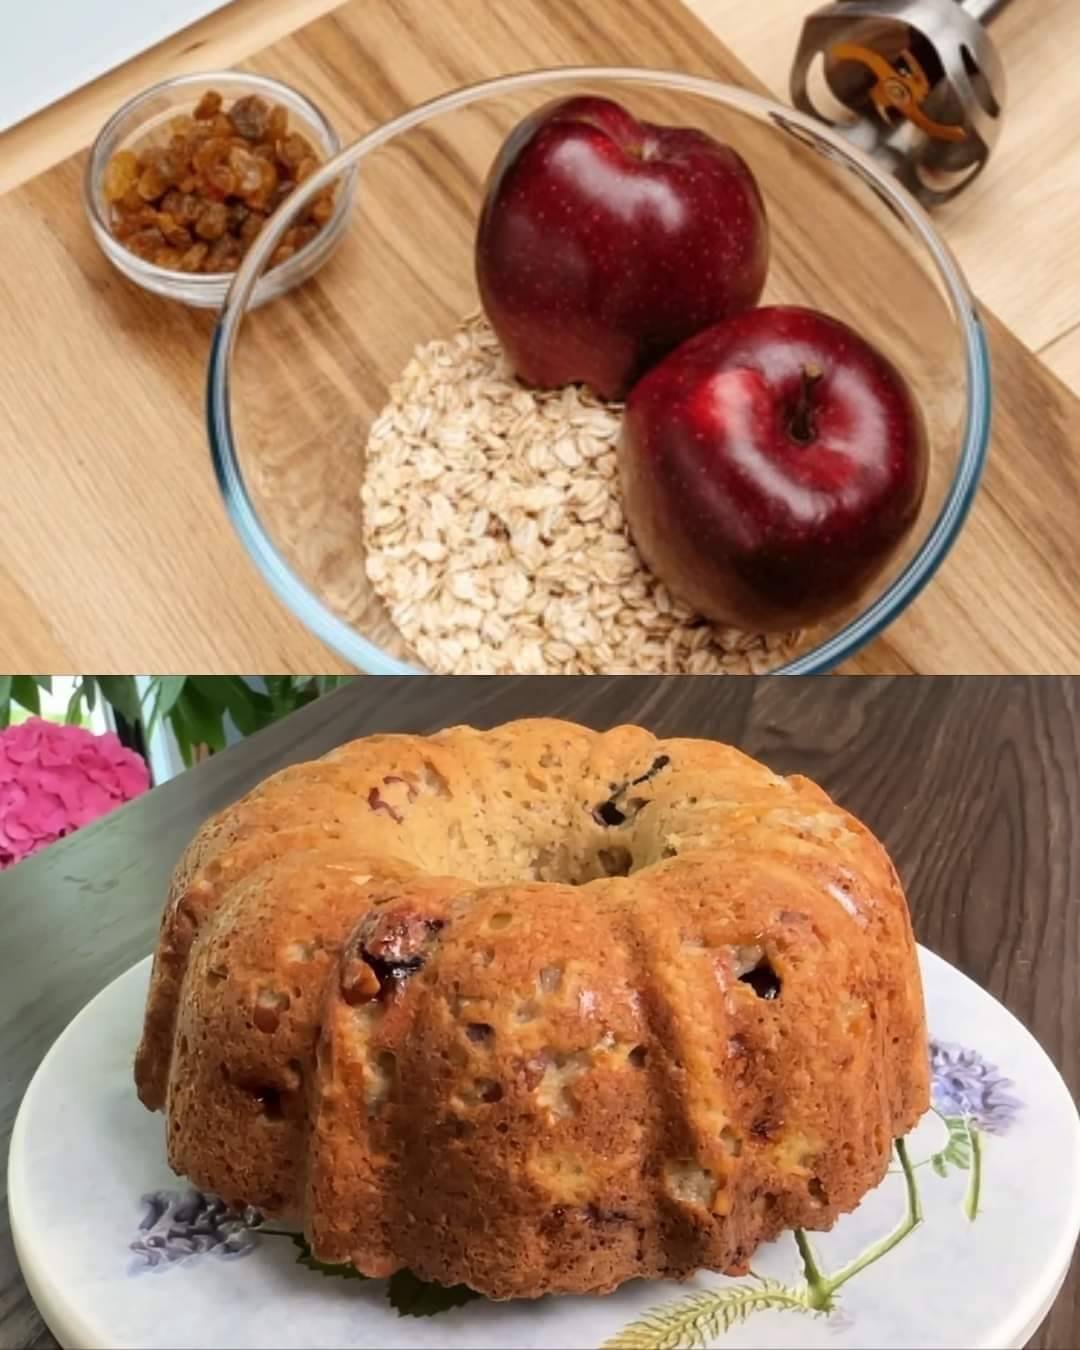
 Note: While this recipe contains no added sugar, it is not zero-calorie. Apples and oats contain natural carbohydrates.
 Diabetic-Friendly
 Oats
Oats Apples
 Egg
Egg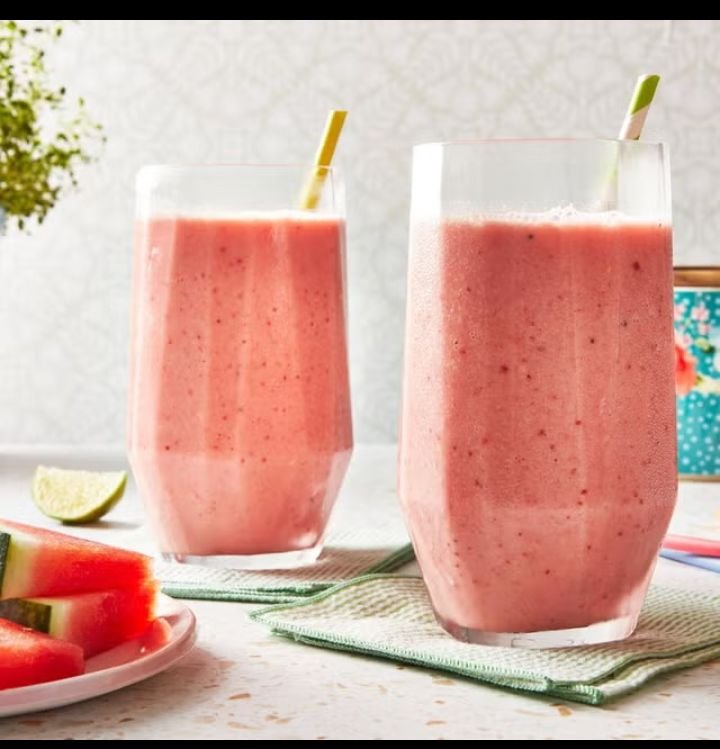

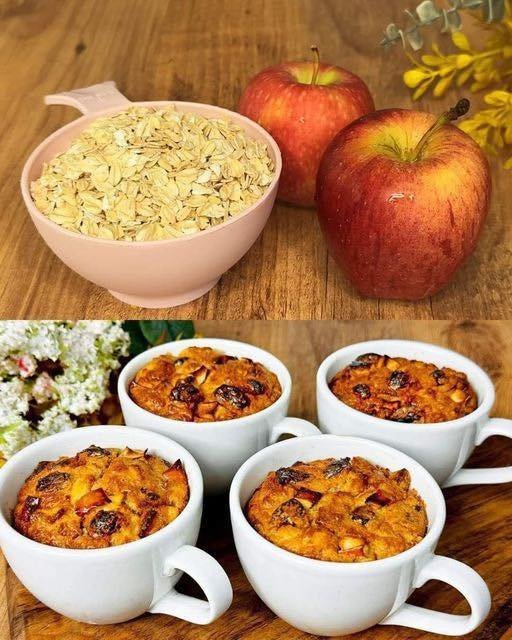

 Instructions
 Prepare the Fruit
 Mix the Batter
 Fill the Mugs
 Cook
Cook Serving Ideas
 Tips
Tips
 Tips for Best Results
 Storage
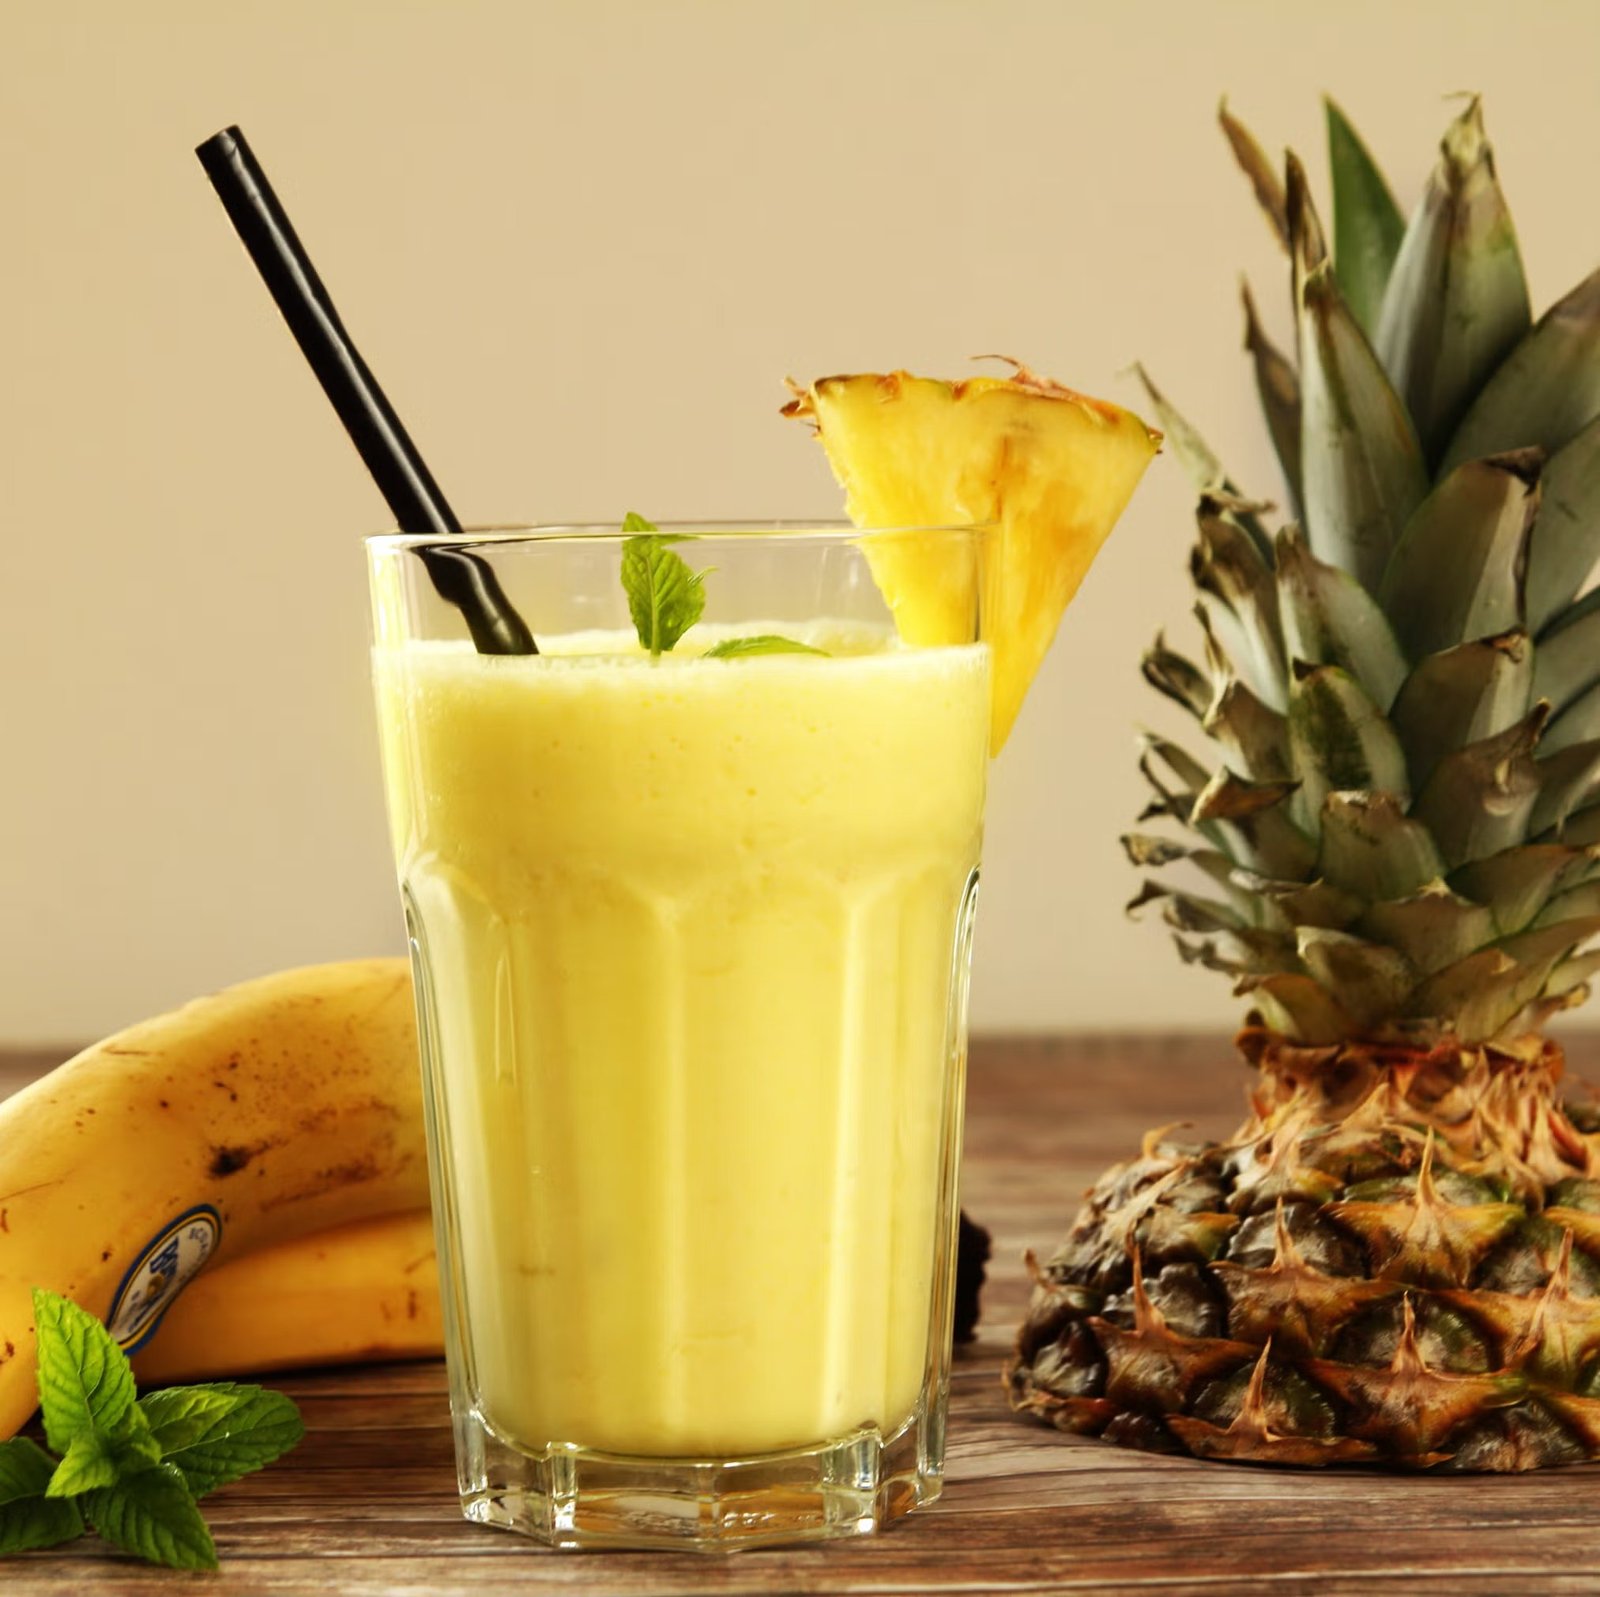
 Tropical Pineapple-Banana Smoothie
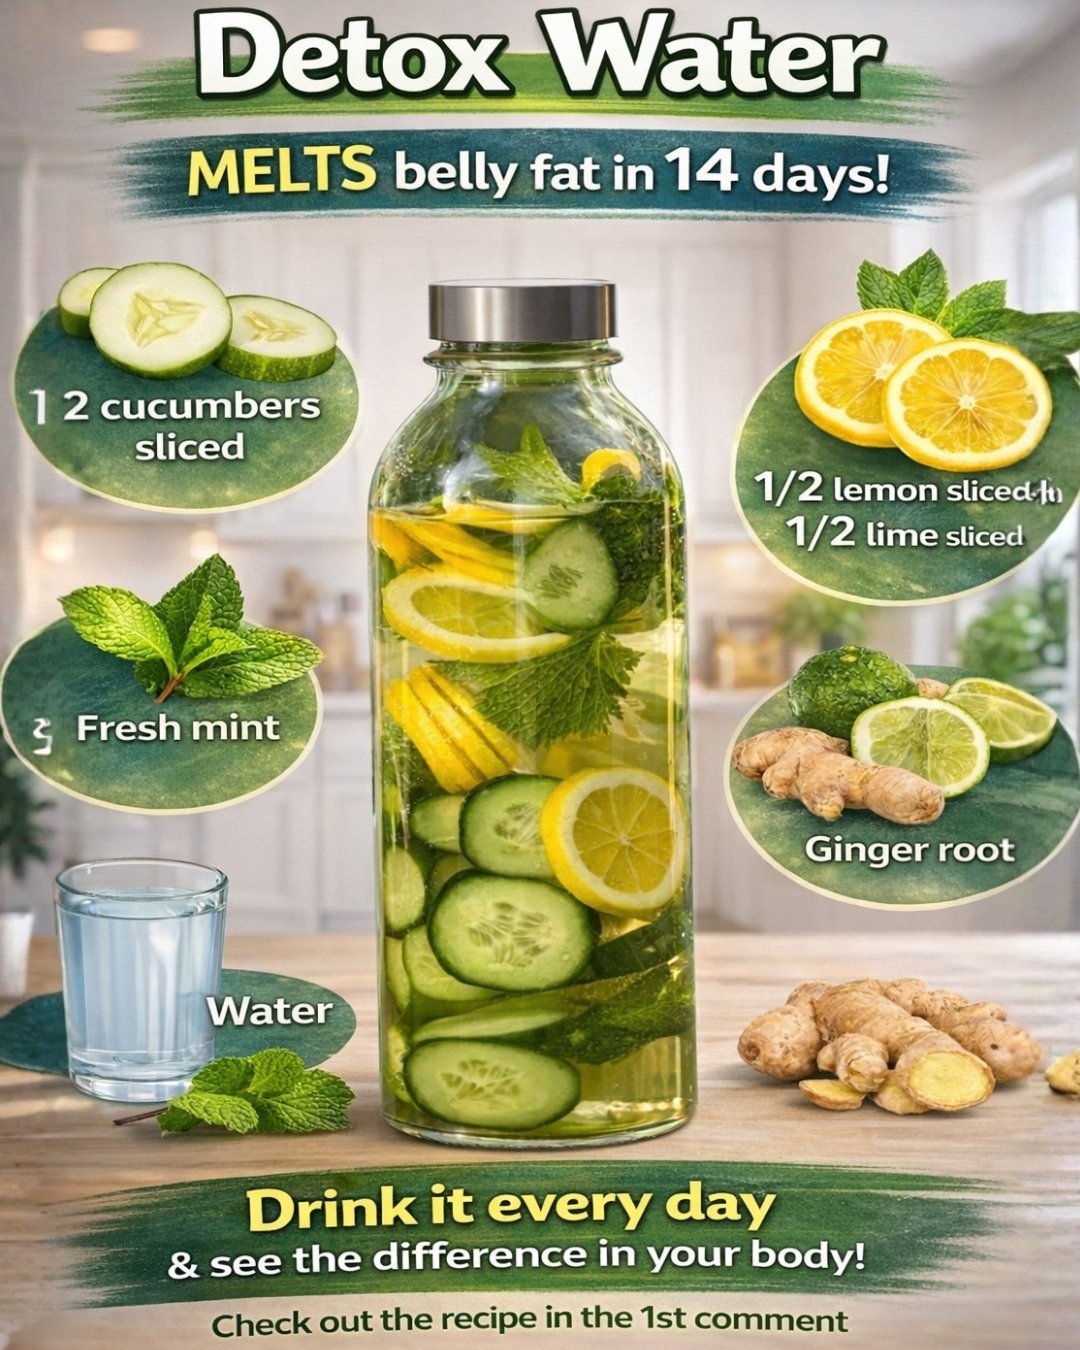
 Your Body Is Thirsty – Not Just for Water, but for Cleanliness
 The Simple Detox Water Recipe That Actually Works
 What Each Ingredient Does in the Body
 Lemon & Lime
 Mint
Mint Ginger
 What Science Shows (2024–2025 Data)
 What Changes After 14 Days of Daily Use
 The Real Secret