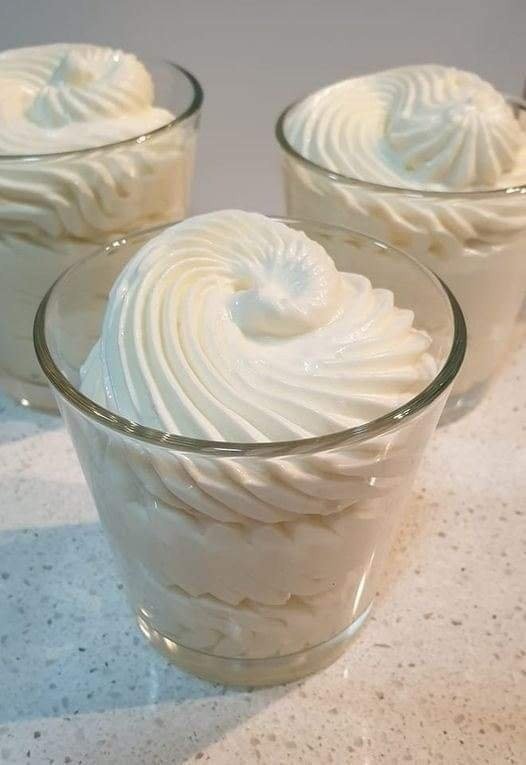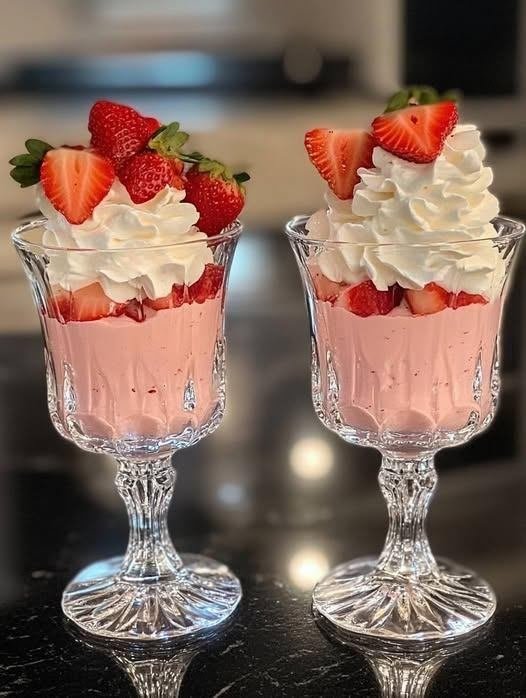
Strawberry Cheesecake Fluff
A light, airy, and creamy low-carb dessert that perfectly balances the tang of cream cheese with sweet strawberry flavor.
-
Prep time: 15 minutes
-
Chilling time: 2–4 hours
-
Servings: 6–8
Ingredients
-
1 block (8 oz) Cream Cheese, softened to room temperature
-
1 package (0.3 oz) Sugar-Free Strawberry Jello
-
2 cups Heavy Whipping Cream, very cold
-
1/4 cup Water
-
Optional Toppings (As seen in your photo): * Fresh strawberries (halved or sliced)
-
Extra whipped cream for piping
-
Instructions
-
Prepare the Gelatin: Bring 1/4 cup of water to a boil. Stir in the sugar-free strawberry Jello until completely dissolved. Set aside to cool slightly, but ensure it remains liquid.
-
Smooth the Base: In a large mixing bowl, beat the softened cream cheese with a hand mixer or stand mixer until completely smooth and creamy.
-
Combine Flavor: Slowly pour the dissolved Jello mixture into the cream cheese. Continue blending until the mixture is a uniform pink color and no white streaks remain.
-
Whip to Stiff Peaks: Pour the 2 cups of cold heavy whipping cream directly into the cream cheese mixture. Start the mixer on low to incorporate, then increase to high speed. Whip until stiff peaks form (the mixture should be thick and hold its shape).
-
Chill: Transfer the fluff into a large bowl or individual serving glasses (like the crystal ones in your photo). Refrigerate for at least 2 hours to allow the gelatin to set the texture.
-
Garnish and Serve: Just before serving, top with a layer of sliced strawberries, a large swirl of whipped cream, and fresh strawberry halves for garnish.
Pro Tips for Success
-
Temperature Matters: Ensure your cream cheese is truly at room temperature to avoid lumps, but keep your heavy cream ice-cold so it whips up properly.
-
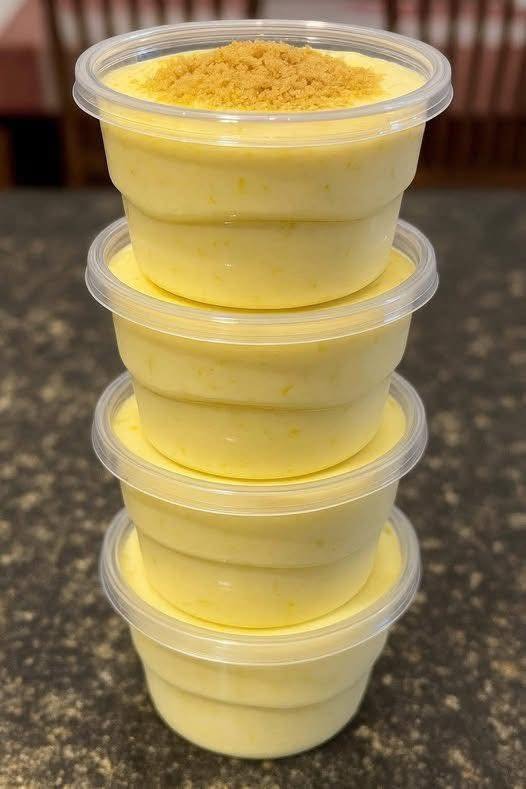
Make it a Parfait: You can layer the fluff with crushed graham crackers (or almond flour “crumbs” for a low-carb version) to add a cheesecake crust element.


 Use whole milk for creaminess (low-fat works but less rich).