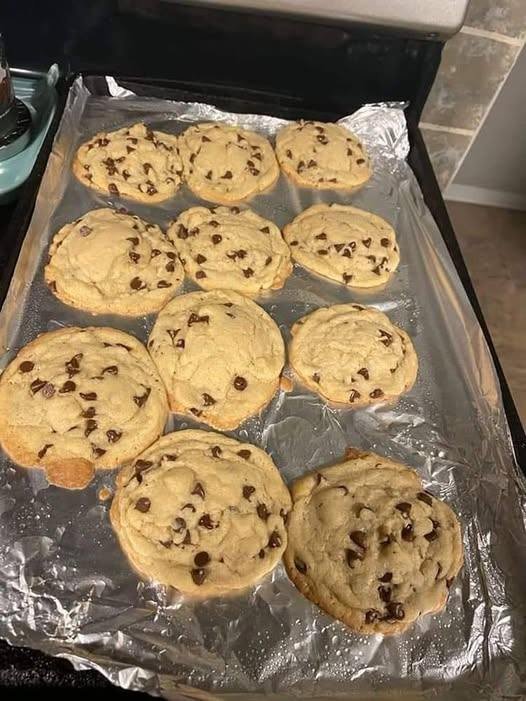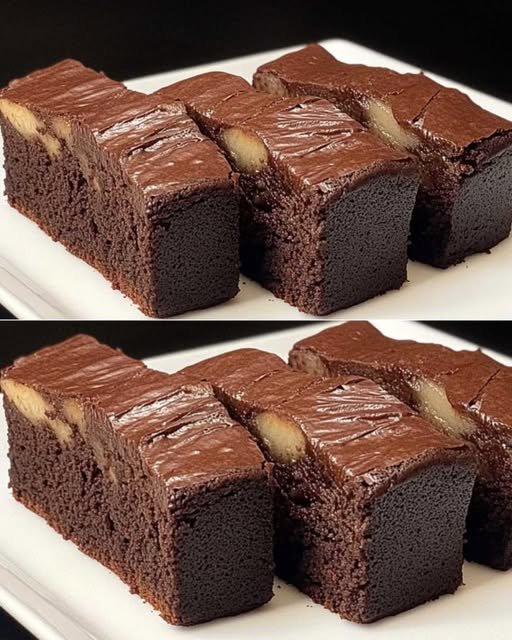
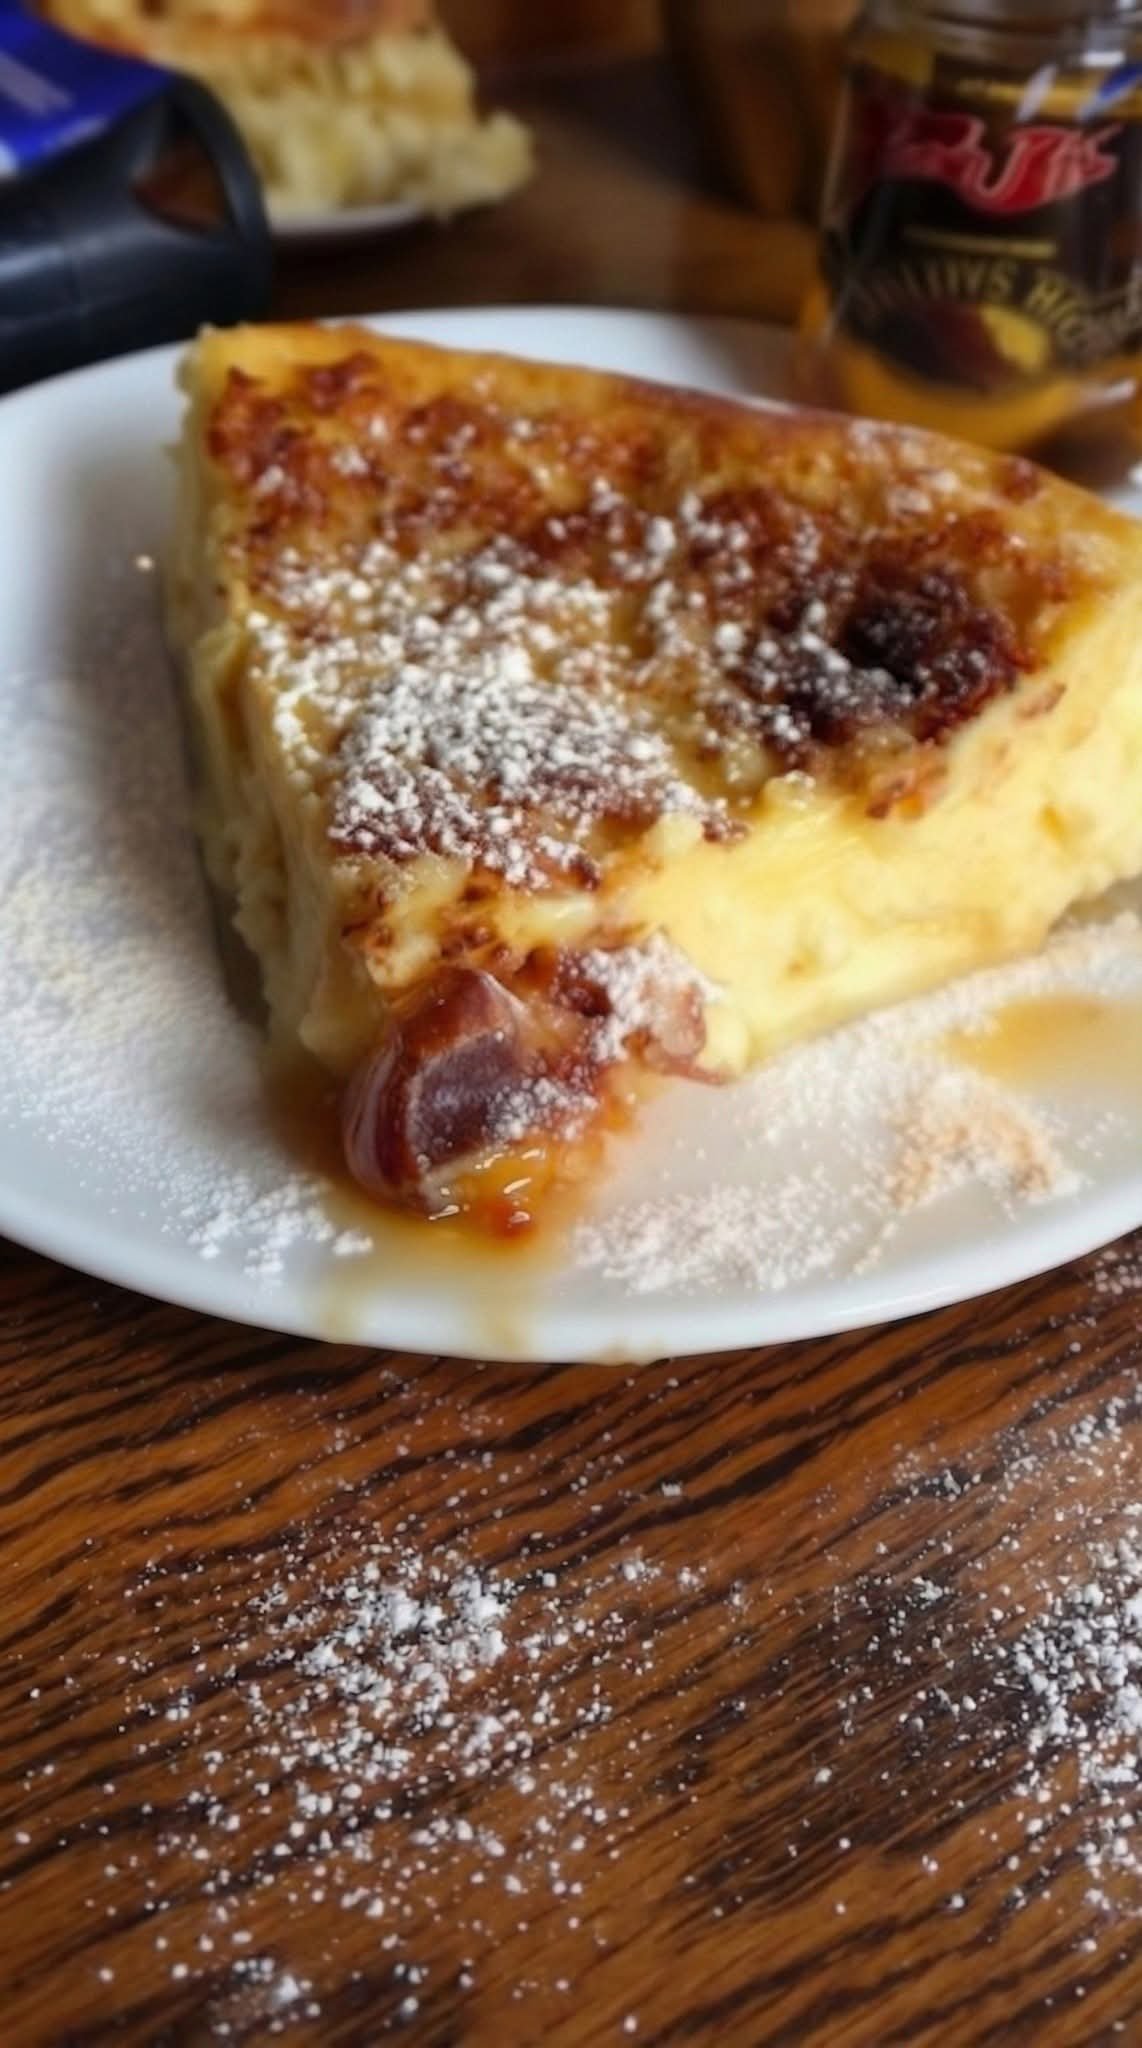
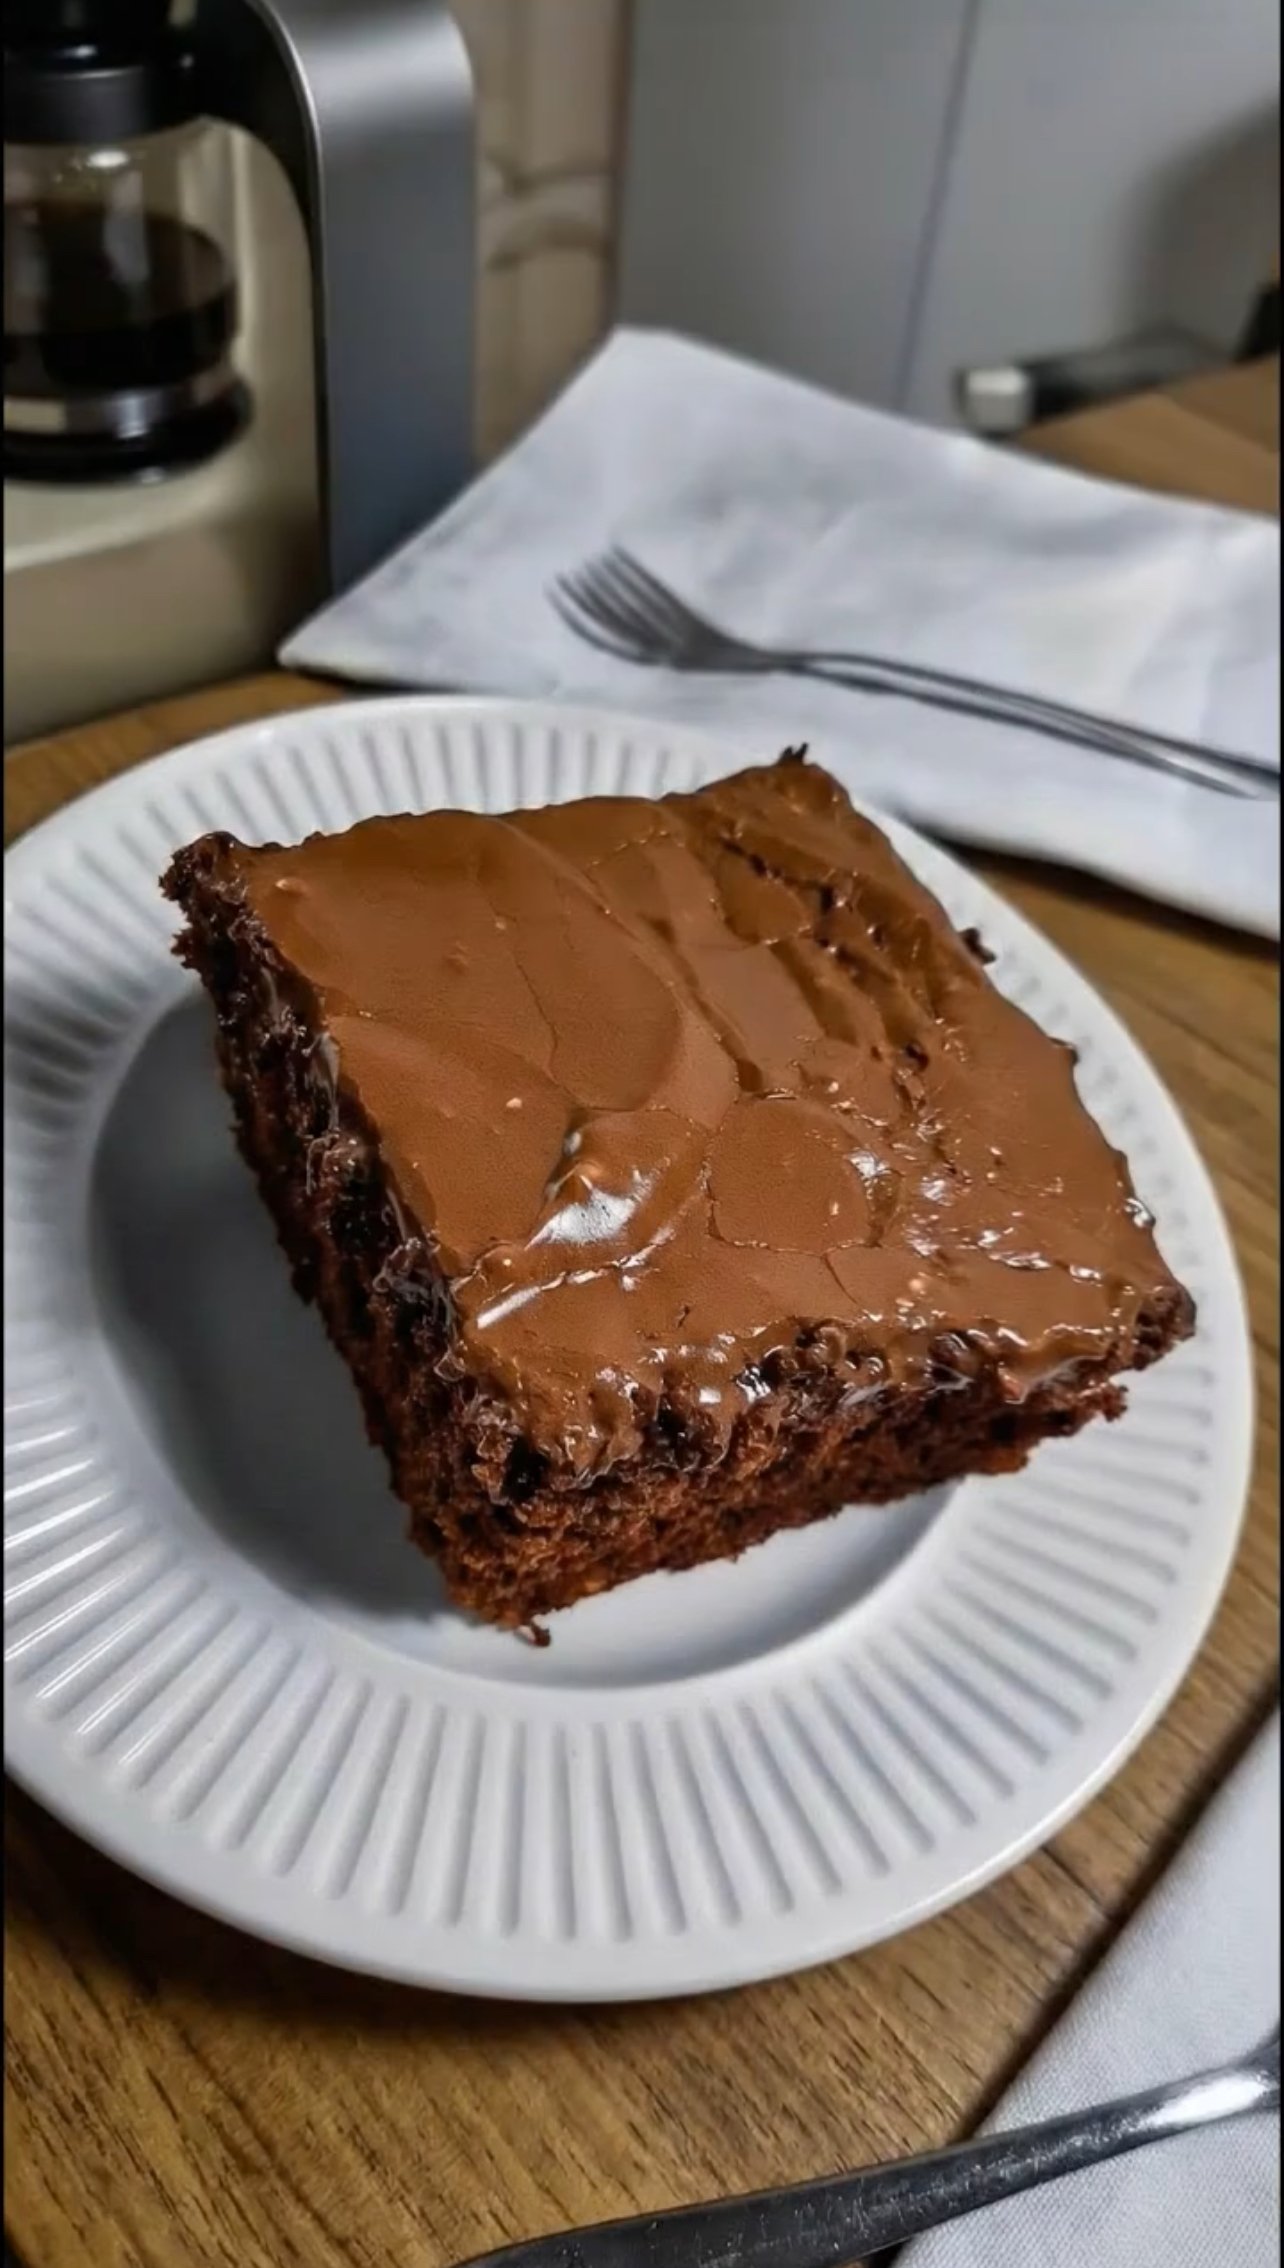
🍎 Flourless Fudgy Apple Brownies
Prep time: 10 mins | Cook time: 20-25 mins | Yields: 9–12 squares
Ingredients
-
2 large Apples (sweet varieties like Fuji or Gala work best), peeled and chopped
-
2 large Eggs
-
1/2 cup Cocoa powder (unsweetened, high quality)
-
1/2 cup Nut butter (Almond or Cashew butter provides the most neutral flavor)
-
1/4 cup Maple syrup or Honey (Optional; leave out if you want them strictly fruit-sweetened)
-
1 tsp Vanilla extract
-
1/2 tsp Baking soda
-
A pinch of salt
-
Optional: 1/4 cup dark chocolate chips for extra indulgence.
Instructions
-
Preheat & Prep: Heat your oven to 180°C (350°F). Line an 8×8 inch baking pan with parchment paper.
-
Blend: Place the chopped apples, eggs, nut butter, vanilla, and sweetener (if using) into a high-speed blender. Blend until completely smooth.
-
Mix Dry Ingredients: Add the cocoa powder, baking soda, and salt. Pulse until just combined. Fold in chocolate chips by hand if you’re using them.
-
Bake: Pour the batter into the prepared pan. Smooth the top with a spatula.
-
Cook: Bake for 20–25 minutes. The center should be set but still slightly soft to the touch (don’t overbake, or they will lose the fudge texture!).
-
Cool (The Hard Part): Let them cool completely in the pan before slicing. These brownies set as they cool; if you cut them warm, they will be too gooey.
💡 Pro-Tips for the Best Result
-
The Apple Texture: If you want those visible “apple chunks” seen in your photo, reserve half an apple, dice it very finely, and fold it into the batter after blending.
-
Glossy Top: For that shiny “crackly” top, sprinkle a few extra chocolate chips or a tiny dusting of coconut sugar over the batter before it goes into the oven.
-
Storage: Because these are fruit-based, they stay very moist. Store them in an airtight container in the fridge for up to 5 days.
 Notes
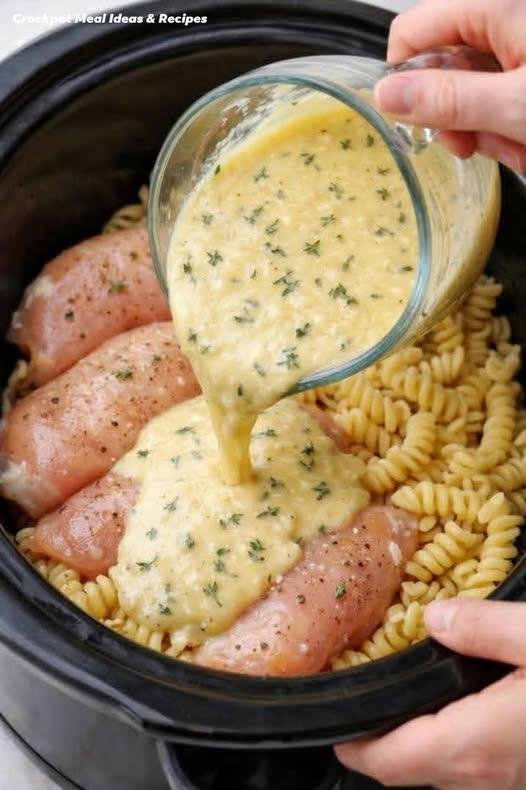
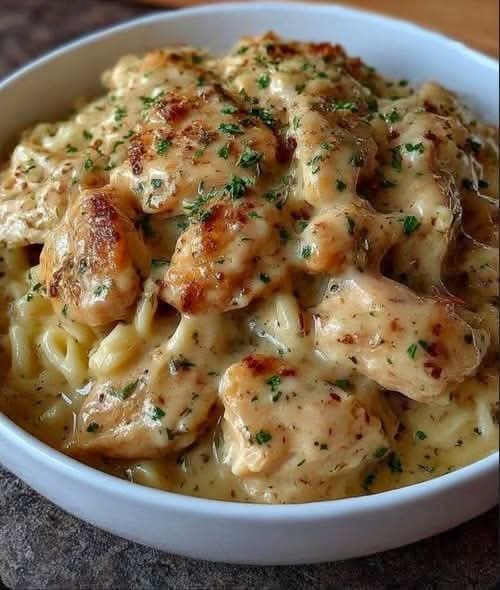
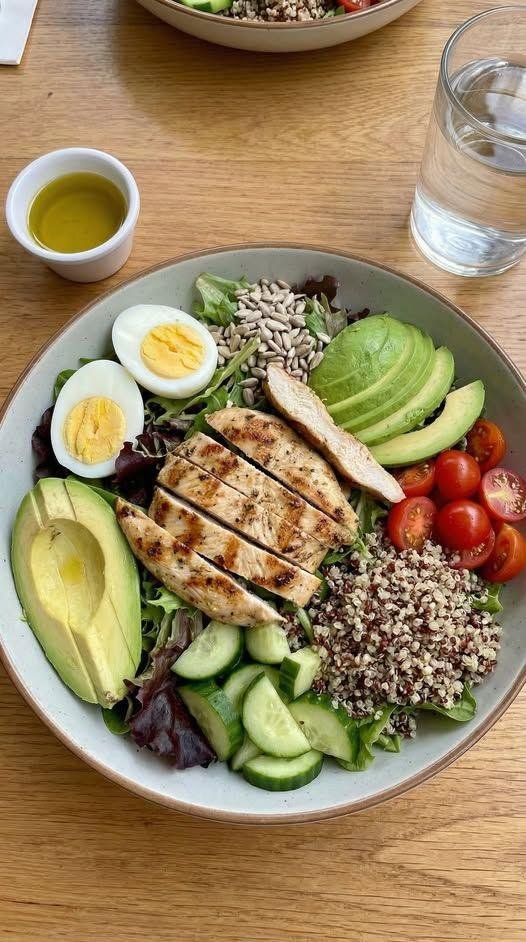
Notes Sear the chicken first for deeper flavor.
 High in protein from chicken
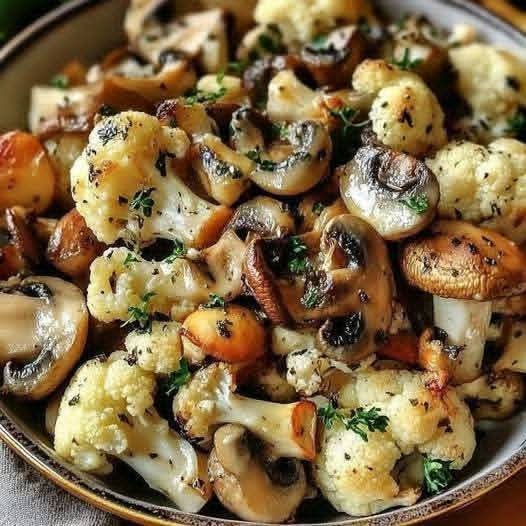
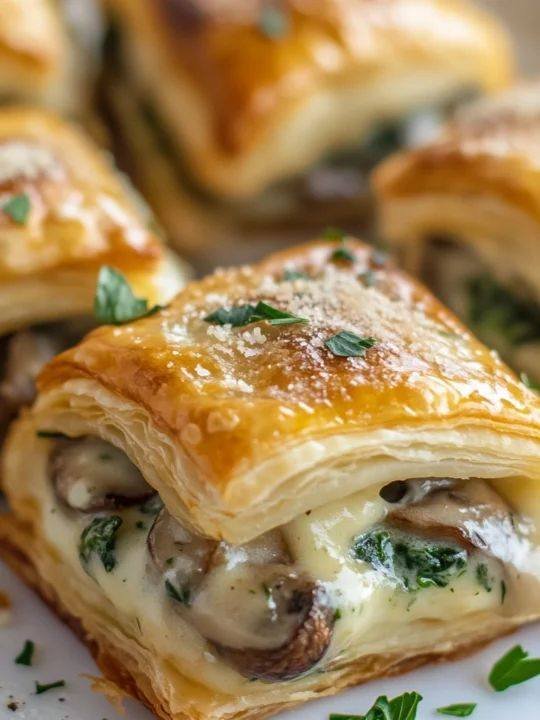
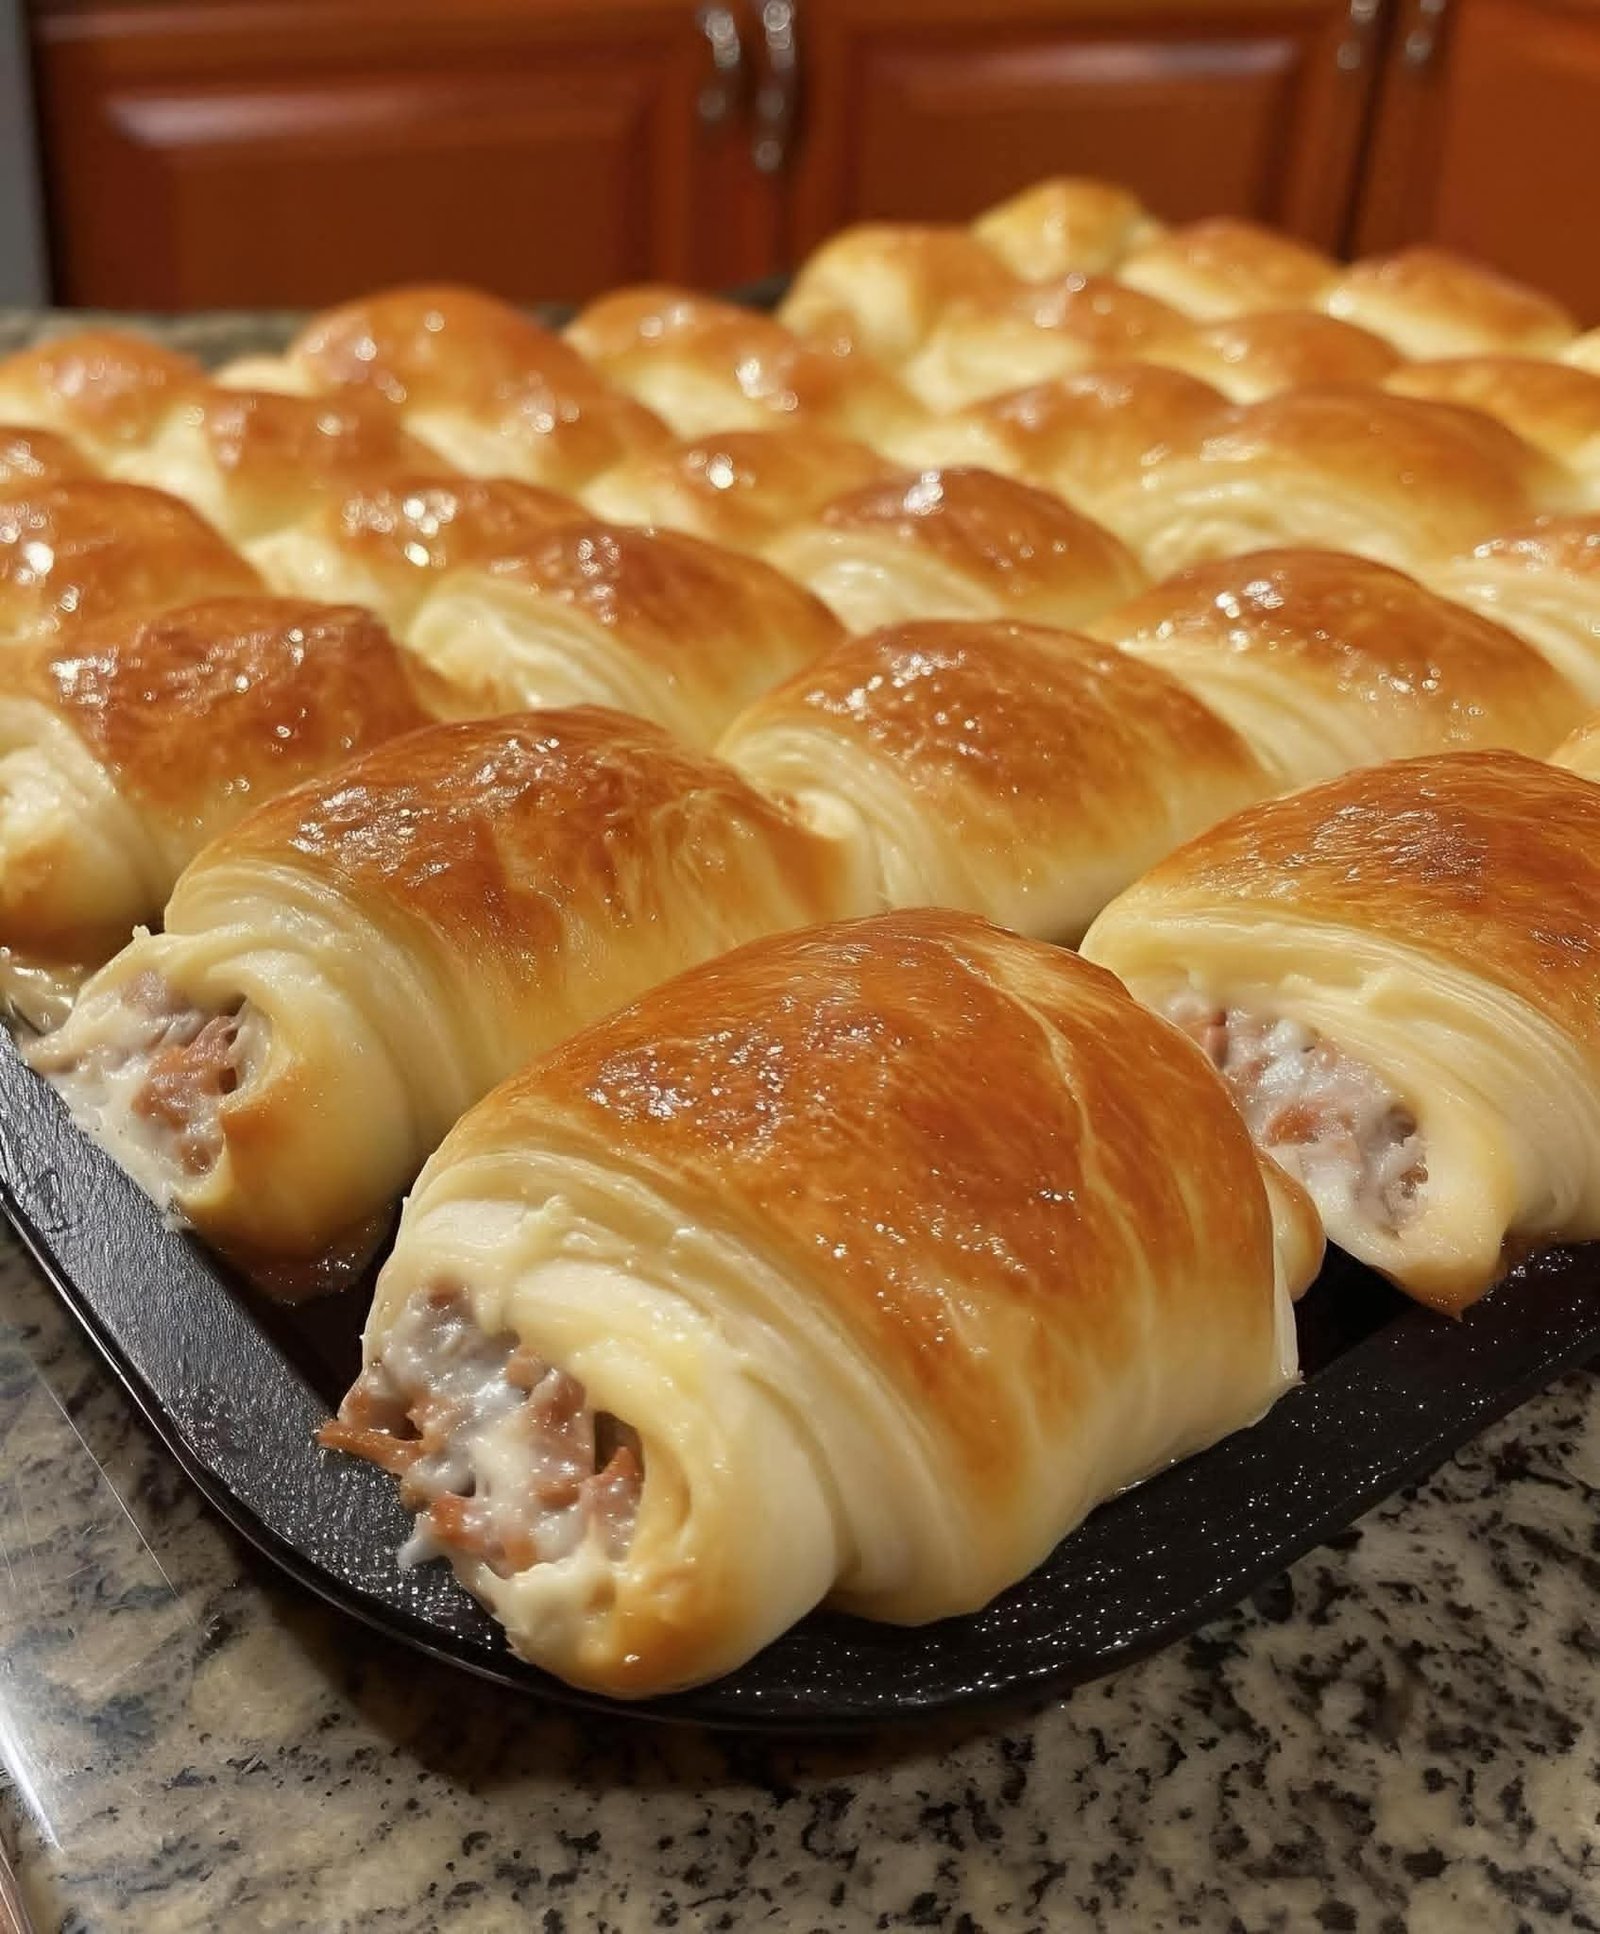
 Creamy Mushroom & Spinach Stuffed Pastry Bites
 Ingredients
 Instructions
 Serving Ideas
 Add-In Variations
 Make-Ahead & Storage