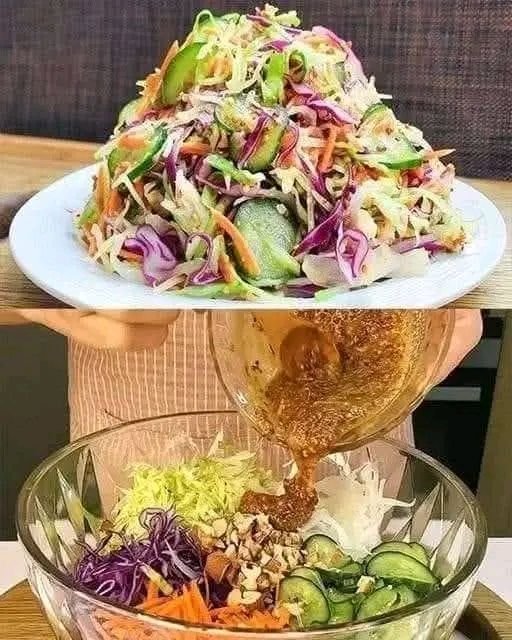
Crunchy Asian Cabbage Slaw (WW Low-Point)
**Fresh • Flavor-Packed • Meal-Prep Friendly**
**Ingredients**
**Salad**
* 2 cups **green cabbage**, thinly shredded
* 1 cup **red cabbage**, shredded
* 1 cup **cucumber**, sliced
* 1 cup **carrots**, julienned or shredded
* 2 tbsp **green onions**, sliced
* Optional crunch (pictured):
* 1 tbsp **chopped almonds or peanuts** *(optional – adds points)*
**Low-Point Sesame Dressing**
* 2 tbsp **rice vinegar**
* 1 tbsp **low-sodium soy sauce**
* 1 tsp **sesame oil**
* 1 tsp **honey or sugar-free sweetener**
* 1 tsp **fresh grated ginger** or ginger paste
* 1 clove **garlic**, minced
* Black pepper or chili flakes (to taste)
**Instructions**
1. Add all salad vegetables to a large bowl.
2. Whisk dressing ingredients in a separate bowl or jar.
3. Pour dressing over salad and toss until well coated.
4. Chill 10–15 minutes for best flavor.
5. Sprinkle nuts on top *only if using*.
**Weight Watchers Points (Per Serving)**
* **Without nuts:** **0–1 WW Point**
* **With 1 tbsp nuts:** **2–3 WW Points**


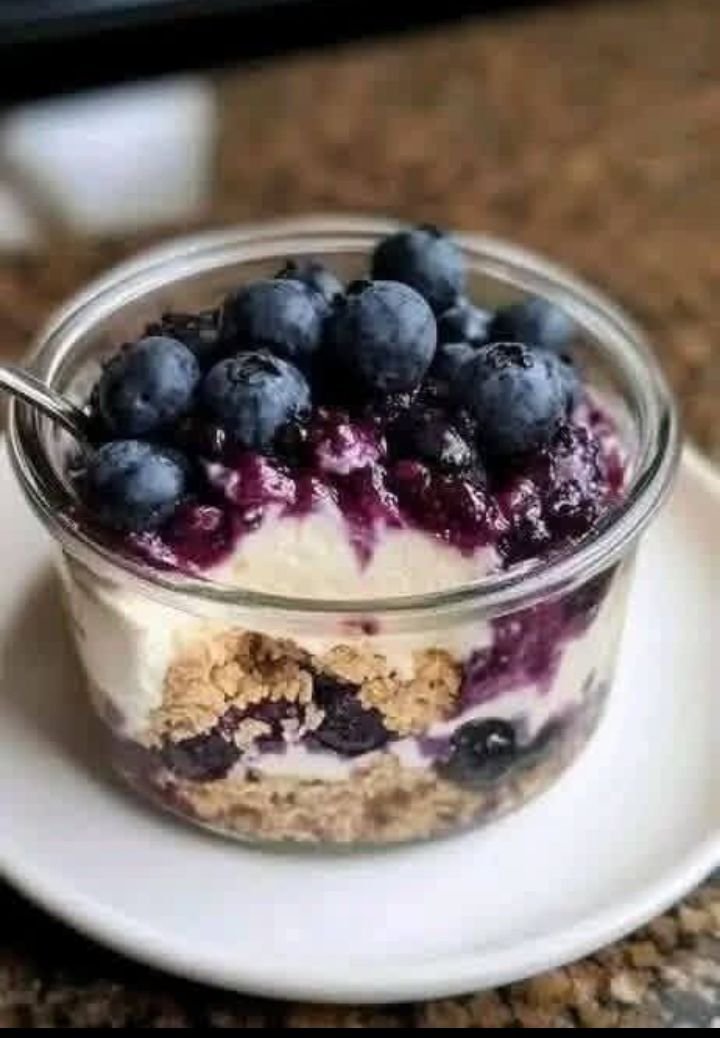
 Ingredients (1 Jar)
 Instructions
 Nutrition (Approx.)
 Benefits
 Q&A
Q&A
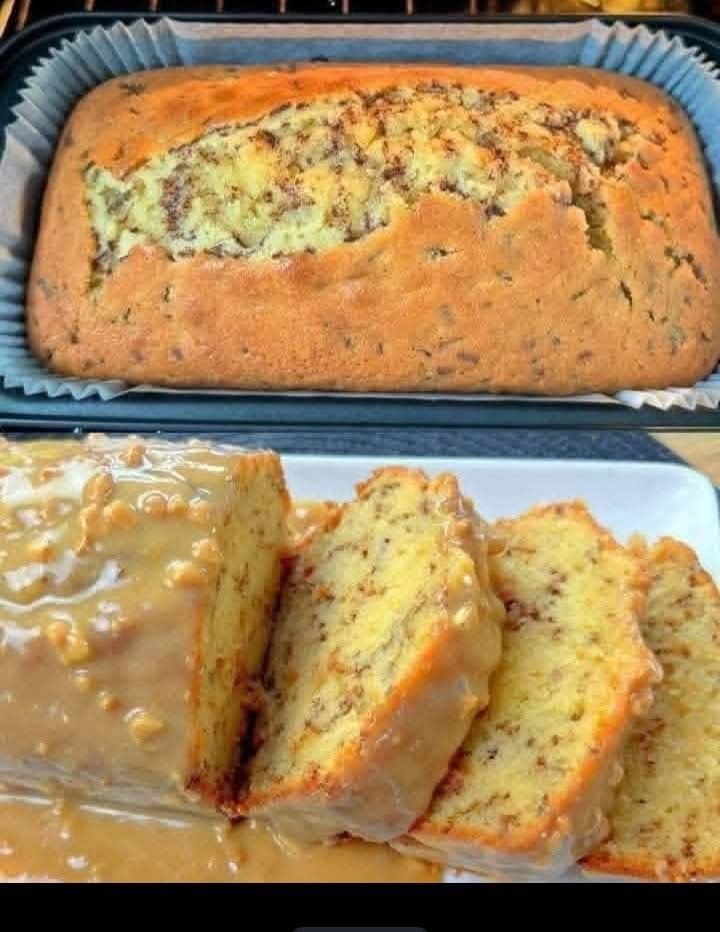
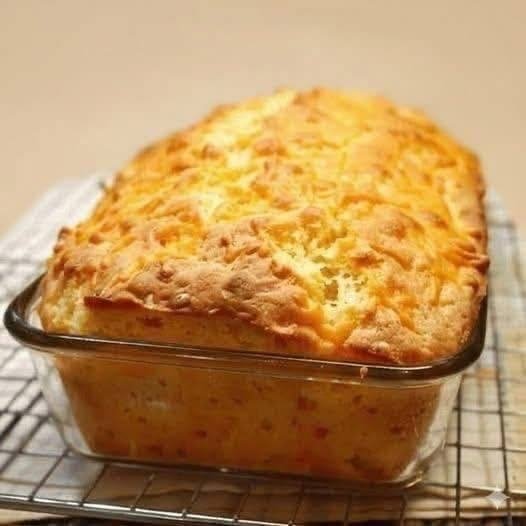
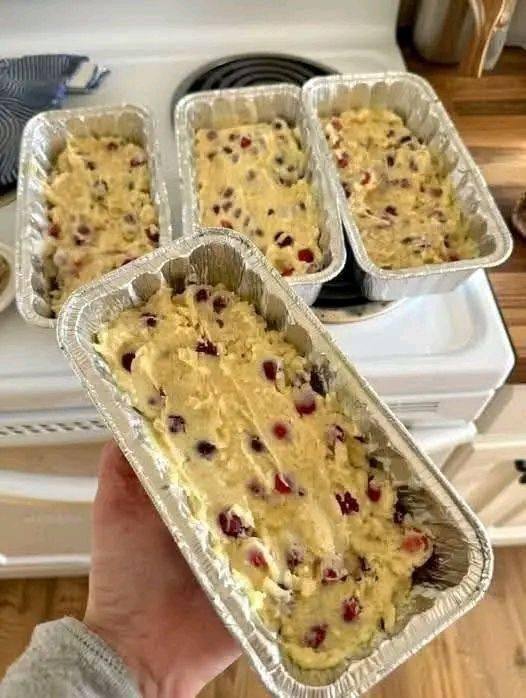
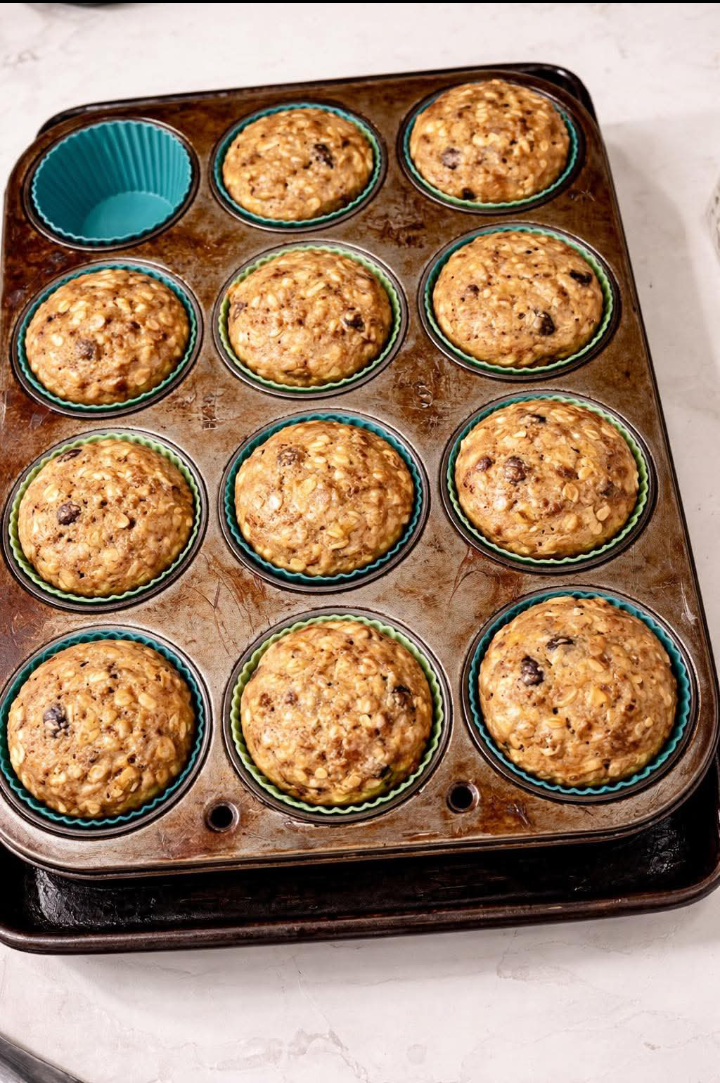
 Melt-in-Your-Mouth Banana Bread
 Ingredients
 Instructions
 Optional Glaze


 Use 1–2 times per week only
 Never use undiluted ACV