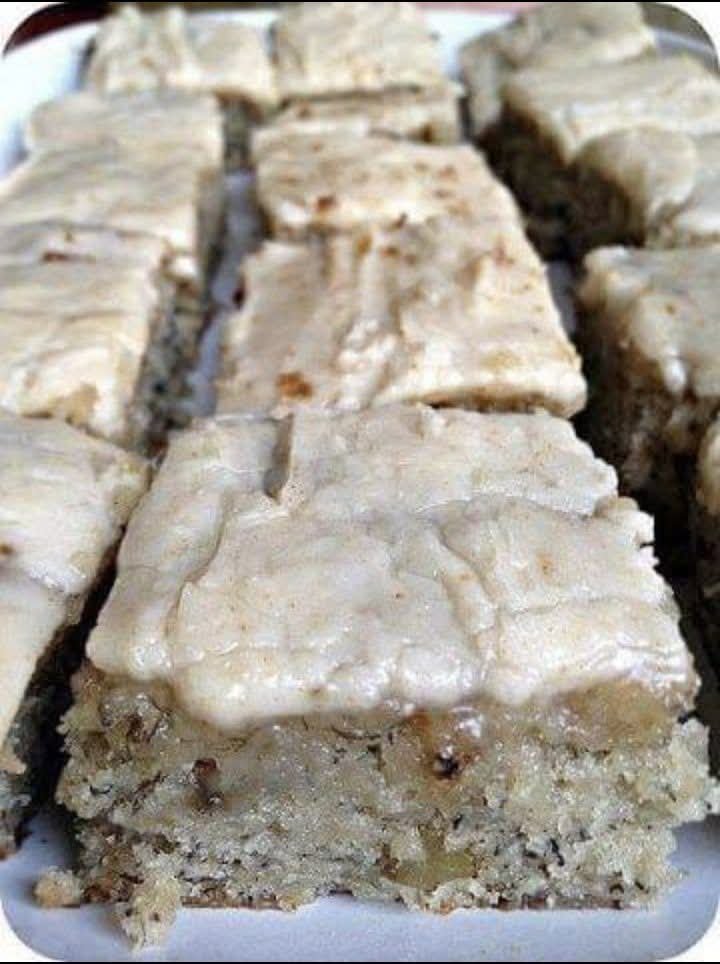
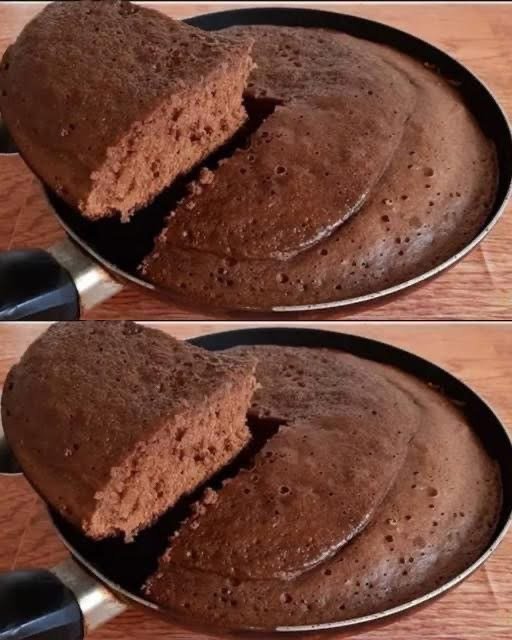
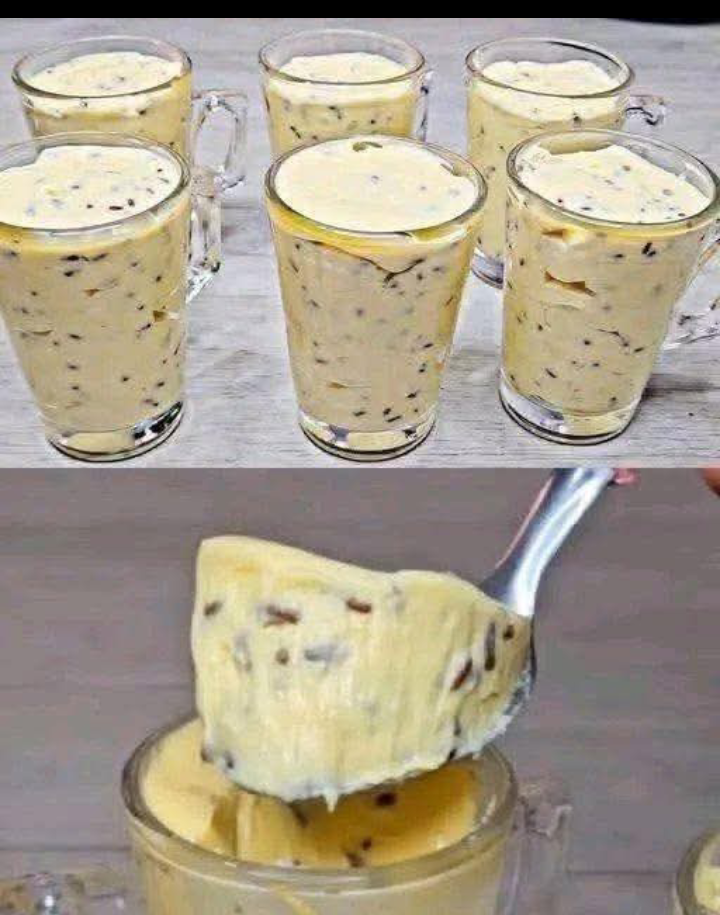
Banana Pudding Icebox Cake
 Recipe: Banana Pudding Icebox Cake
Prep time: 20 minutes
Chill time: 4–6 hours (Overnight is best!)
Servings: 12–15 slices
Ingredients
The Foundation: 2 sleeves of Graham crackers (or 1 box of Nilla Wafers)
The Cream: 2 packages (3.4 oz each) Instant Vanilla or Banana Cream pudding mix
The Lift: 1 container (8 oz) whipped topping (like Cool Whip) or 2 cups stiffly peaked heavy cream
The Dairy: 3 cups cold whole milk
The Fruit: 4–5 large ripe bananas, thinly sliced
The Secret: 1 block (8 oz) cream cheese, softened to room temperature
The Sweetener: 1 can (14 oz) sweetened condensed milk
Instructions
Whisk the Base: In a large bowl, beat the softened cream cheese and sweetened condensed milk until smooth.
Make the Pudding: In a separate bowl, whisk the pudding mixes with the cold milk for 2 minutes until it starts to thicken. Fold this into the cream cheese mixture.
Fold in Clouds: Gently fold in half of the whipped topping (save the rest for the top).
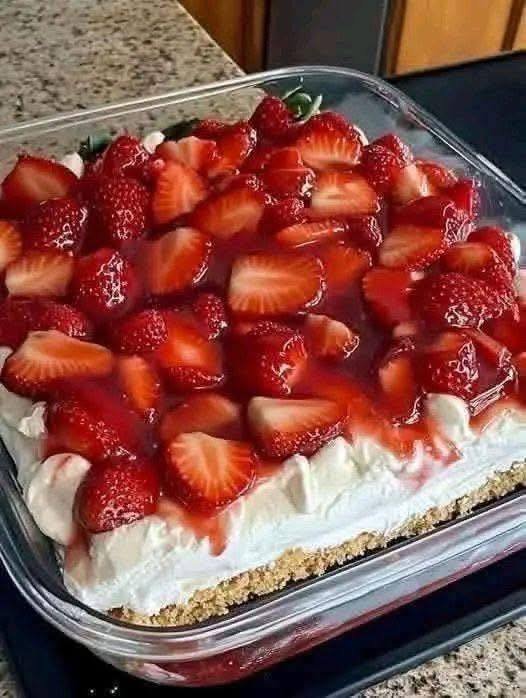
The First Layer: In a 9×13 inch baking dish, spread a thin layer of the pudding mixture. Cover with a single layer of graham crackers.
Build the Tiers: Add a layer of sliced bananas, followed by a generous layer of pudding. Repeat the layers (Crackers -> Bananas -> Pudding) until you reach the top.
The Finish: Spread the remaining whipped topping over the top. Crush a few extra crackers or cookies and sprinkle them over the surface.
The Big Chill: Cover and refrigerate for at least 4 hours.
 Notes & Tips
Ripeness Matters: Use bananas that are yellow with a few brown spots. They are sweet enough to flavor the cake but firm enough to hold their shape.
Avoid the Brown: To keep bananas from browning, toss the slices in a little lemon juice or pineapple juice before layering.
The “Snap” Test: If you want a “clean” slice, use a hot knife (dipped in warm water and wiped dry) to cut through the layers.
 Nutritional Info (Per Serving)
Estimate based on 1/12th of a 9×13 pan.
Metric Amount
Calories 340 kcal
Total Fat 14g
Carbohydrates 48g
Protein 5g
Sugar 32g
 Benefits of This Recipe
No-Bake Ease: Perfect for hot summer days when you don’t want to turn on the oven.
Make-Ahead Friendly: It actually tastes better the next day, making it the perfect party prep dessert.
Kid-Approved: High in potassium from the fresh bananas and a guaranteed hit with picky eaters.
 Common Q&A
Q: Can I use homemade whipped cream instead of Cool Whip?
A: Absolutely! Just ensure you whip it to very stiff peaks. You may want to add a stabilizer (like a teaspoon of cornstarch) to ensure it doesn’t weep over time.
Q: My cake is runny. What happened?
A: Usually, this happens if the pudding wasn’t set enough before layering, or if the cream cheese wasn’t fully incorporated. Ensure the milk is ice-cold when mixing.
Q: How long does it stay fresh?
A: It’s best within 48 hours. After that, the bananas may start to release moisture, making the “cake” a bit too soft.
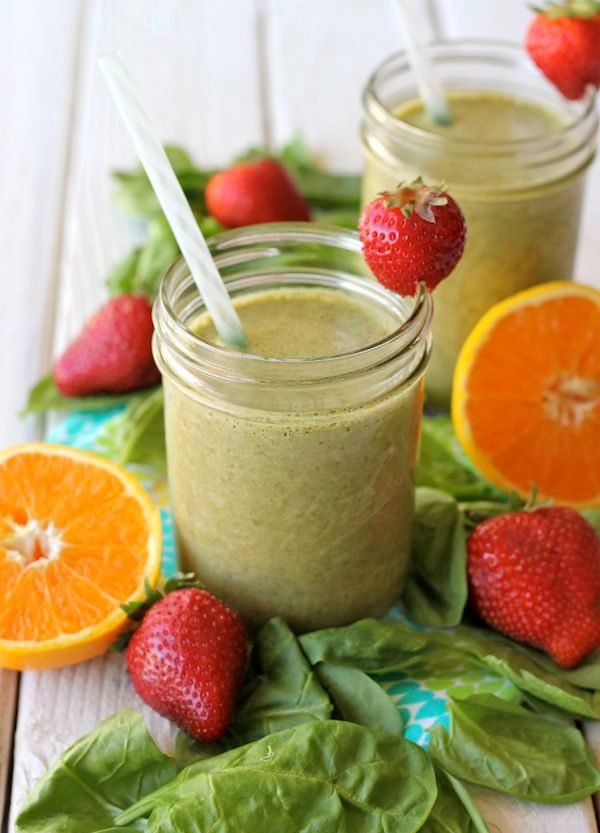
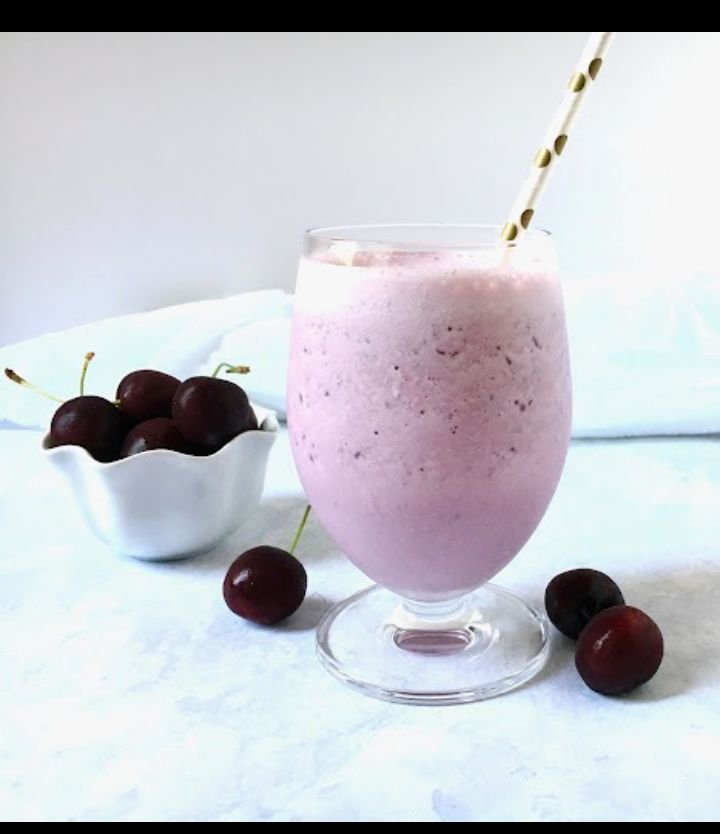
 Cherry Vanilla Protein Smoothie
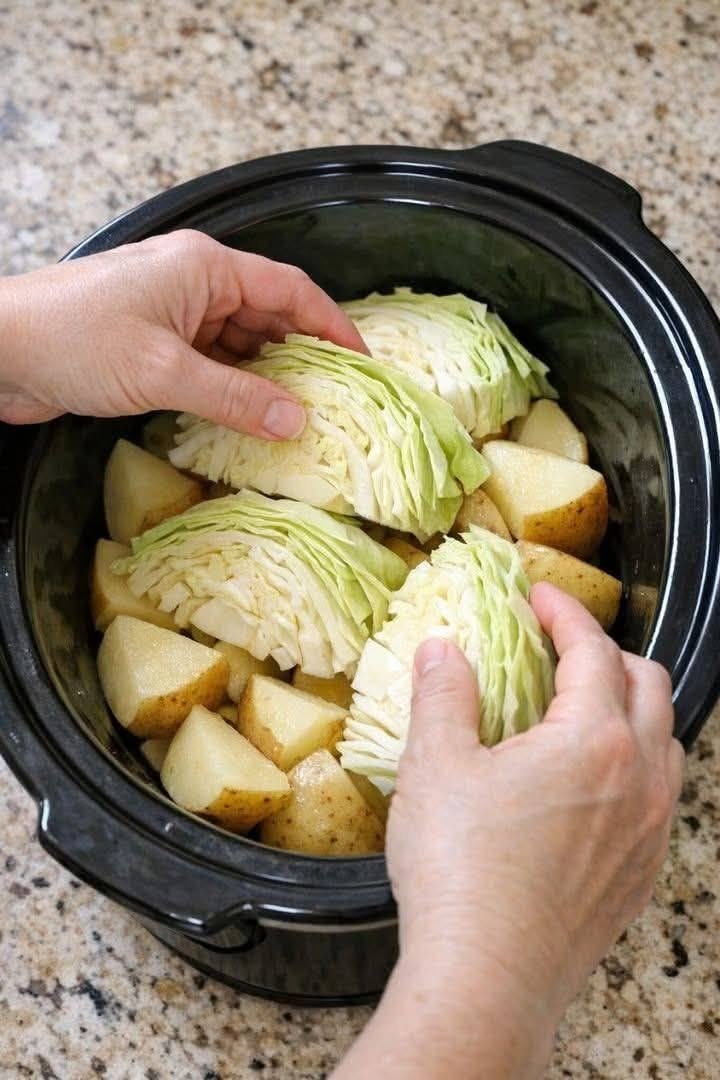
 Place the quartered potatoes in the bottom of the slow cooker.
 Add sliced onion and garlic on top of the potatoes.
 Stack cabbage wedges over the potatoes.
 Drizzle olive oil and pour vegetable broth into the cooker.
 Sprinkle salt, pepper, and paprika.
 Cover and cook on LOW for 4–5 hours or HIGH for 2–3 hours until vegetables are tender.
 Cut cabbage into large wedges so it doesn’t become mushy.
 Cabbage