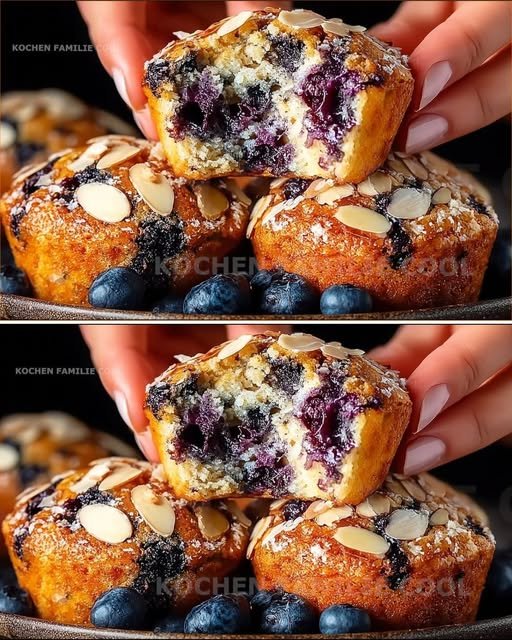
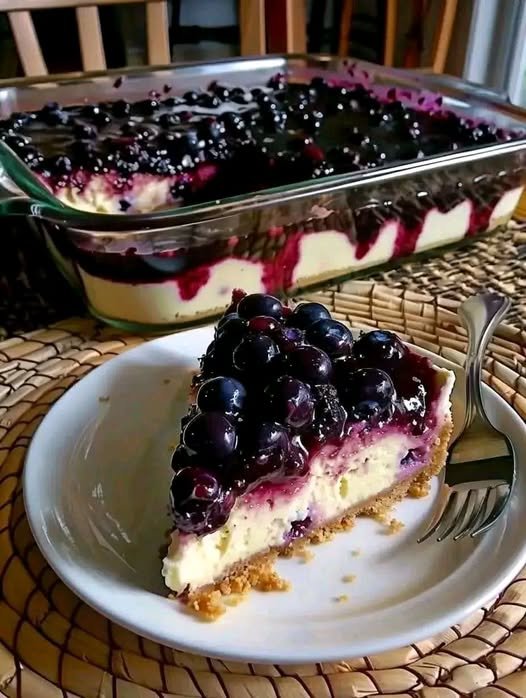
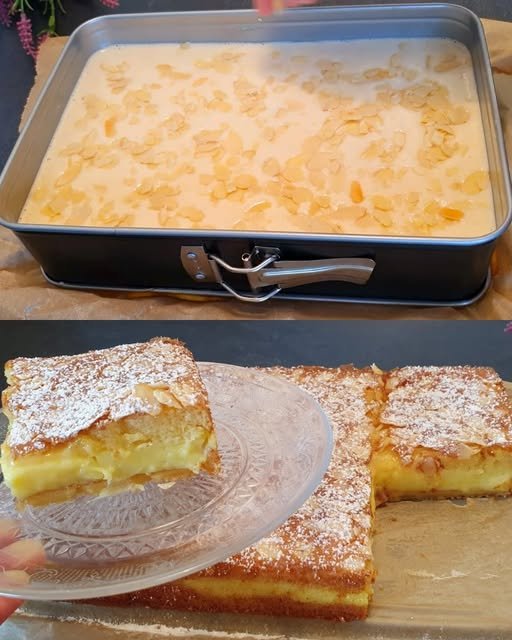
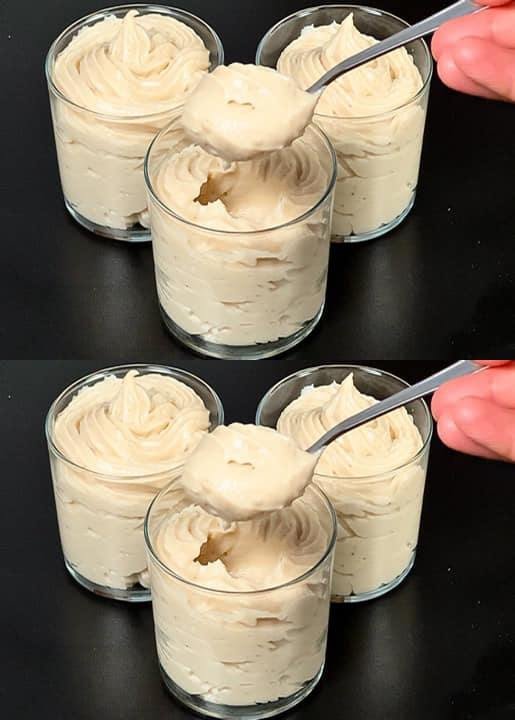
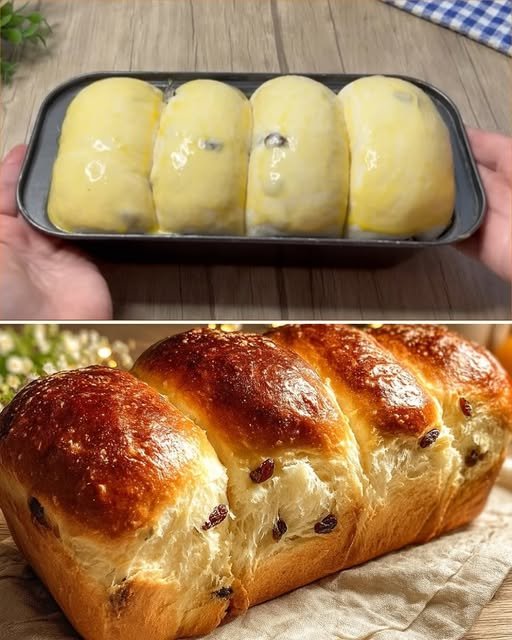
The Recipe: Japanese Cotton Cheesecake
This recipe relies on a stable meringue and a gentle water bath to achieve that signature “jiggle.”
Servings & Prep
-
Servings: 8 slices
-
Prep time: 30 minutes
-
Cook time: 70–80 minutes
Ingredients
-
250g Cream cheese (softened)
-
6 Large eggs (separated, cold)
-
140g Granulated sugar (divided: 50g for yolk mix, 90g for meringue)
-
60g Unsalted butter
-
100ml Whole milk
-
60g Cake flour (sifted)
-
20g Cornstarch
-
1 tbsp Lemon juice
-
1 tsp Vanilla extract
-
1/4 tsp Cream of tartar (or 1/2 tsp lemon juice for the whites)
Instructions
-
Prep the Oven & Pan: Preheat to 160°C (320°F). Grease an 8-inch round cake pan (not springform if possible) and line the bottom and sides with parchment paper extending 2 inches above the rim.
-
Melt the Base: In a double boiler (or microwave), combine cream cheese, butter, and milk. Whisk until smooth. Let it cool slightly.
-
The Yolk Mix: Whisk the 6 egg yolks with 50g of sugar, lemon juice, and vanilla. Slowly pour in the cheese mixture while whisking. Fold in the sifted cake flour and cornstarch until no lumps remain. Strain through a fine mesh sieve for a perfectly smooth texture.
-
The Meringue: In a clean bowl, beat egg whites with cream of tartar until foamy. Gradually add 90g of sugar, beating until soft peaks form. Do not over-beat to stiff peaks, or the cake will crack.
-
Fold: Gently fold 1/3 of the meringue into the cheese batter. Add the rest, folding in a “J” motion until just combined.
-
The Water Bath: Pour batter into the pan. Place the pan in a larger roasting tray filled with 1 inch of hot water.
-
Bake: * Bake at 160°C for 20 minutes.
-
Reduce to 140°C for 40–50 minutes.
-
Turn off the oven and leave the door ajar for 15 minutes to prevent collapsing.
-
-
Chill: Let it cool completely, then refrigerate for at least 4 hours before serving.
-
Nutritional Info (Per Serving)
| Nutrient | Amount |
| Calories | 290 kcal |
| Total Fat | 19g |
| Carbohydrates | 23g |
| Protein | 7g |
| Sugar | 16g |
Benefits & Why It’s Great
-
Lighter Profile: Contains significantly less sugar and fat per slice compared to traditional dense cheesecakes.
-
Texture: The high egg-to-flour ratio makes it incredibly soft and easy to digest.
-
Versatility: It isn’t overly sweet, making it a perfect canvas for fresh berries or a light dusting of matcha powder.
Pro Tips & Notes
-
Temperature Matters: Use cold egg whites for a more stable, fine-pored meringue.
-
The Sieve is Key: Straining the batter before adding the egg whites ensures that “melt-in-your-mouth” texture.
-
Avoid the Crack: Cracks happen when the oven is too hot or the egg whites are beaten to “stiff peaks.” Aim for peaks that droop slightly like a bird’s beak.
-
Waterproof Your Pan: If using a springform pan, wrap the bottom in 3 layers of heavy-duty foil to prevent water from seeping in.
Q/A
Q: Why did my cake shrink significantly after cooling?
A: A little shrinkage is normal, but drastic deflating usually means the egg whites were under-beaten or the cake was removed from the oven too quickly. The “cool-down” period in the oven is vital.
Q: Can I use All-Purpose flour instead of Cake flour?
A: You can, but the texture will be slightly tougher. To DIY cake flour, remove 1 tbsp of AP flour and replace it with 1 tbsp of cornstarch.
Q: Why is there a dense layer at the bottom?
A: This usually happens if the egg whites weren’t folded in thoroughly or if the batter sat too long before going into the oven, causing the heavier cheese mixture to settle.
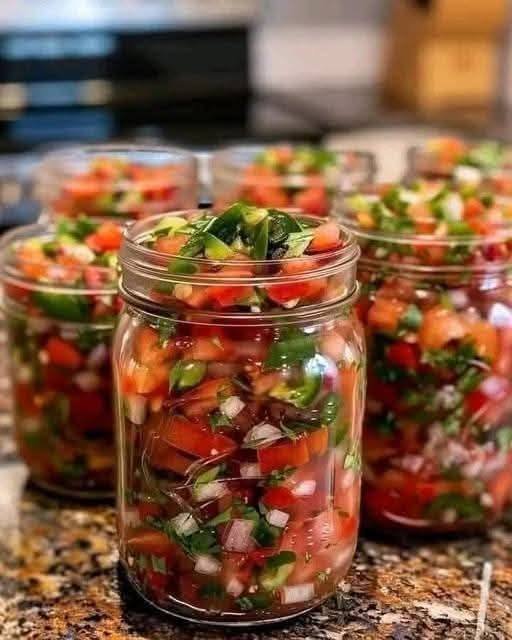
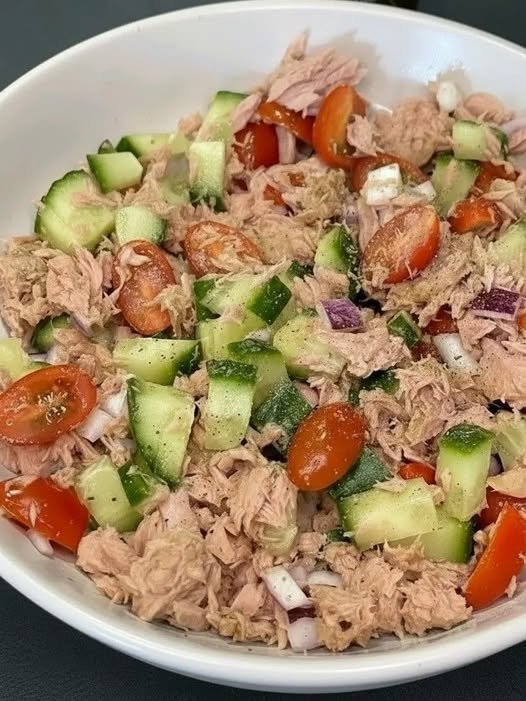
 Pico de Gallo
 Chef’s Tips & Notes
 Nutritional Info (Per Serving)
 Benefits
 Common Questions (Q&A)


 Note: This recipe supports healthy blood sugar management, but it does not replace medical treatment or cause “instant” glucose drops.
 Suitable for: