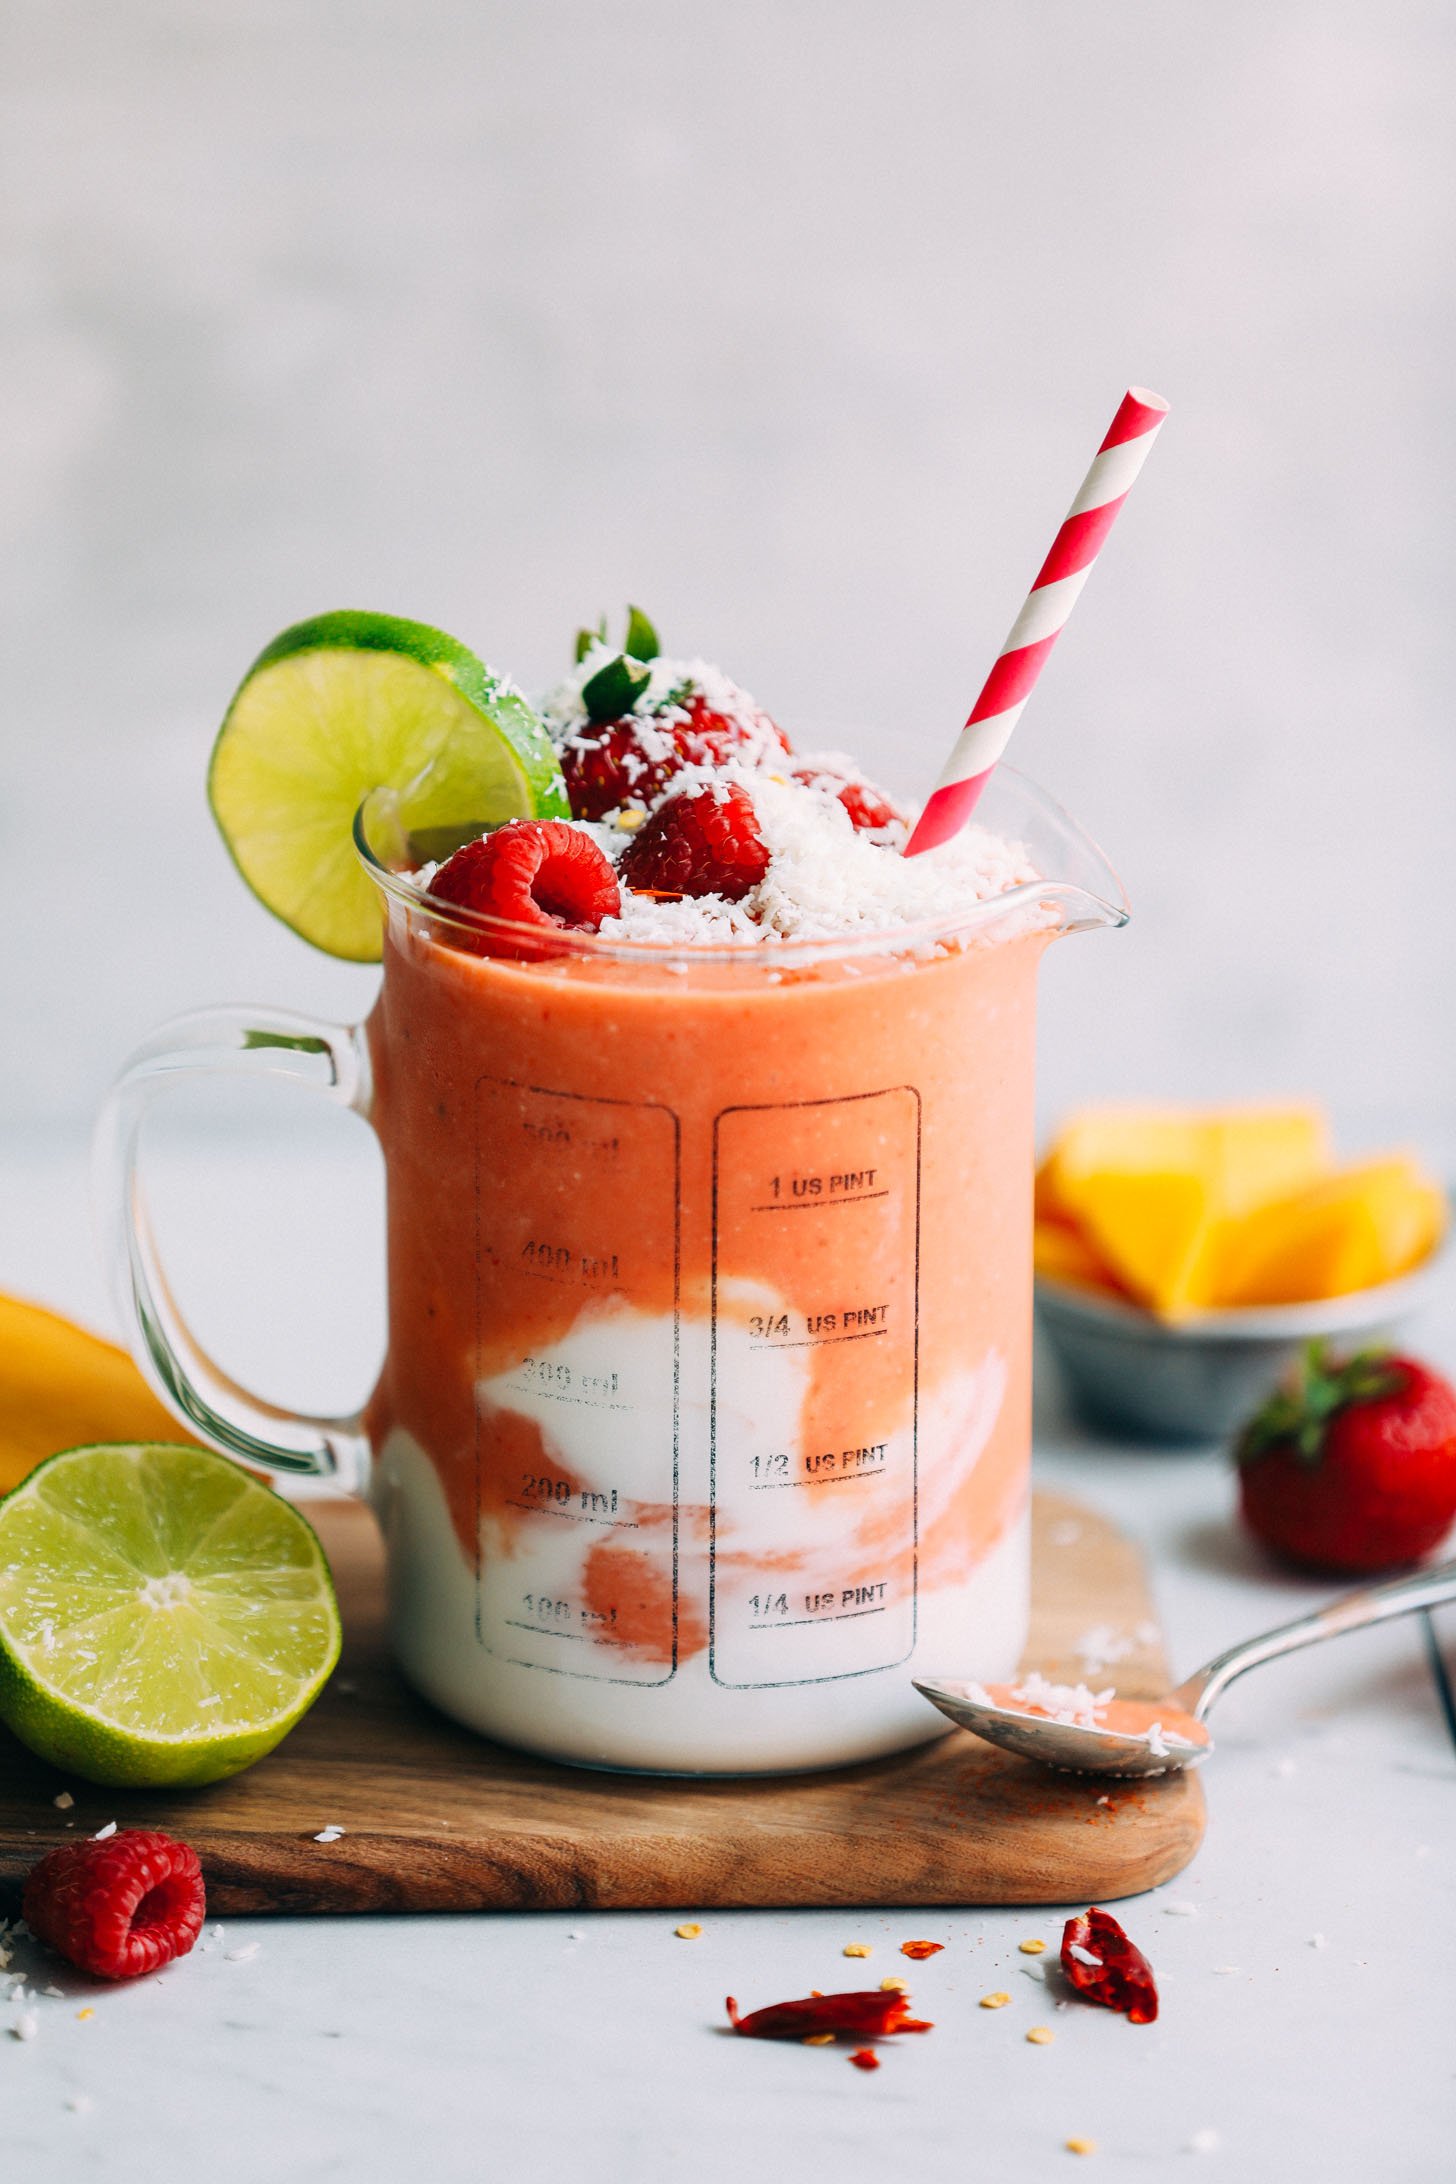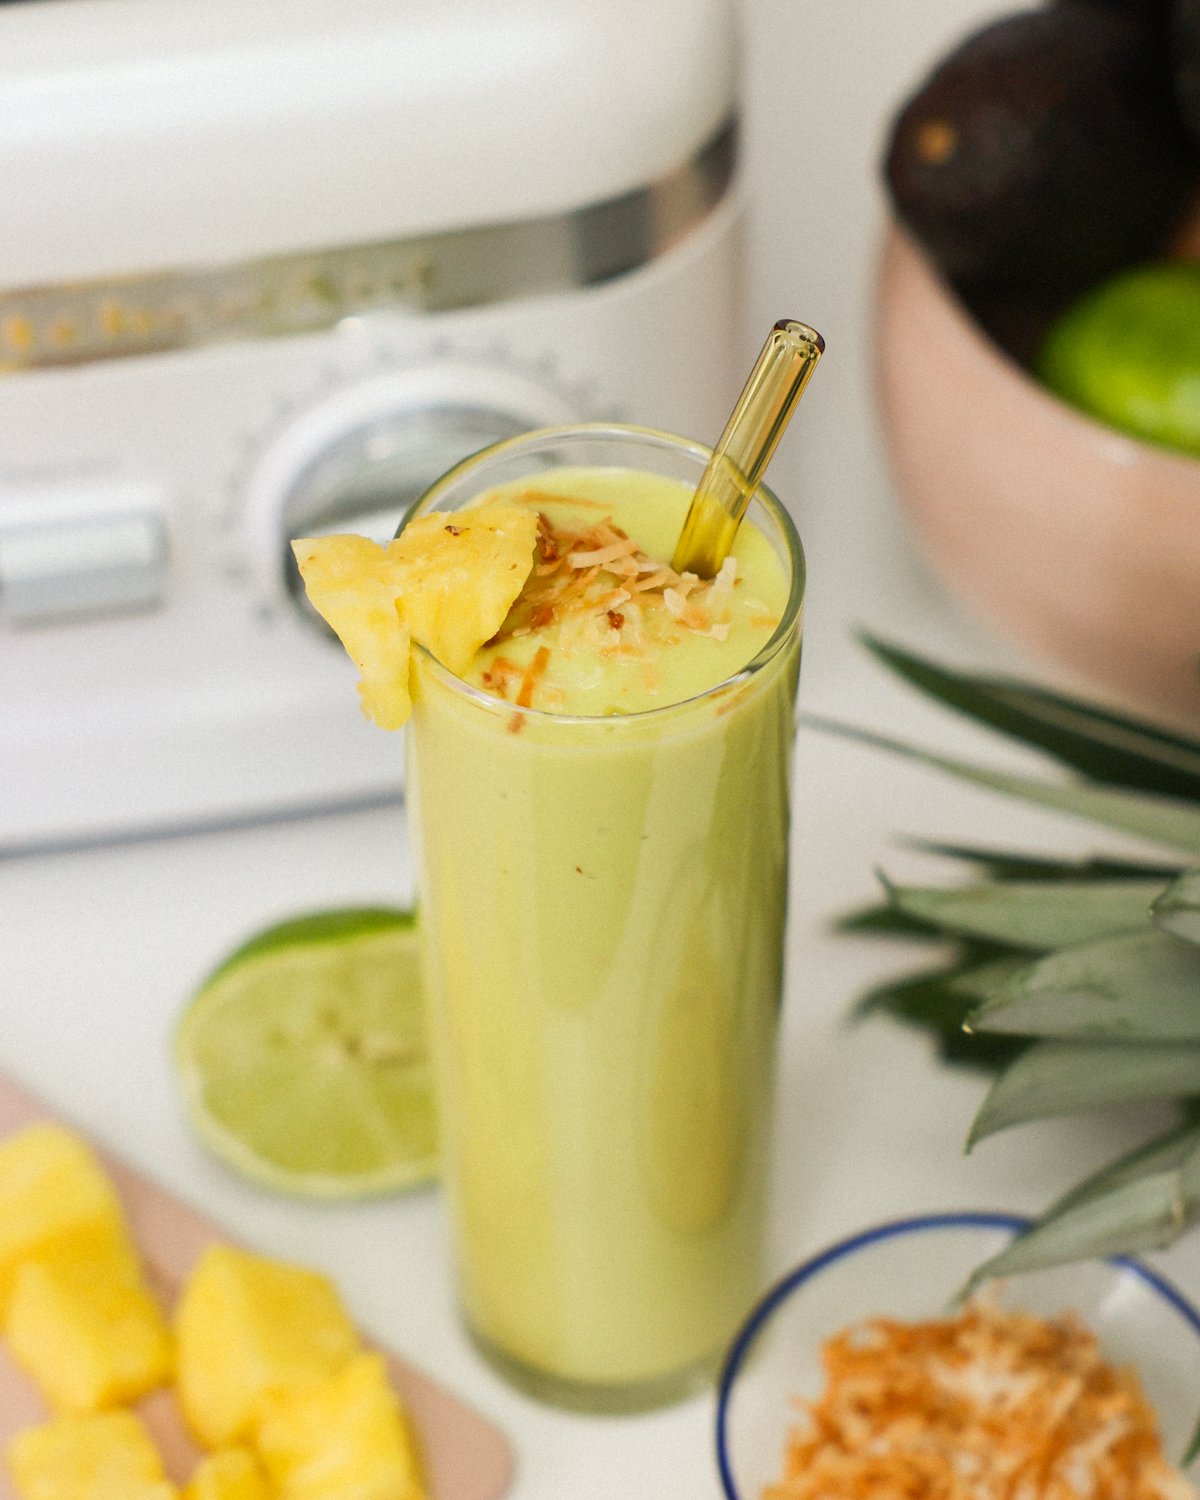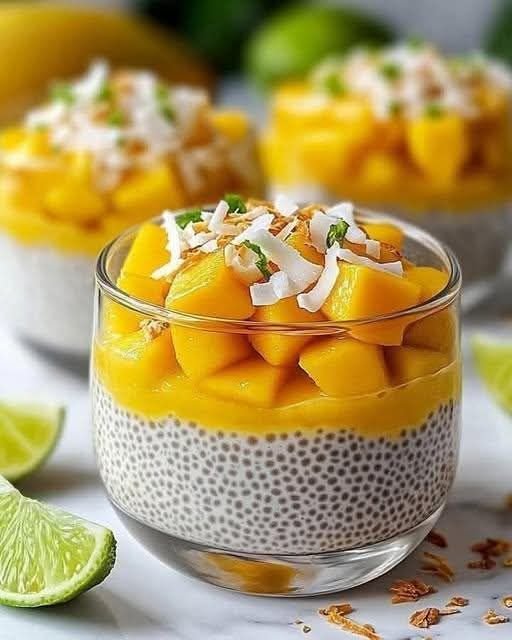
Mango Coconut Chia Pudding
Prep time: 10 mins | Chill time: 4+ hours | Servings: 2
Ingredients
Layer Ingredients
Chia Base 1/4 cup chia seeds, 1 cup coconut milk (canned or carton), 1 tbsp maple syrup or honey, 1/2 tsp vanilla extract
Mango Puree 1 ripe mango (peeled and pitted), 1 tsp lime juice
Toppings Diced mango, toasted coconut flakes, fresh mint or lime zest
Instructions
Prepare the Pudding: In a jar or bowl, whisk together the chia seeds, coconut milk, sweetener, and vanilla. Stir well to ensure there are no clumps.
The First Set: Let it sit for 5–10 minutes, then give it one more stir. This prevents the seeds from sinking to the bottom. Cover and refrigerate for at least 4 hours (overnight is best).
Make the Puree: Blend half of your mango chunks with a squeeze of lime juice until smooth. Keep the other half diced for the top.
Assemble: Once the pudding is thick, spoon it into glasses. Pour the mango puree over the pudding, then pile on the diced mango.
Garnish: Finish with toasted coconut flakes and a tiny bit of lime zest or mint for that professional look.
Pro Tips for Success
Milk Choice: Use canned coconut milk if you want a very rich, dessert-like texture, or coconut milk from a carton for a lighter, everyday breakfast version.
Texture: If the pudding is too thick after chilling, stir in an extra splash of milk.
Layering: To get those clean lines like in the photo, use a spoon to gently place the mango puree over the set pudding rather than pouring it quickly.
 Ingredients
 Step-by-Step Instructions
 Q&A Section
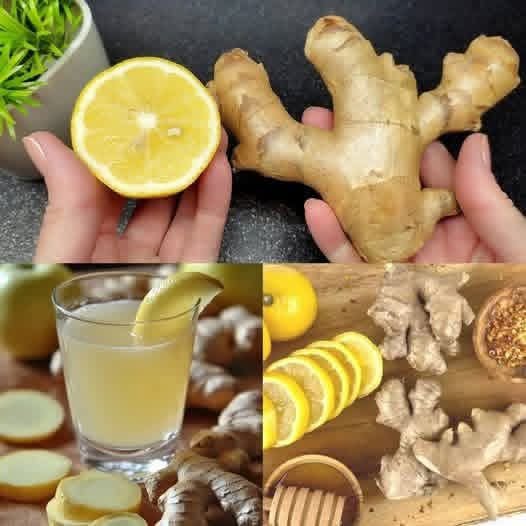
 Ginger works wonders by speeding up your metabolism, curbing your appetite, and enhancing digestion.