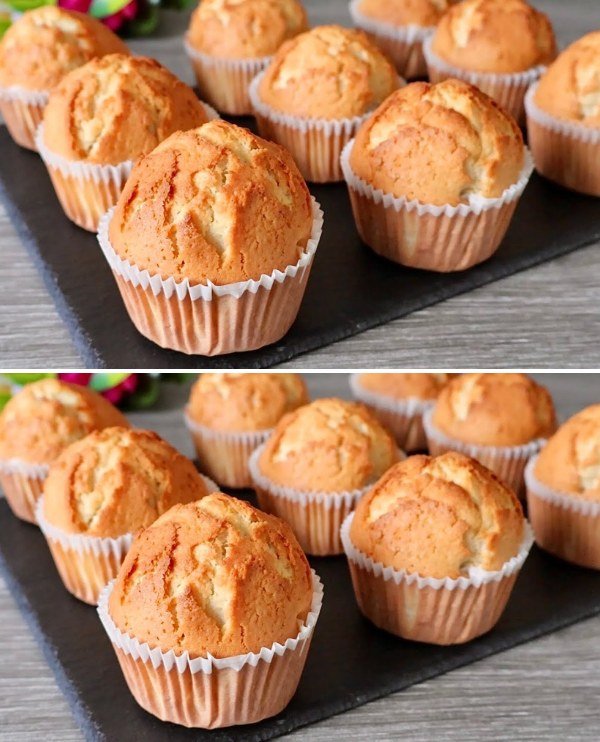
Easy and Fluffy Vanilla Muffins
Prep Time: 10 minutes
Bake Time: 20–25 minutes
Yields: 12 standard muffins
Soft, airy, and golden muffins that are simple to make and perfect for breakfast, snacks, or dessert.
 Ingredients
-
2 eggs
-
125 ml (½ cup) vegetable oil
-
250 ml (1 cup) milk
-
200 g (1 cup) sugar
-
360 g (3 cups) all-purpose flour
-
1 teaspoon baking powder
-
½ teaspoon salt
-
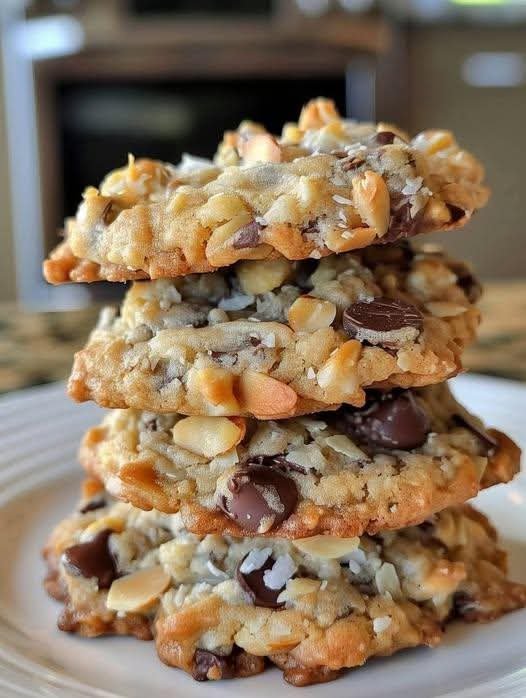
100 g (⅔ cup) raisins or chocolate chips (optional)
-
1 teaspoon vanilla extract (optional, for extra flavor)
 Step-by-Step Instructions
 Step 1: Prepare Oven and Muffin Pan
-
Preheat oven to 375°F (190°C).
-
Line a 12-cup muffin tin with paper liners or grease each cup lightly with butter or oil.
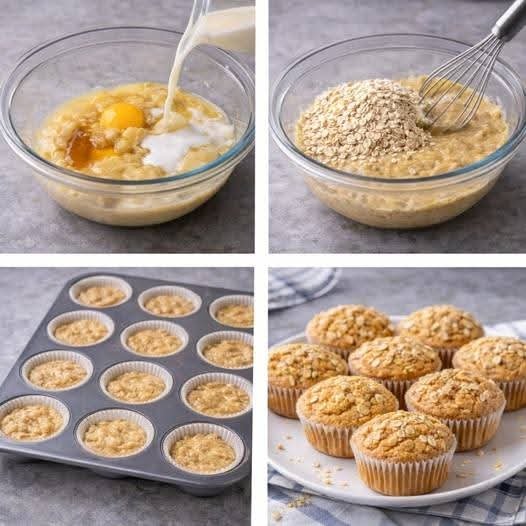
 Step 2: Whisk Wet Ingredients
-
In a large mixing bowl, whisk eggs and sugar until pale and slightly frothy.
-
Add vegetable oil, milk, and vanilla extract (if using).
-
Whisk until fully combined.
 Step 3: Combine with Dry Ingredients
-
Sift flour, baking powder, and salt directly into the wet mixture.
-
Use a spatula or wooden spoon to fold gently until just combined.
-
Stop mixing when flour streaks disappear to keep muffins light and fluffy.
-
 Step 4: Add Mix-ins (Optional)
-
Gently fold in raisins or chocolate chips if desired.
 Step 5: Fill Muffin Cups
-
Divide batter evenly among the 12 cups, filling about ¾ full.
-
Place the tin in the center of the oven.
Step 6: Bake
-
Bake for 20–25 minutes.
-
Muffins are done when:
-
Tops are golden brown
-
They spring back when lightly pressed
-
Toothpick inserted comes out clean or with a few moist crumbs

-
 Step 7: Cool
-
Let muffins cool in the tin for 5 minutes.
-
Transfer to a wire rack to cool completely.
 Pro-Tips for Success
-
Room Temperature Ingredients: Eggs and milk at room temperature give a smoother, well-incorporated batter.
-
Storage: Keep in an airtight container at room temperature for up to 3 days. Freeze for up to 2 months.
-
Optional Flavors: Add cinnamon, nutmeg, or lemon zest for a flavor twist.
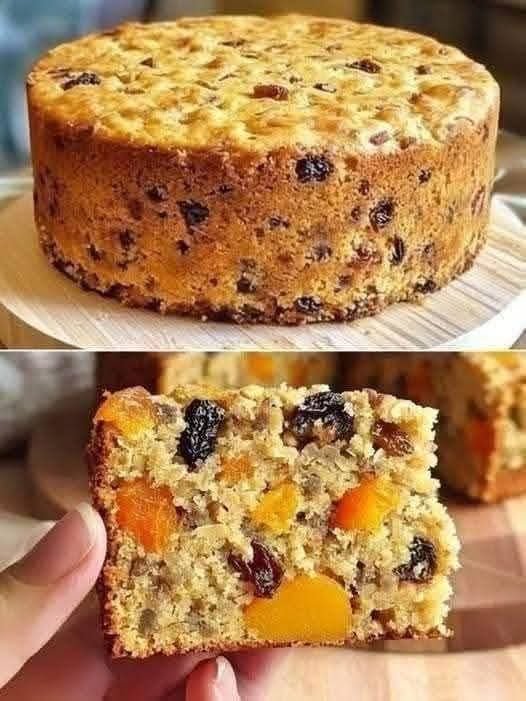
 Whole oats support digestion and heart health
 Carrots & apples provide vitamins and antioxidants
 Dried fruit offers natural energy and sweetness
 No added sugar or flour—clean and balanced


 How to Prepare